By installing the MailerLite plugin for WordPress, you can easily collect subscribers straight from your WordPress site into MailerLite.
How to integrate MailerLite with Wordpress
To install the MailerLite plugin for WordPress:
In your MailerLite account, navigate to the Integrations page.
Under MailerLite API click Use.
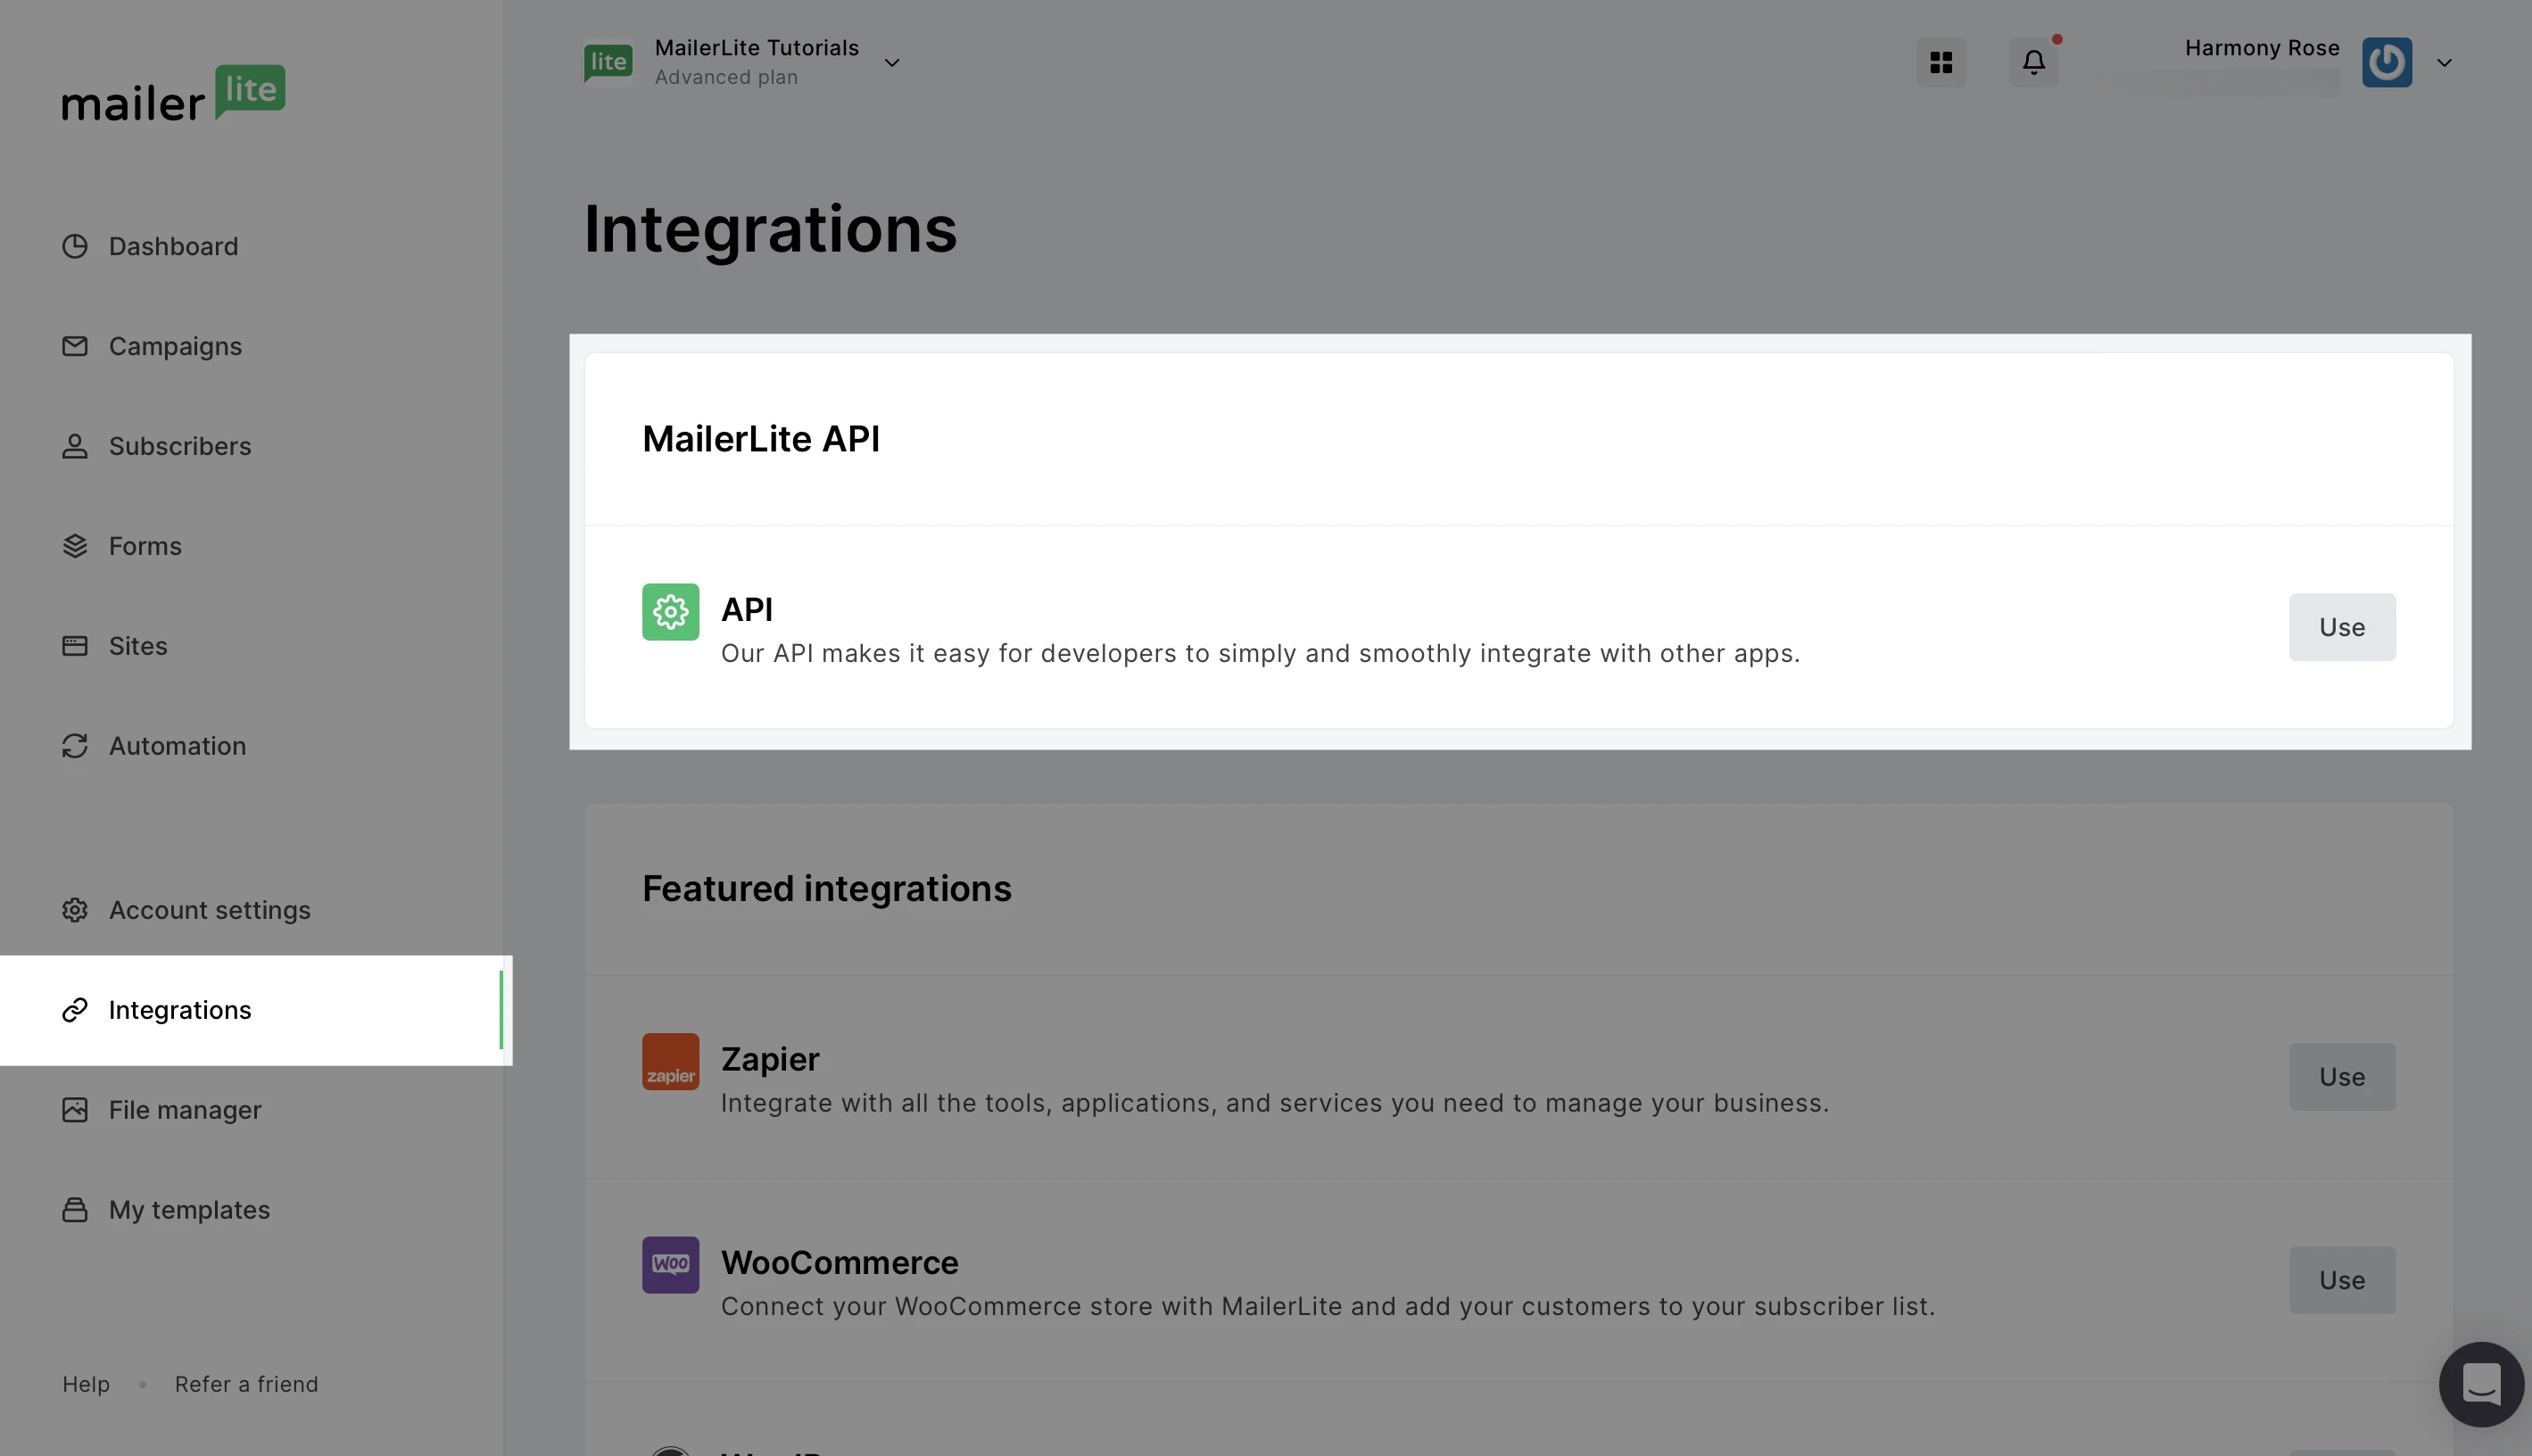
3. Click Generate new token.
4. Name your new token and copy/paste it somewhere safe.
5. Log in to your WordPress dashboard.
6. Click Plugins then Add new.
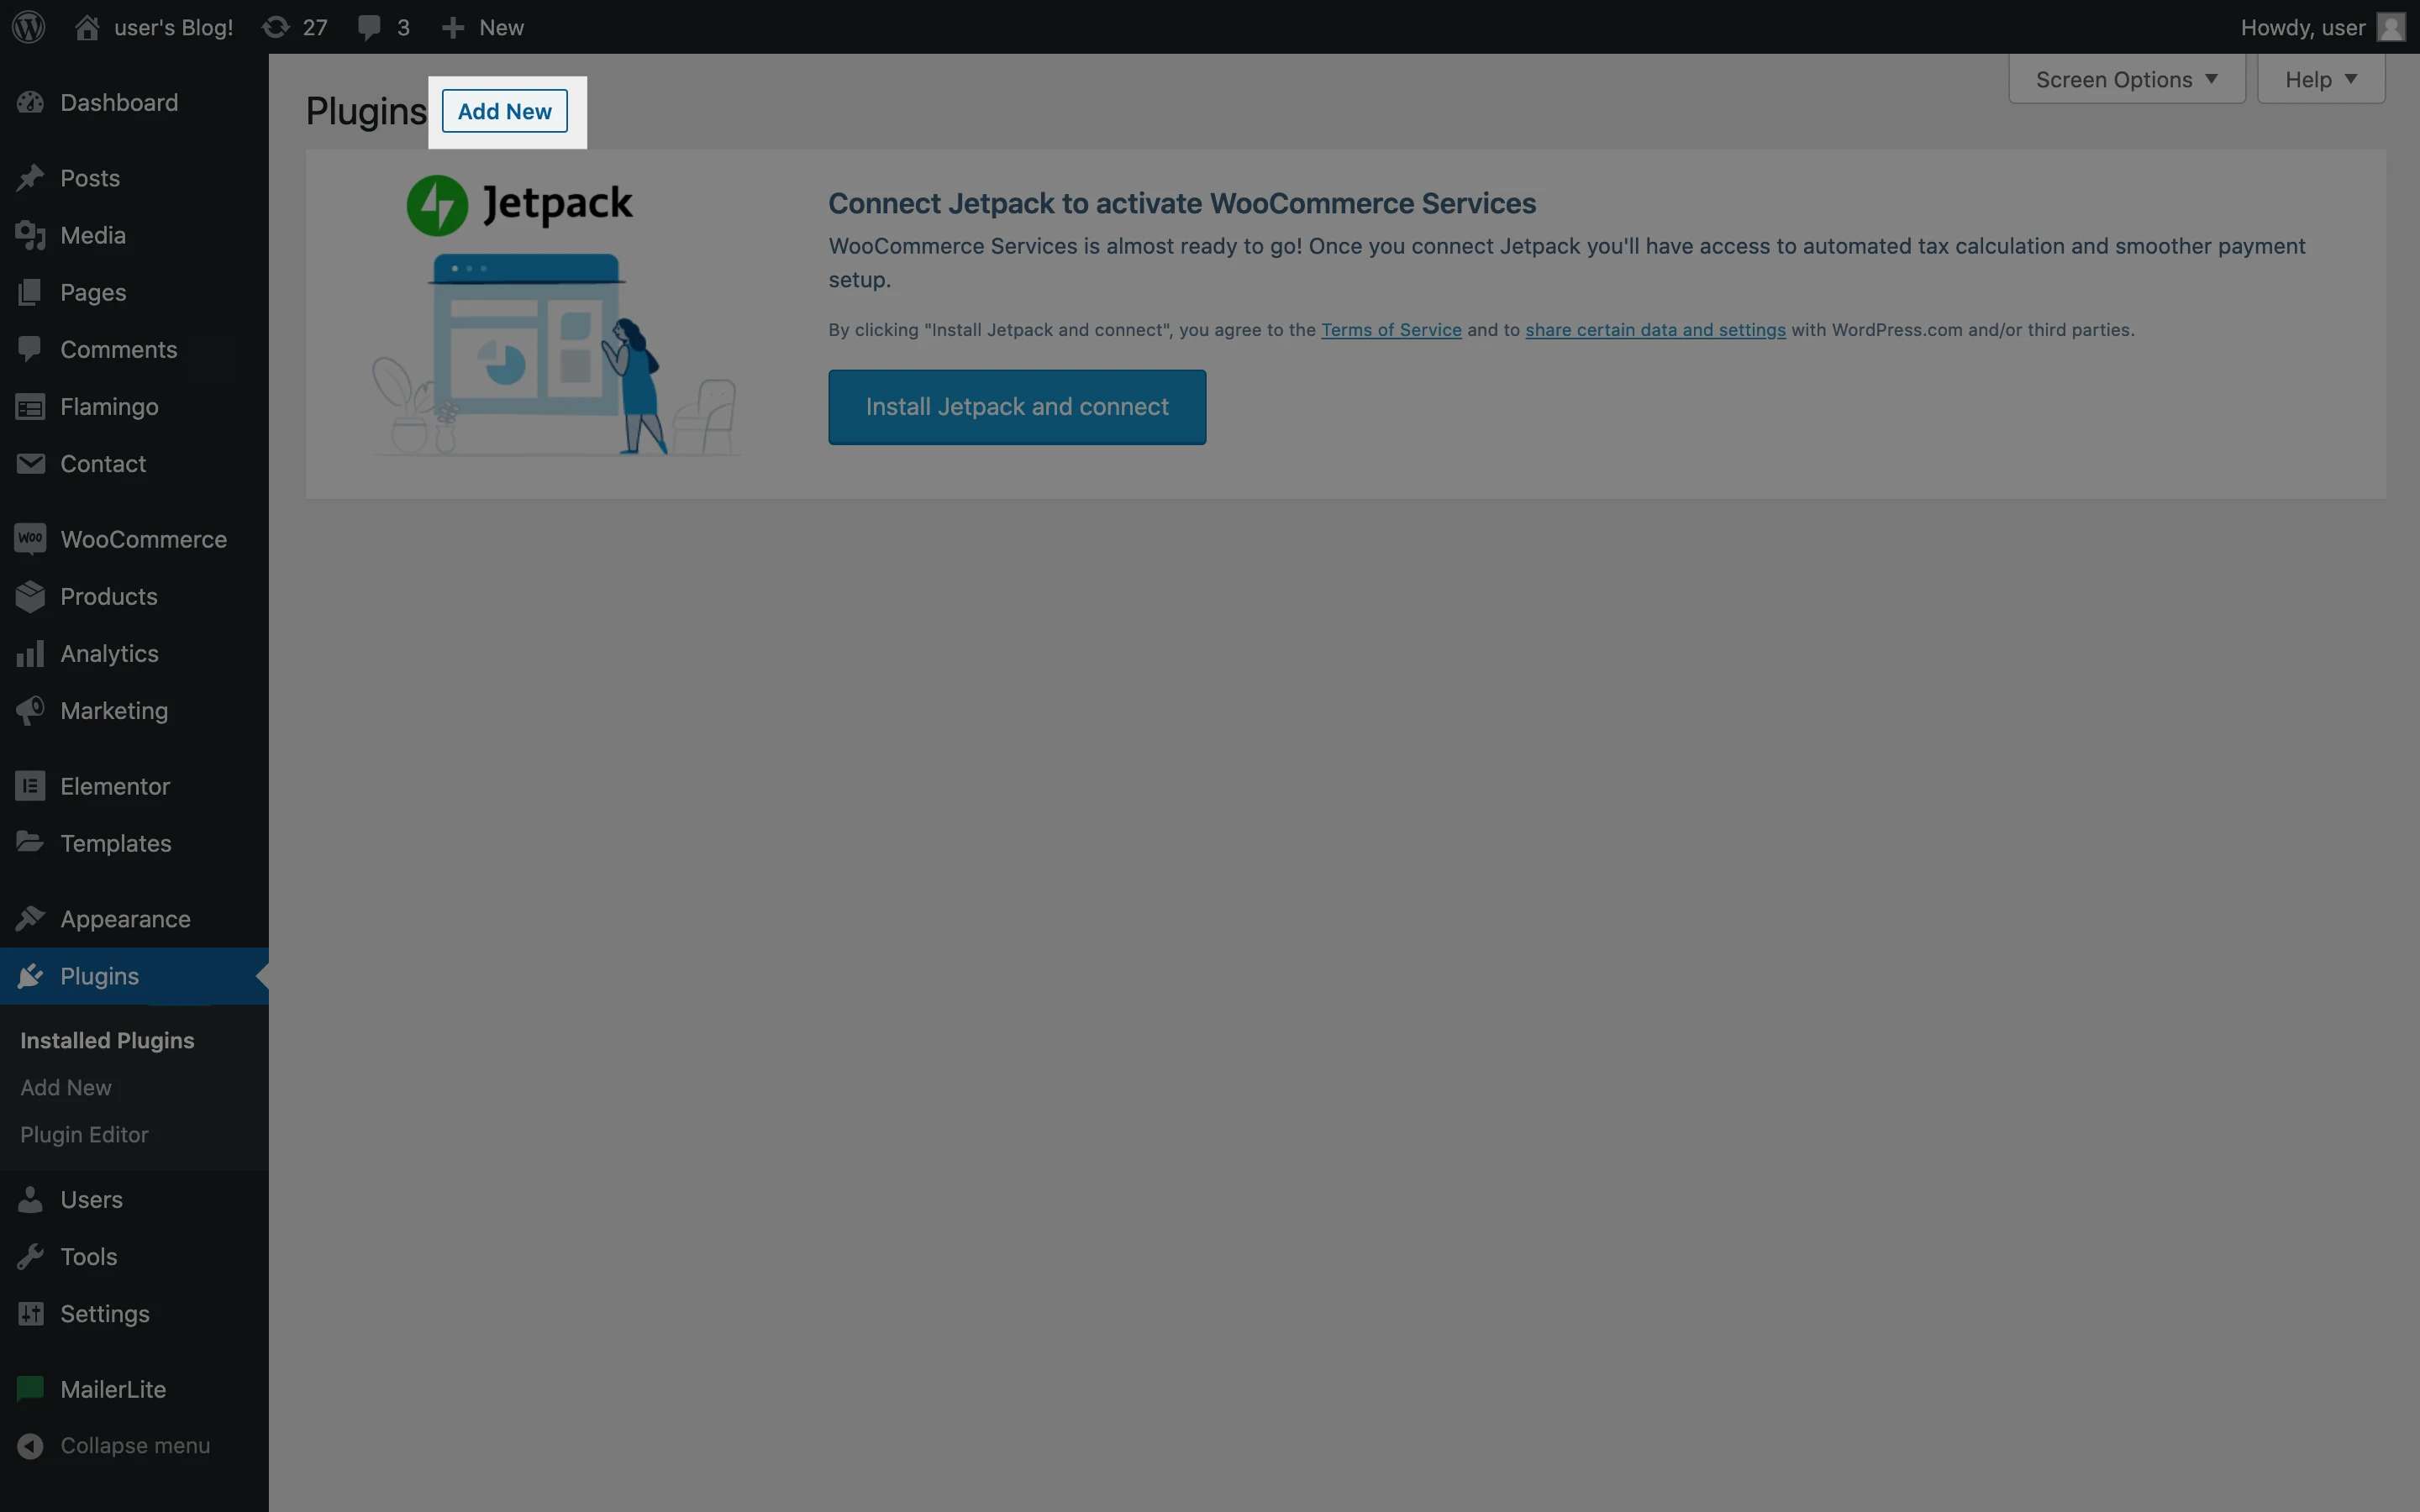
7. Search for MailerLite.
8. Find the Official MailerLite signup forms plugin and click Install then click Activate.
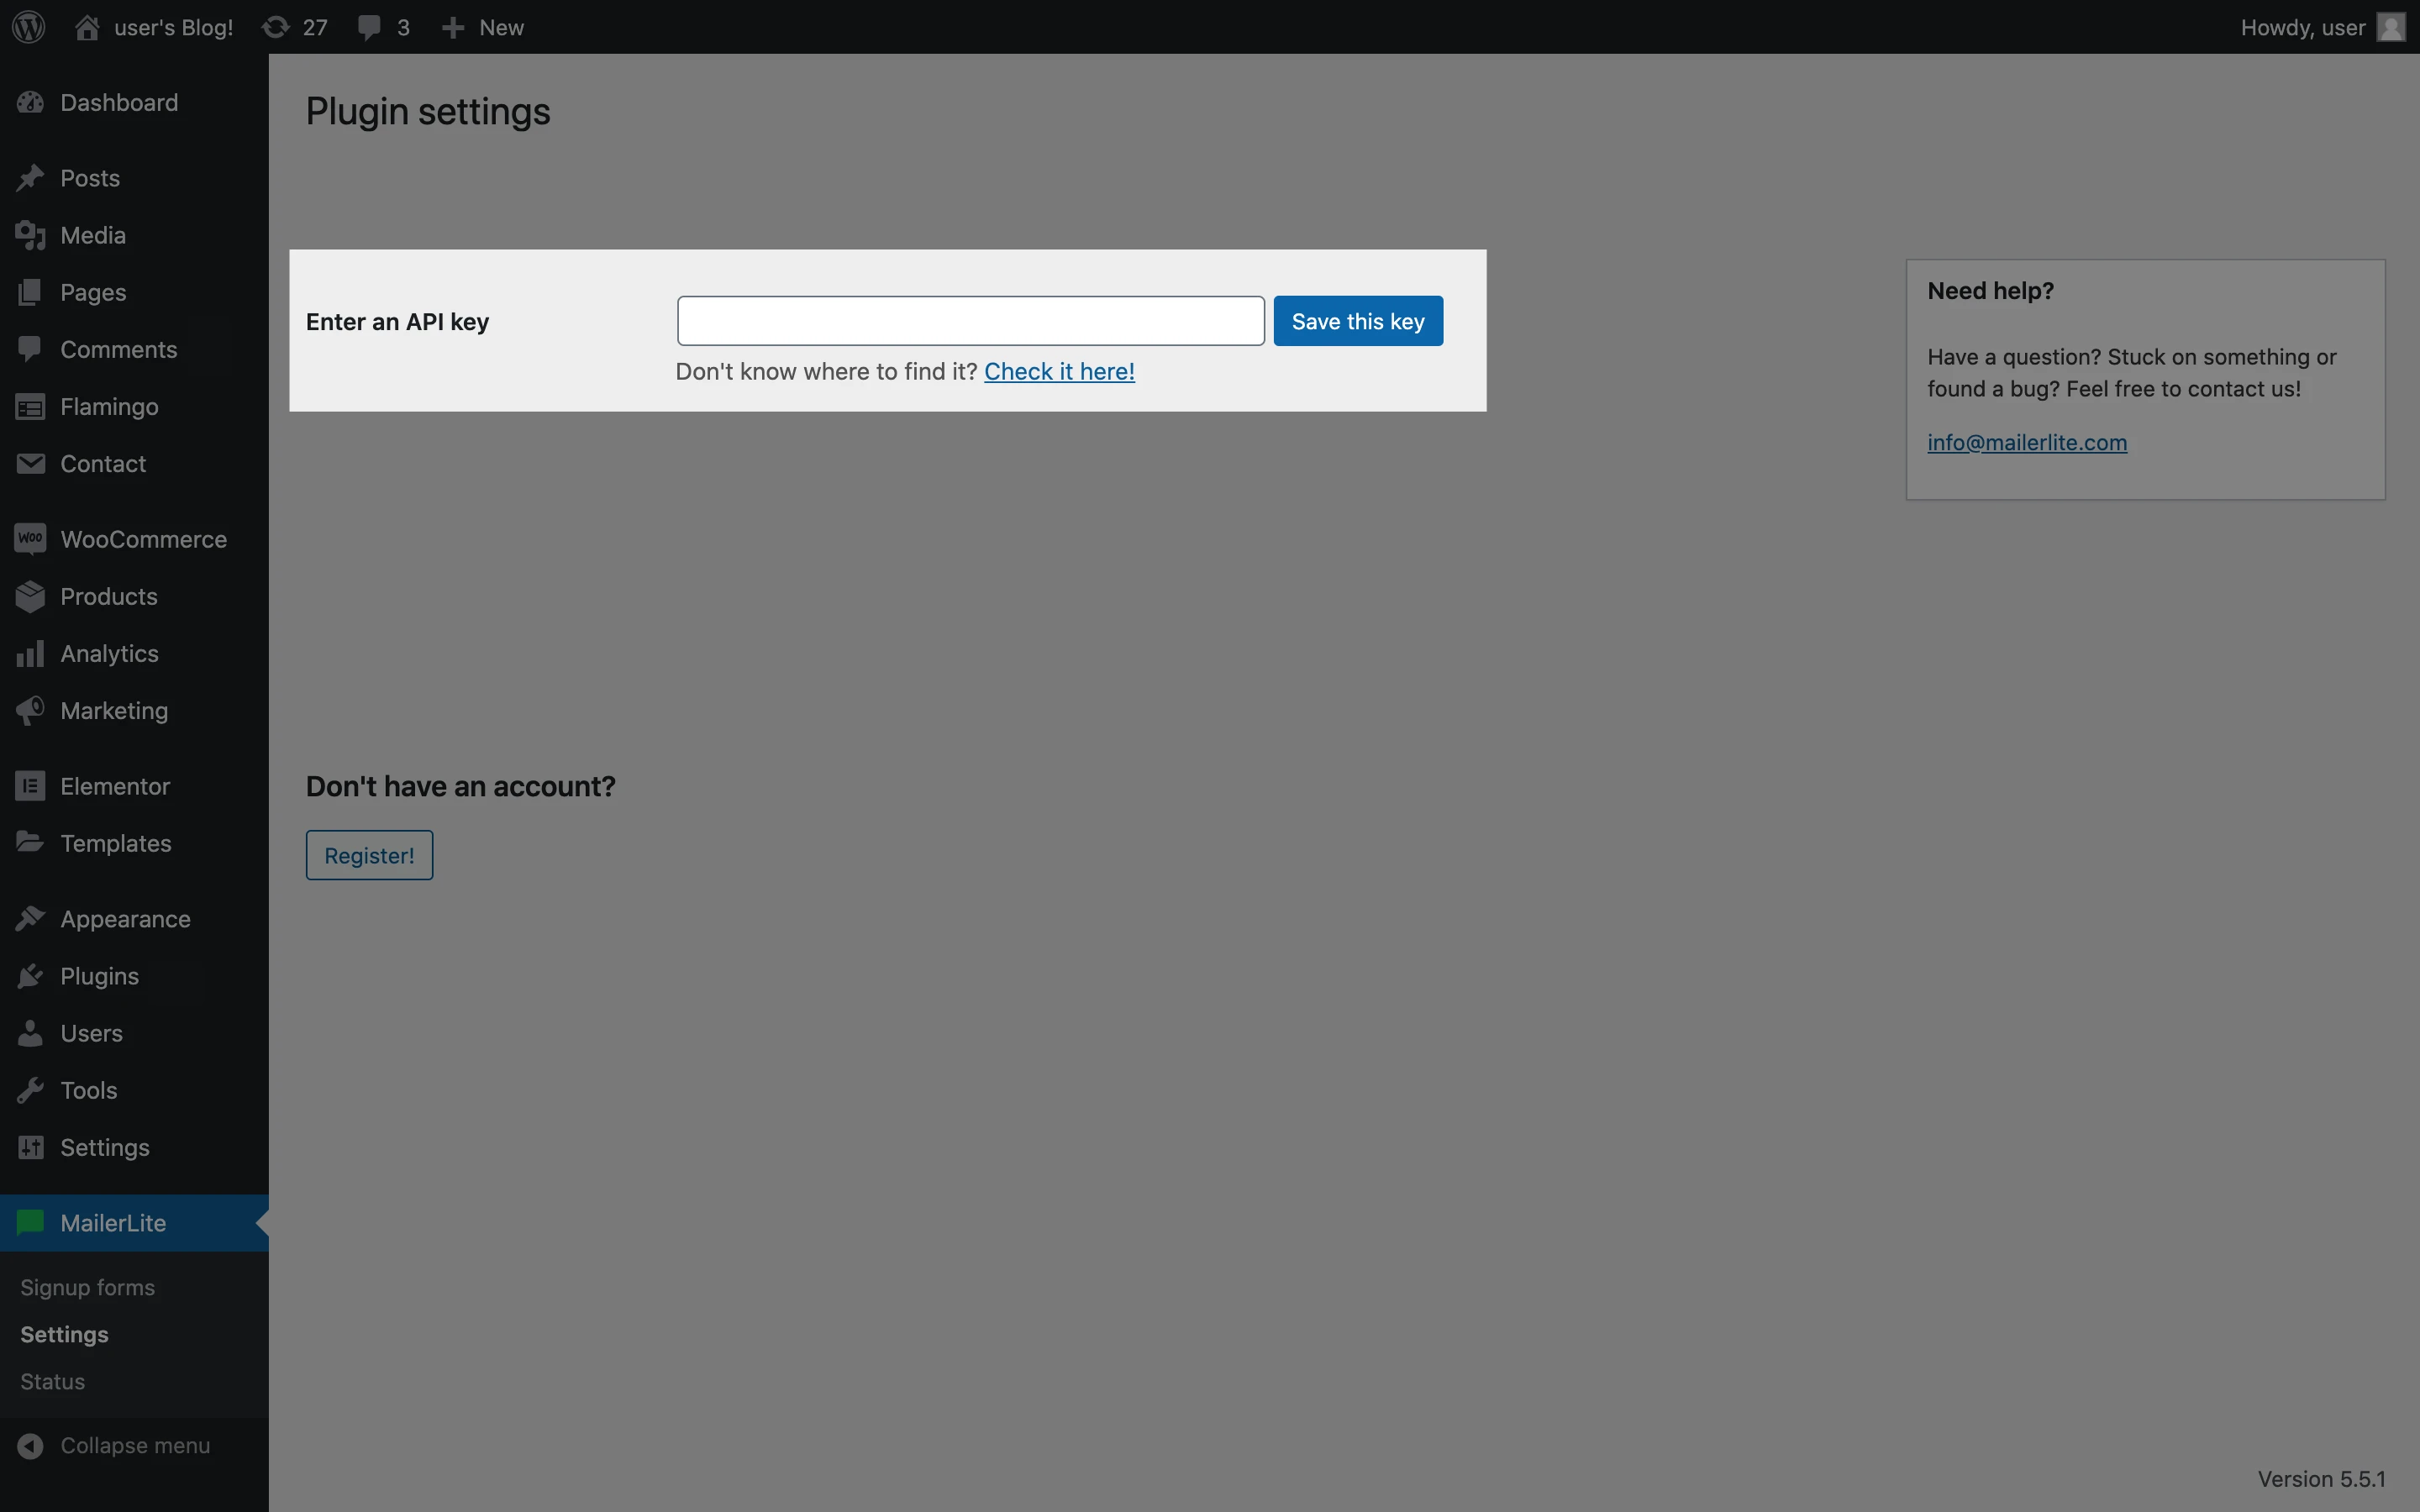
9. In the sidebar, click MailerLite followed by Settings.
10. Here you will find a field into which you can paste the API key you copied earlier.
11. Click Save this key.
Pop-up and promotional forms
The Pop-up forms script will be enabled by default. This means that pop-up and promotional forms that have been created and activated in MailerLite will automatically appear on your WordPress site and you do not need to manually select these type of forms.
They will appear on your website and behave according to the settings you configured in MailerLite.
If you wish to disable the pop-up forms script, you can do so on the plugin’s Settings page.
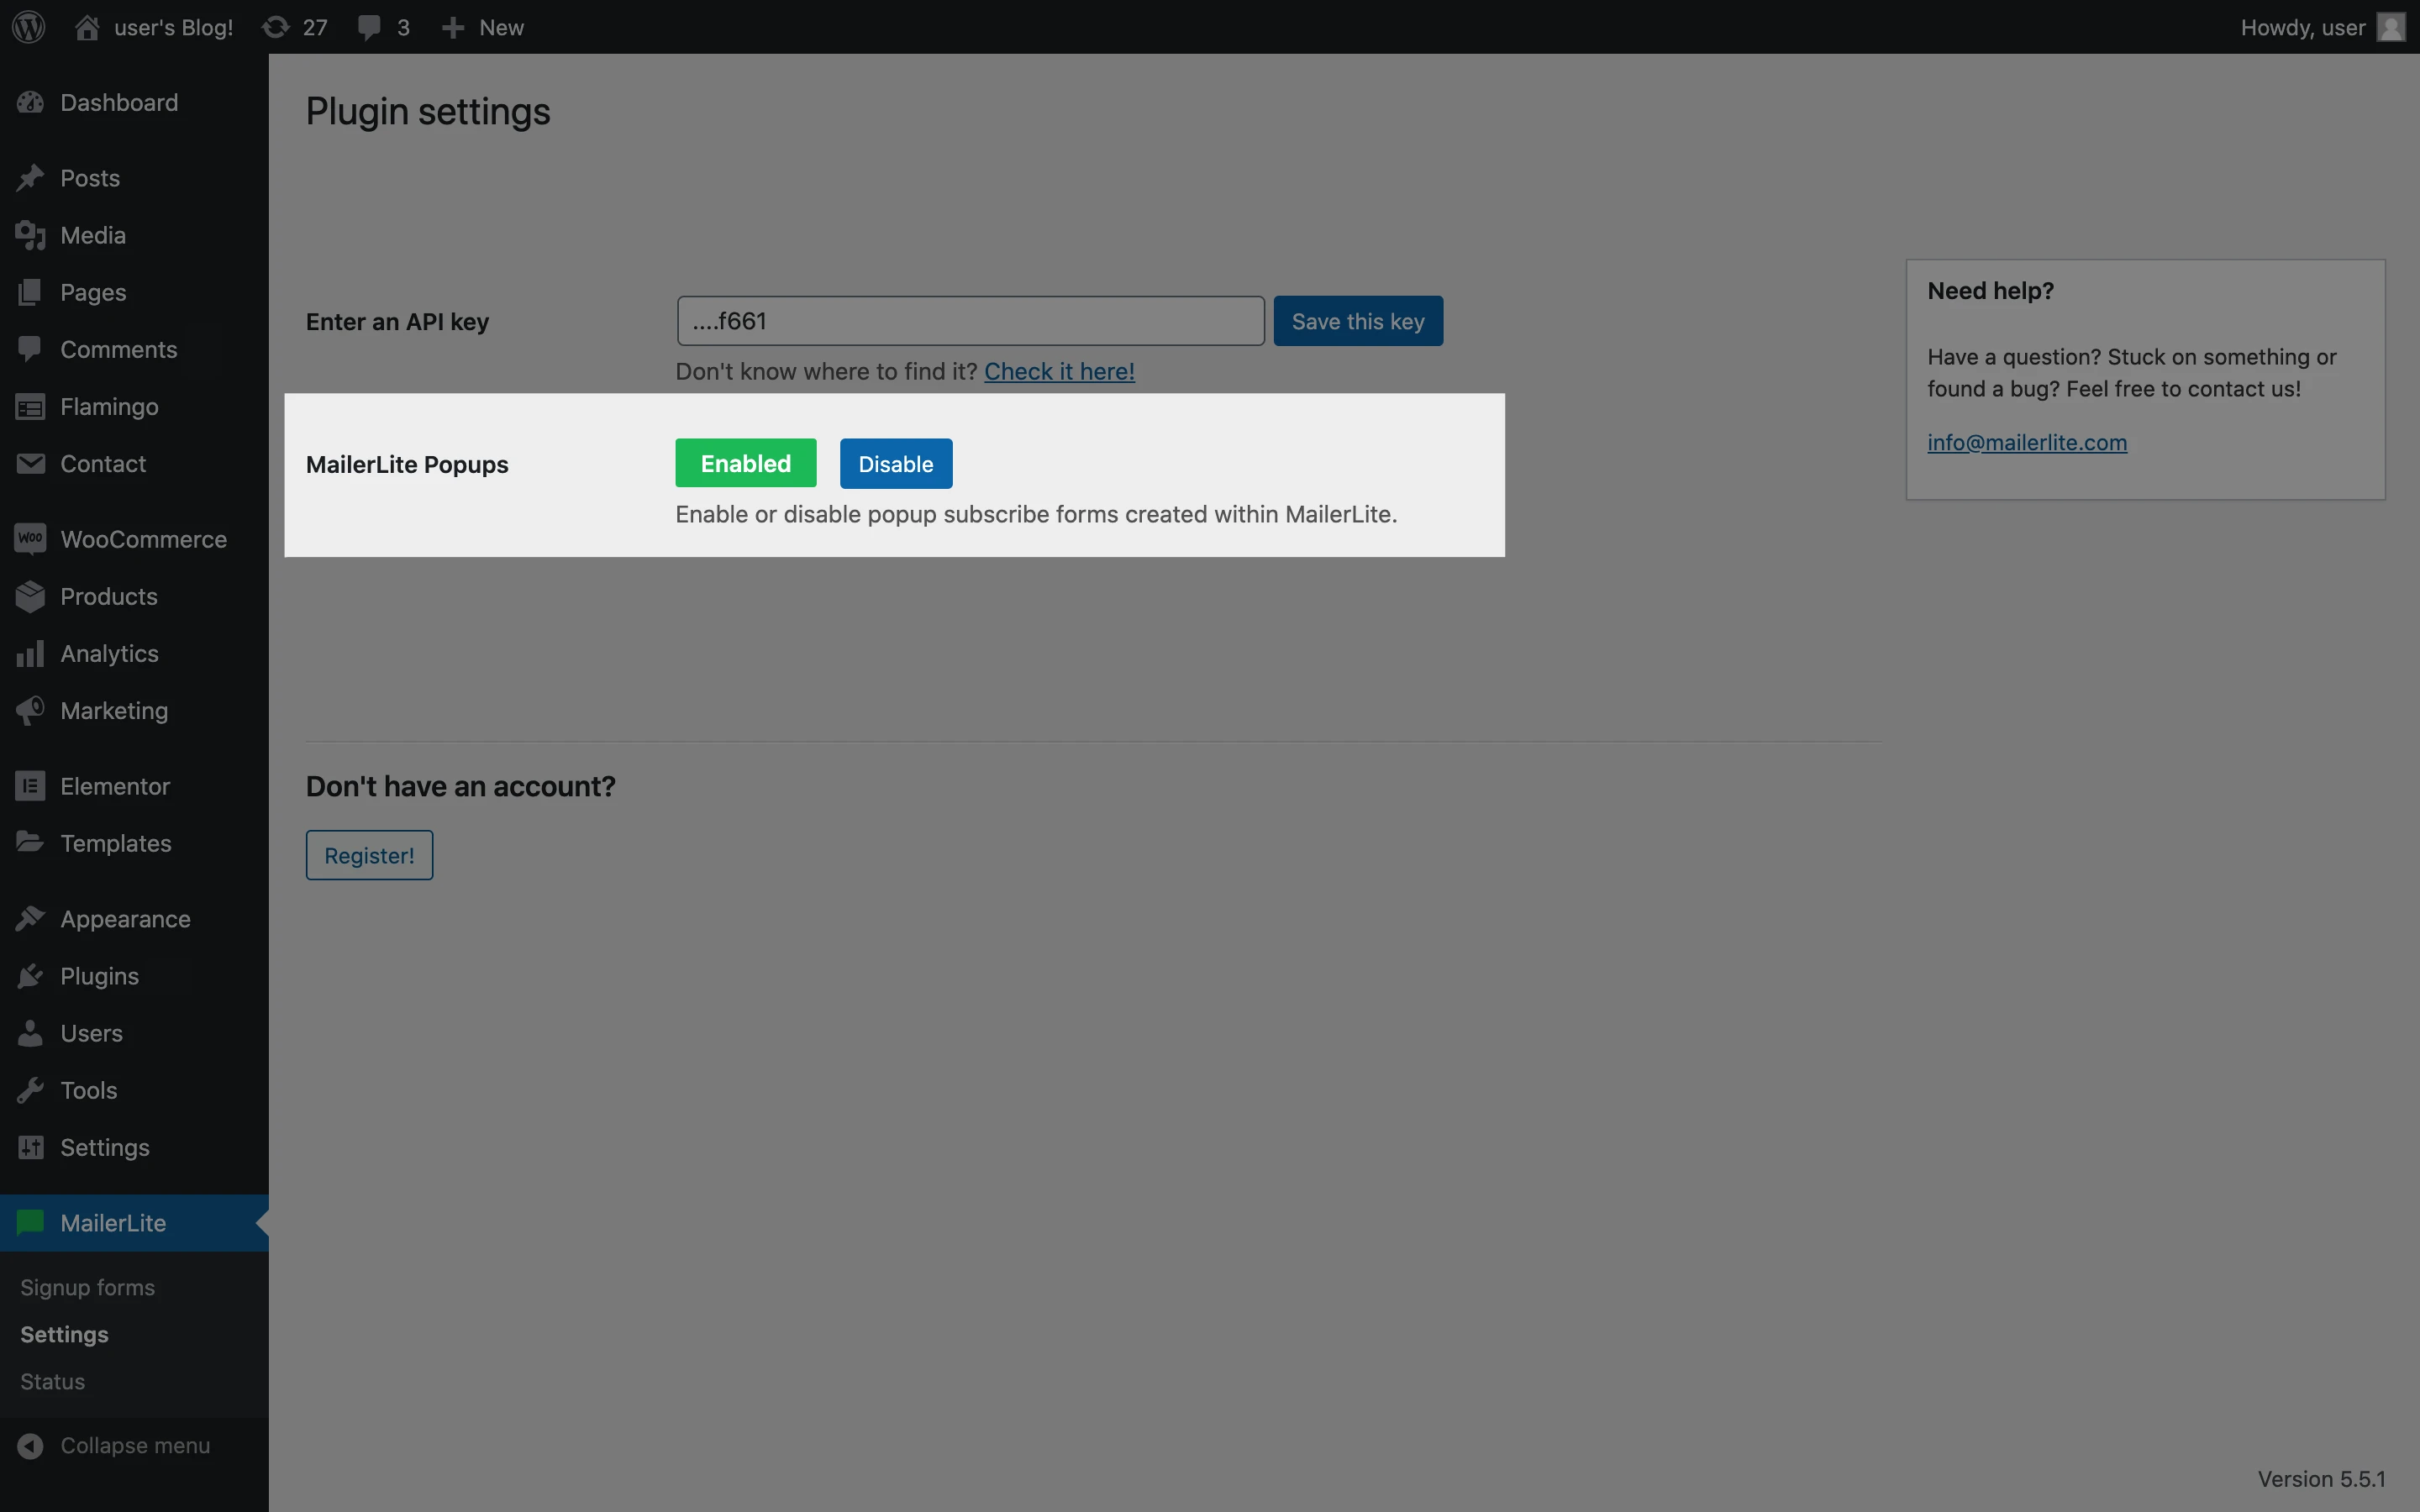
There you have it! Your WordPress account is now connected to your MailerLite account.
Note: If you have other plugins installed on your WordPress site, it’s possible that they might block this script from functioning. If this happens, the pop-up forms will not automatically appear, so the script must be added manually.
How to add a MailerLite signup form to your Wordpress dashboard
If you wish to add an embedded form that you have created in MailerLite to your WordPress website, you can do so on your WordPress dashboard with the following steps:
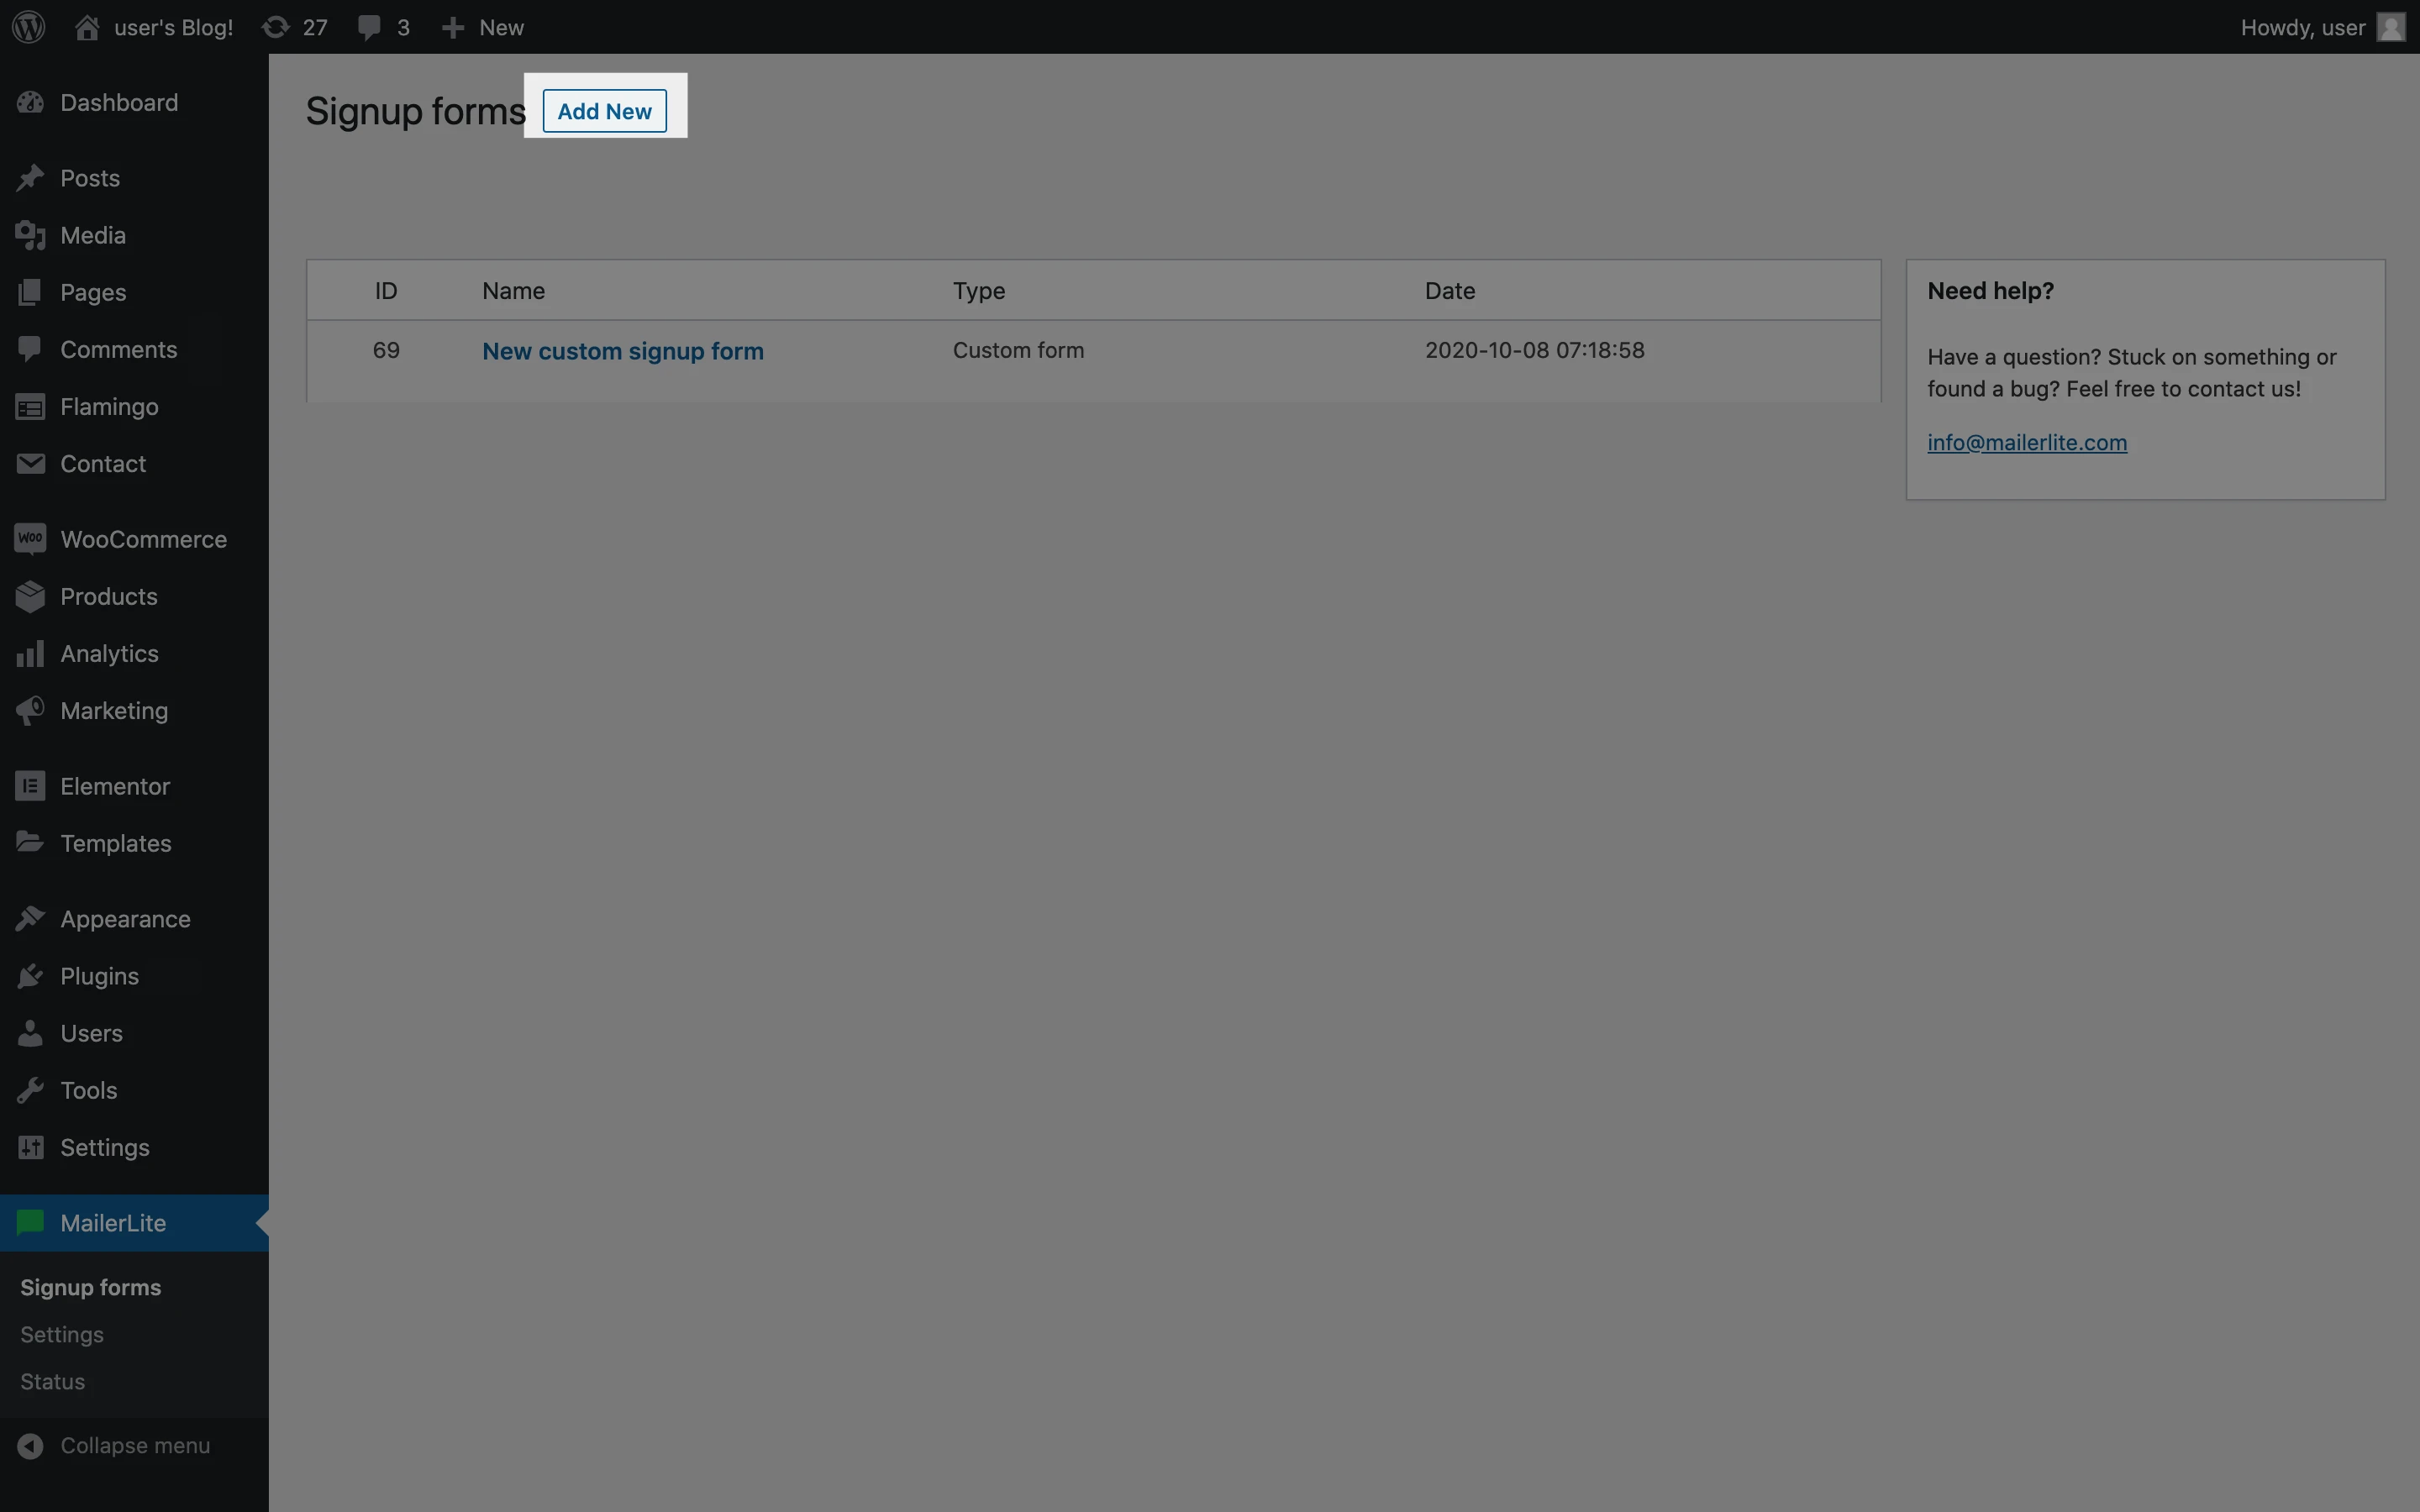
In the sidebar of your WordPress Dashboard, click MailerLite followed by Signup forms.
Click Add new.
3. Select Forms created in MailerLite and click Create form.
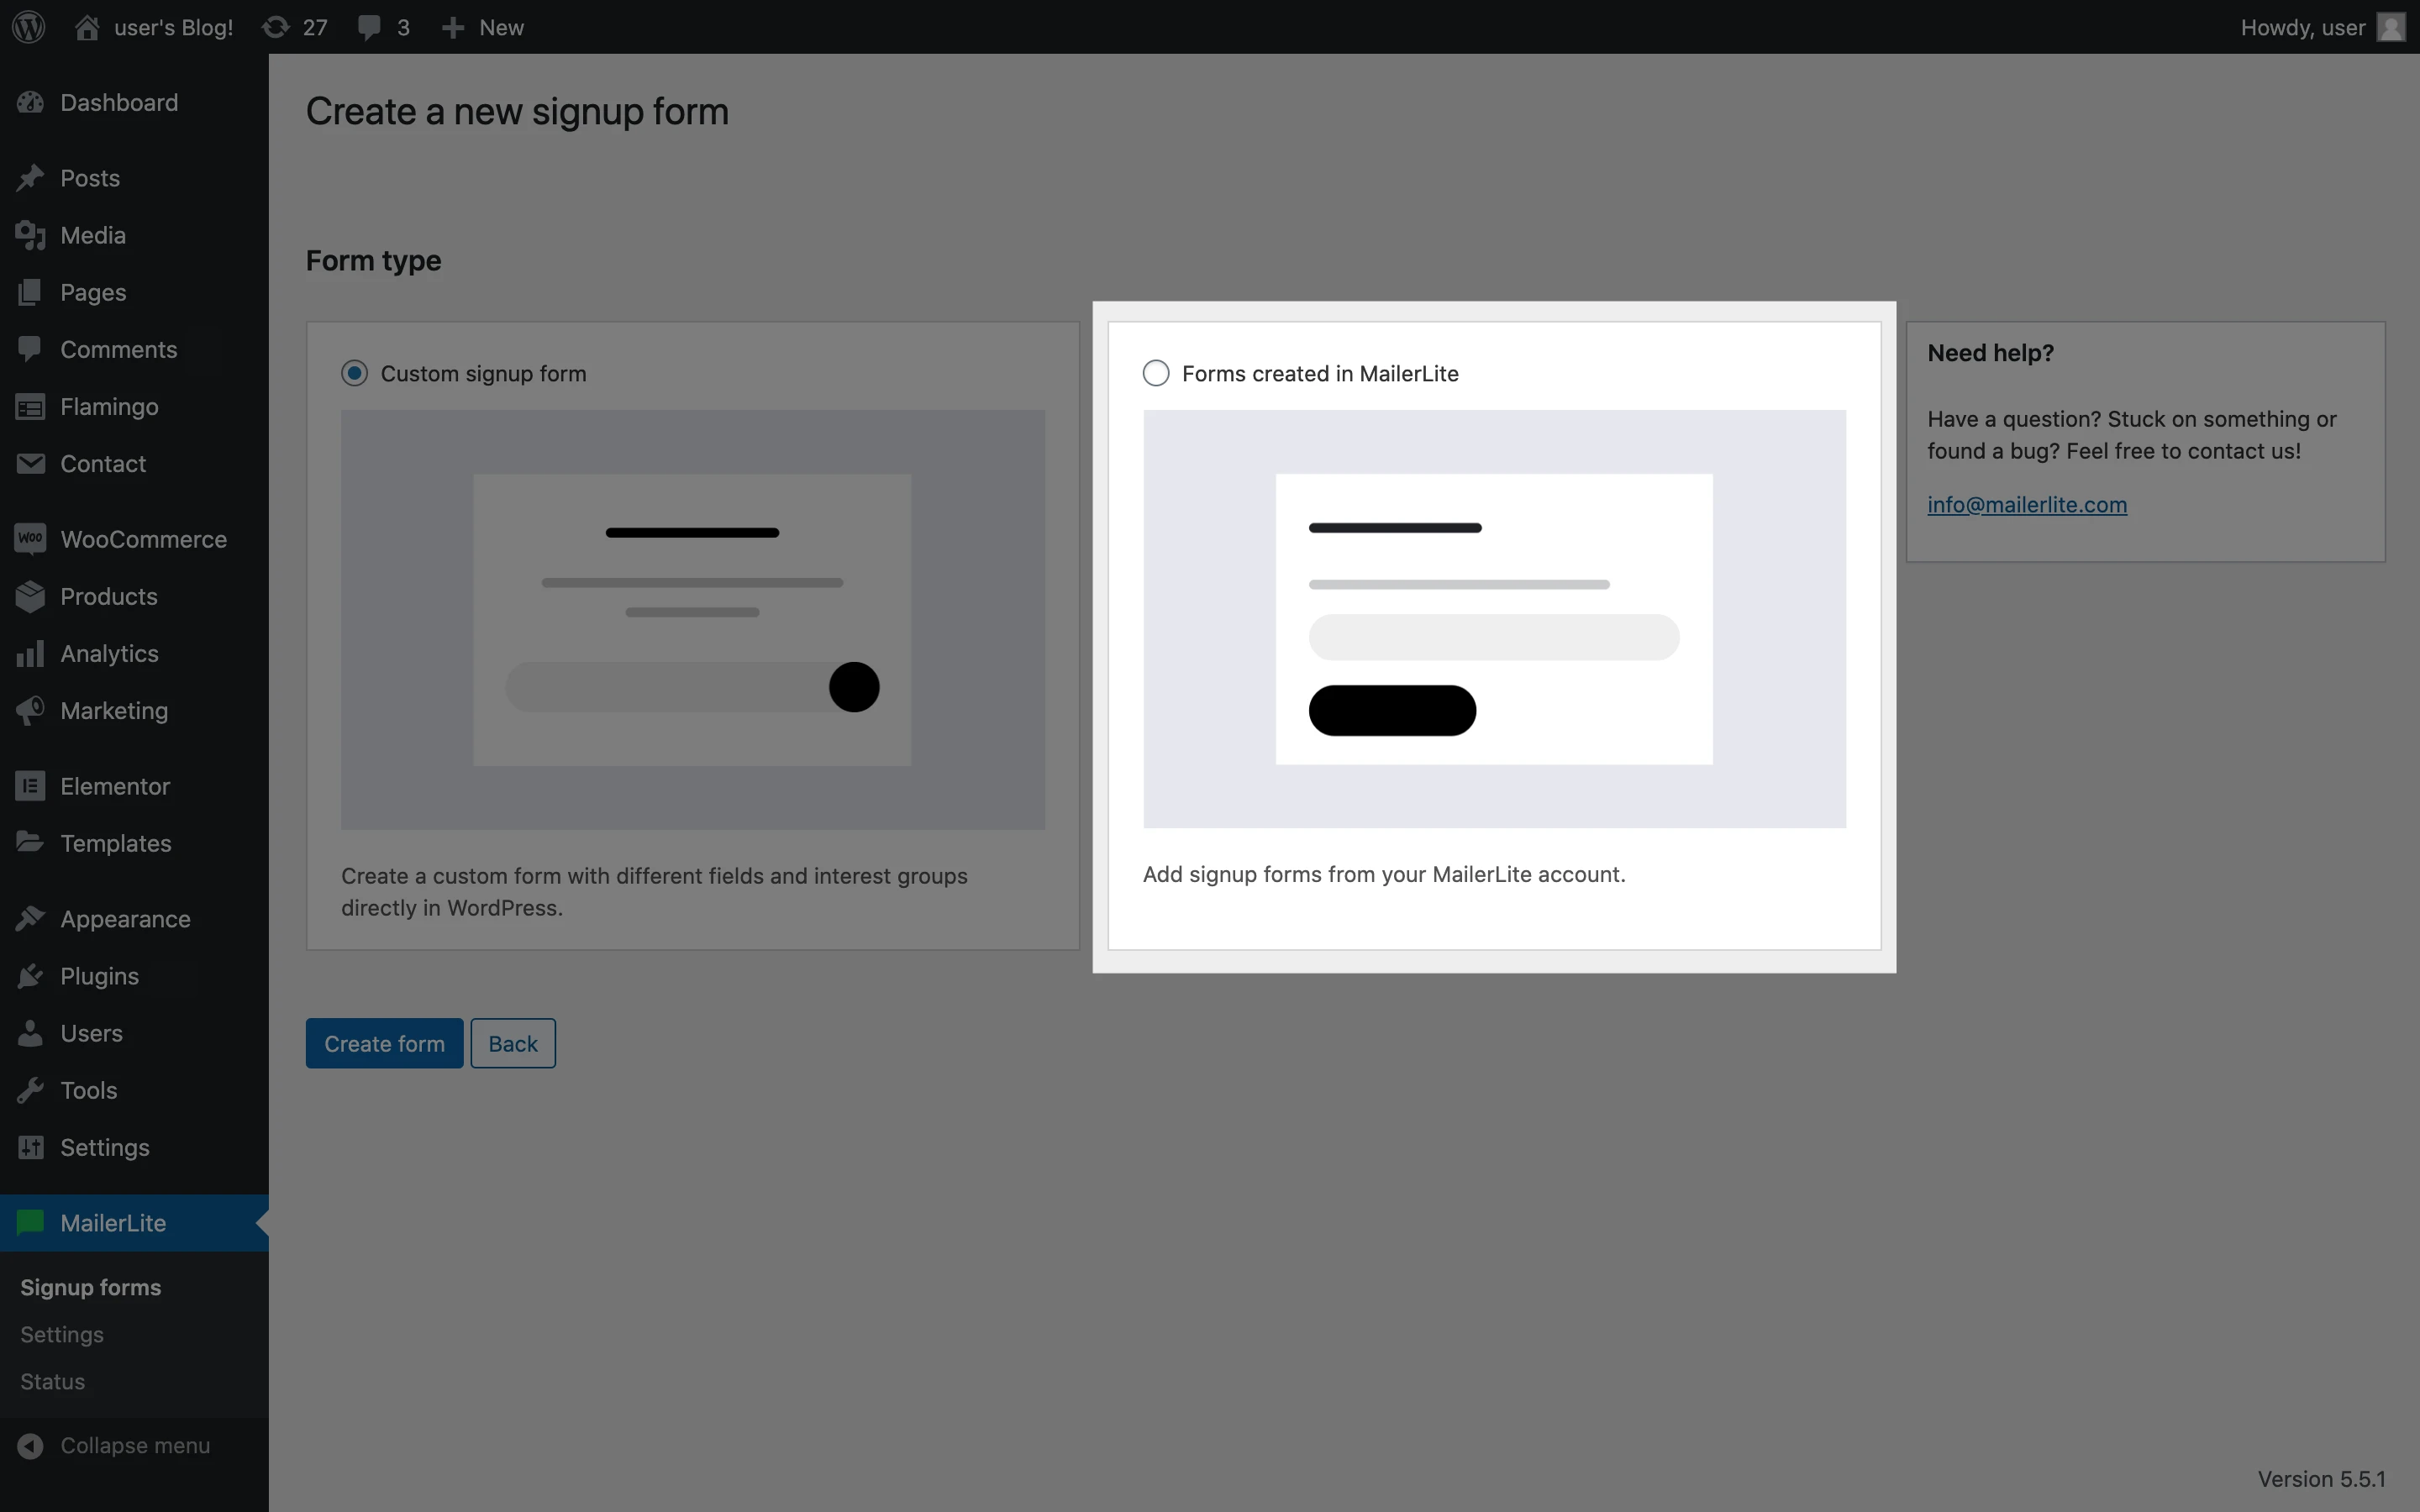
Note: Embedded forms are the only forms you will find under Forms created in MailerLite. To insert a pop-up onto your WordPress site, all you need to do is ensure you have the Pop-up forms script enabled as described in the instructions above.
4. Choose the form you wish to add to your webpage.
5. Click Save form.
How to create a custom signup form using the MailerLite Wordpress plugin
You can also use the MailerLite plugin to create simple signup forms in your WordPress dashboard. To create a simple signup form:
In the sidebar of your WordPress Dashboard, click MailerLite followed by Signup forms.
Click Add new.
Select Custom signup form.
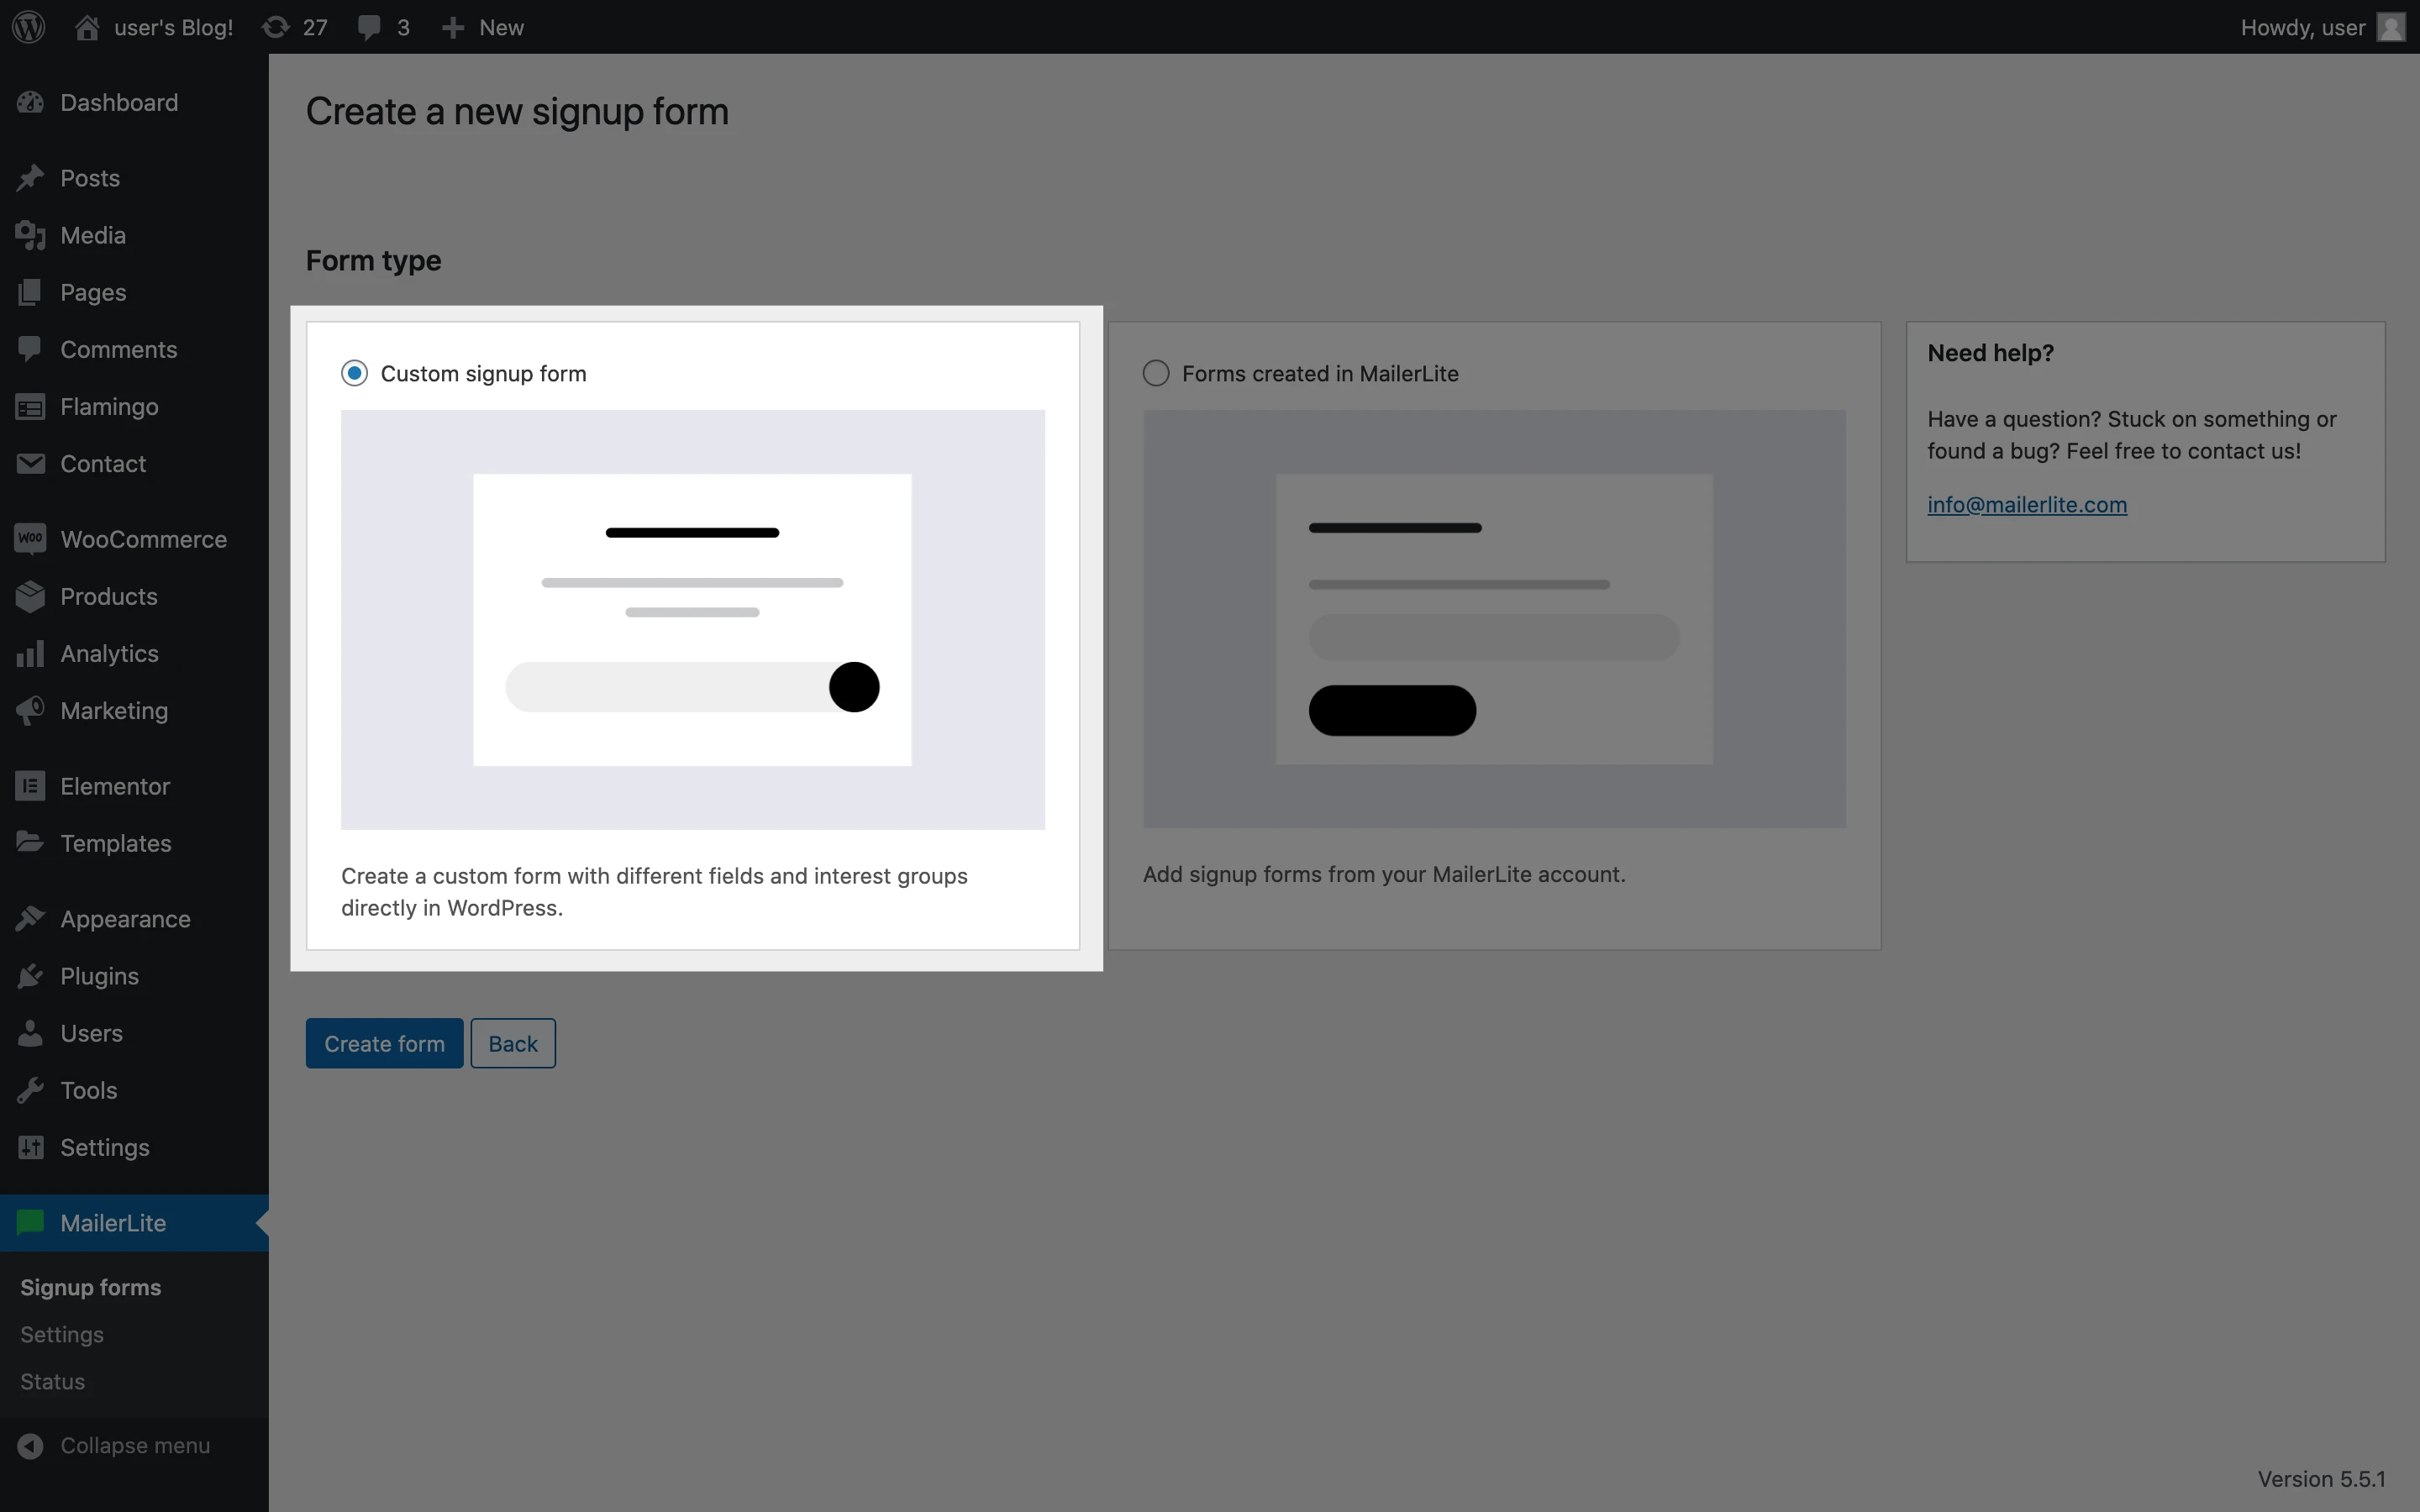
4. Select the group into which subscribers of this form will be added.
5. Click Create form.
6. Give your form a Title, Form description, Success message, and Button title.
7. If you wish to add additional fields to your form, click the Form fields and interest groups tab.
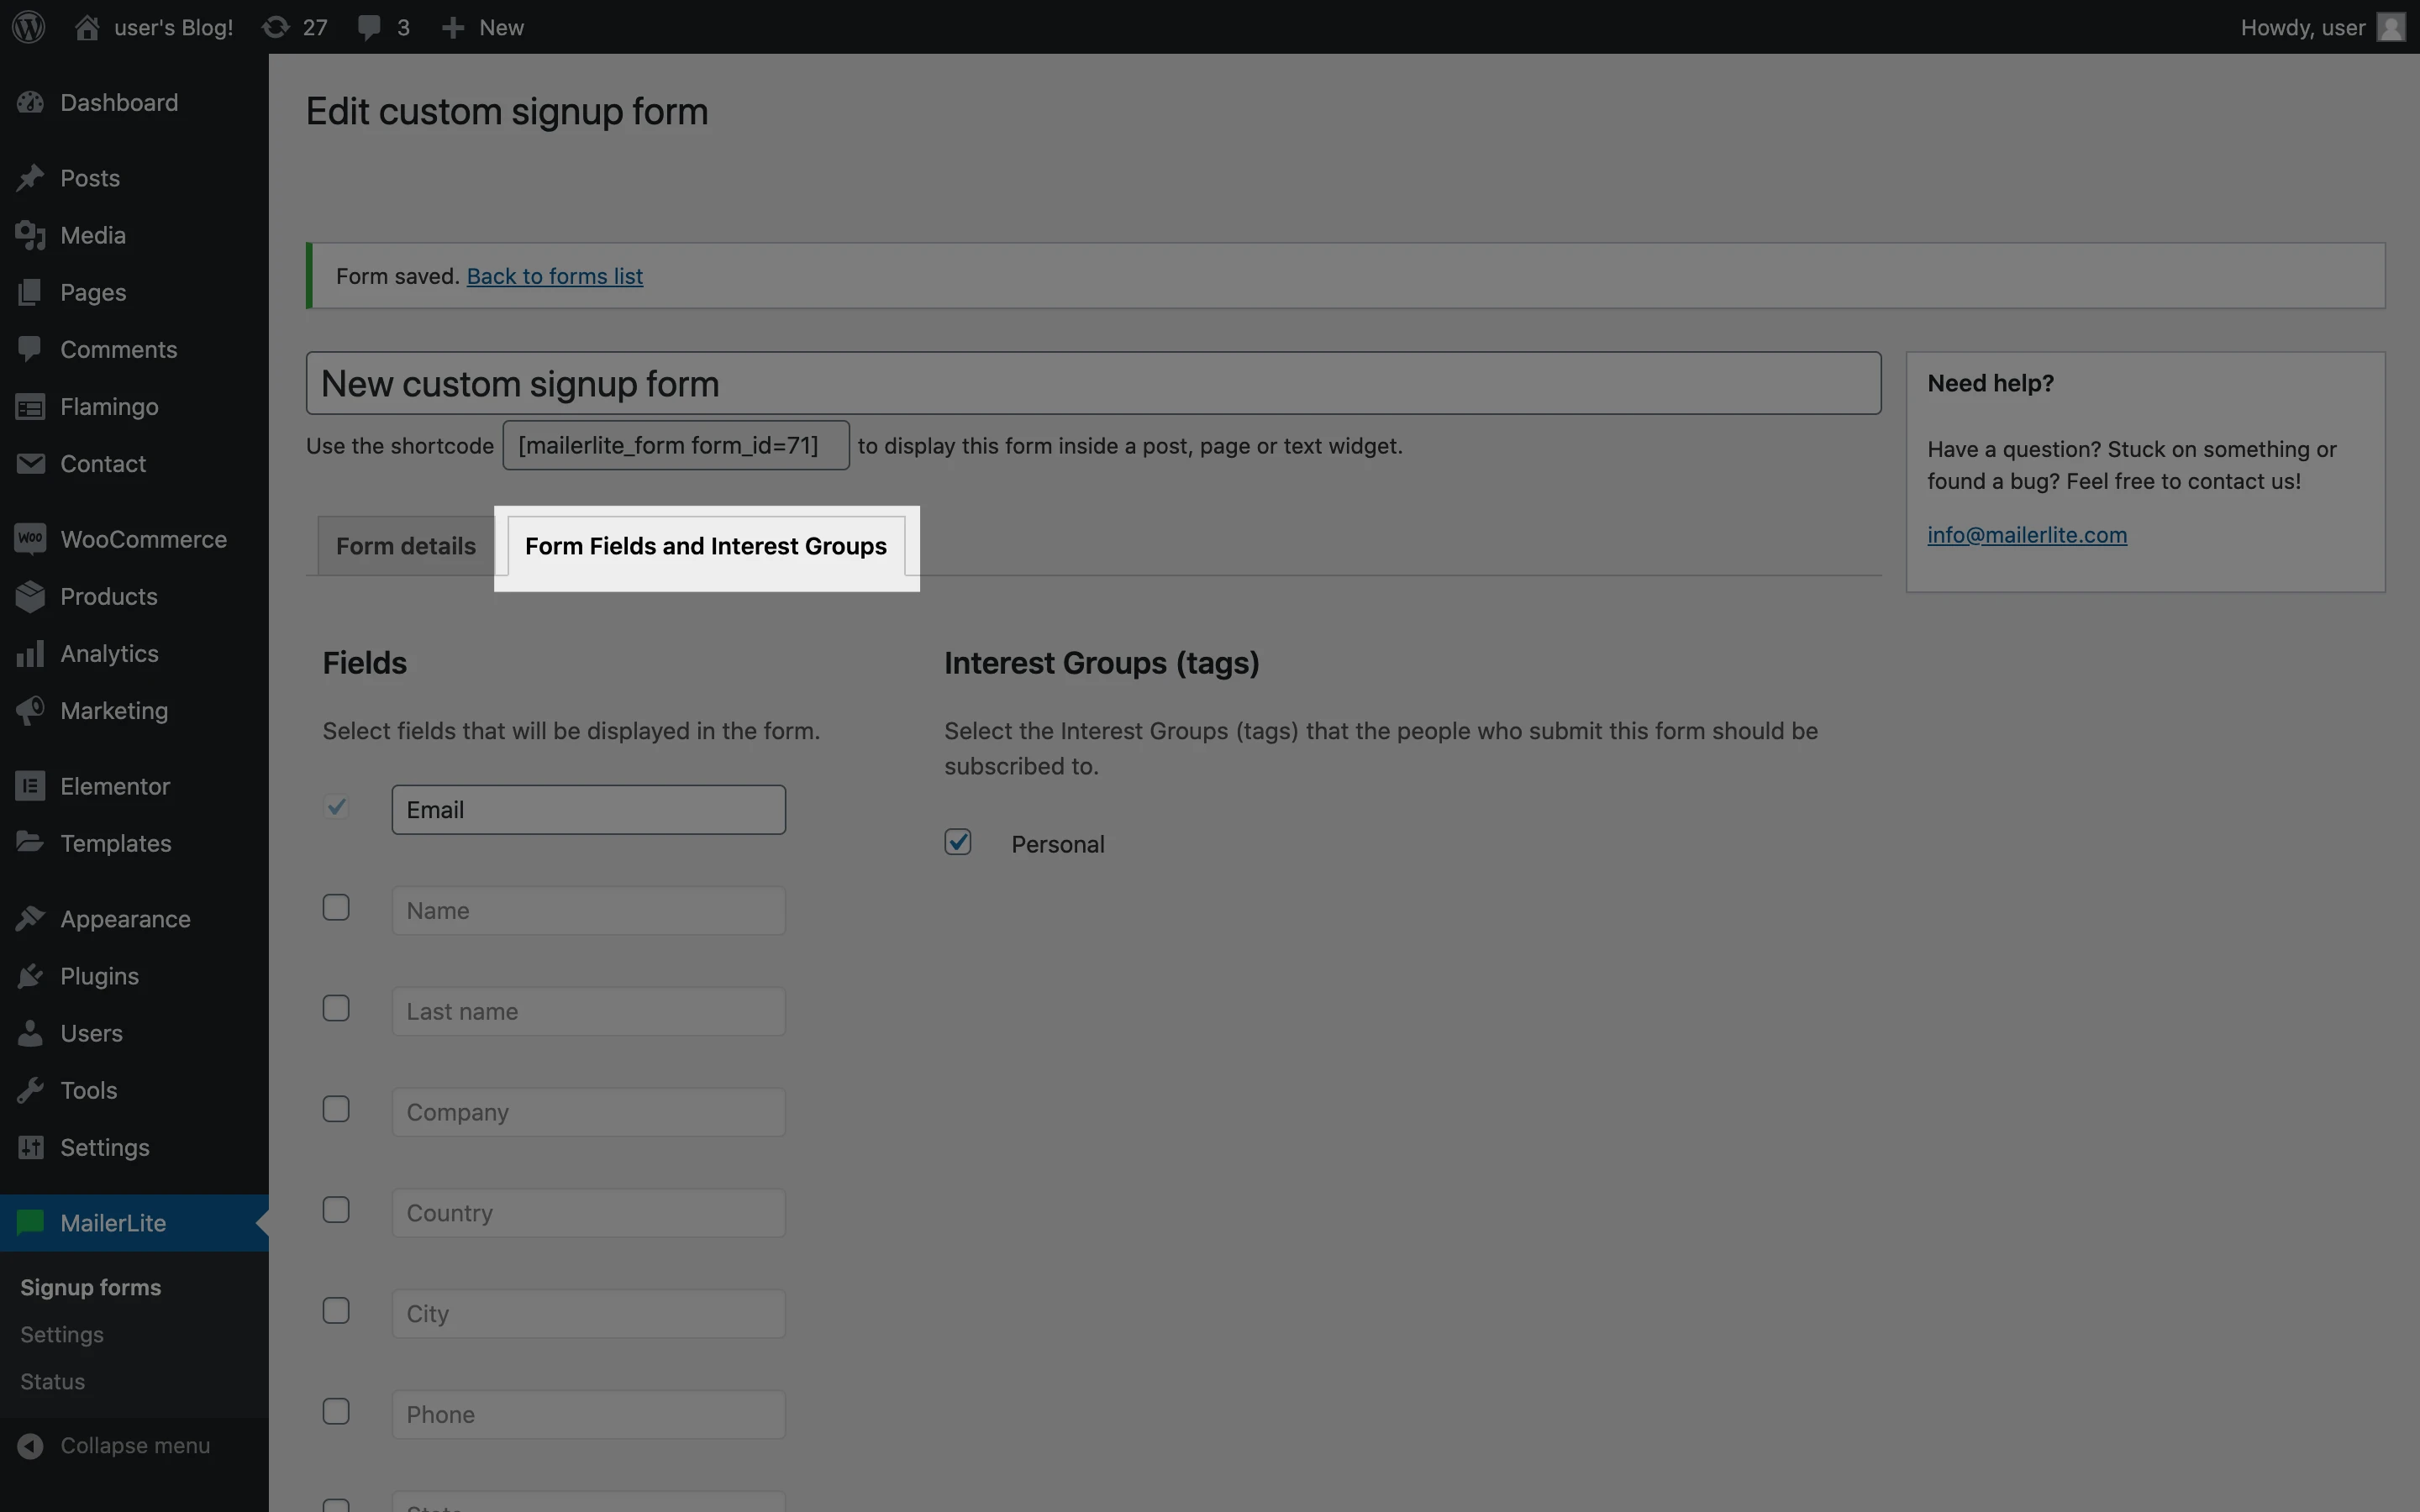
8. Click Save form.
How to insert a signup form onto a page or post
To insert the form on a page or post:
Navigate to the page or post you wish to add the signup form to.
Click the MailerLite icon on your toolbar.
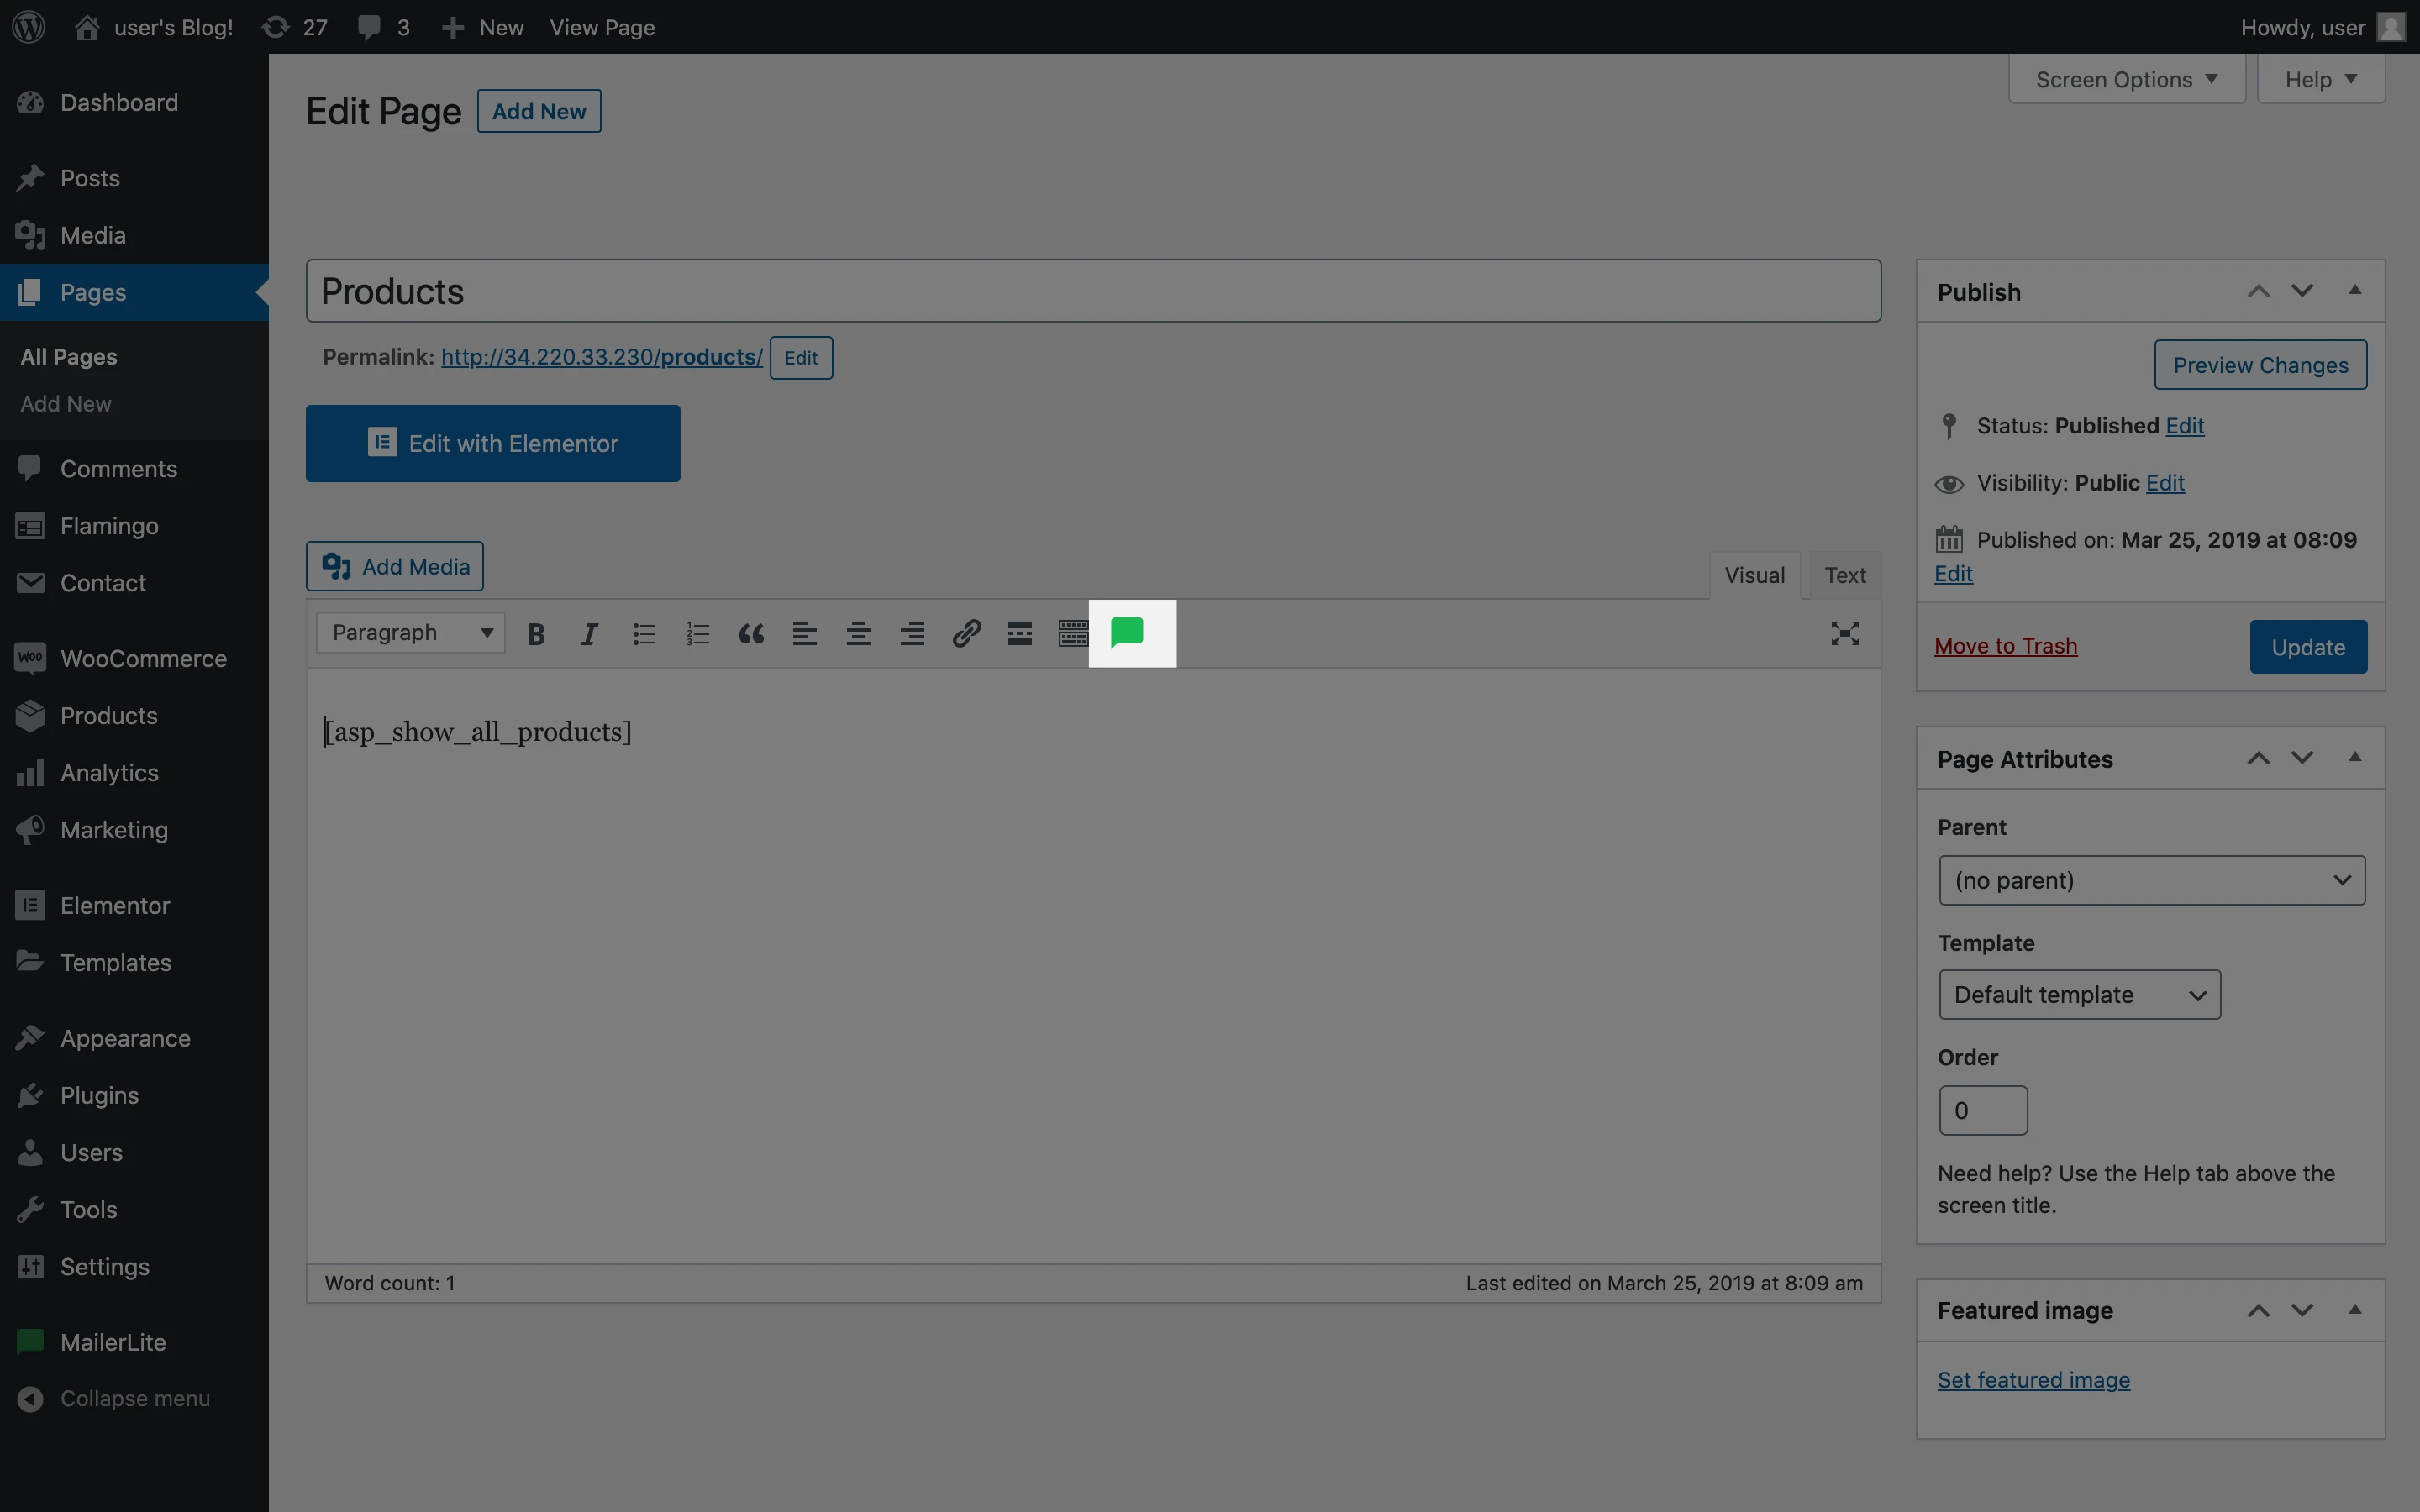
Note: Make sure you’re editing your page or post in Visual mode rather than Text mode in order to see the toolbar containing the MailerLite icon.
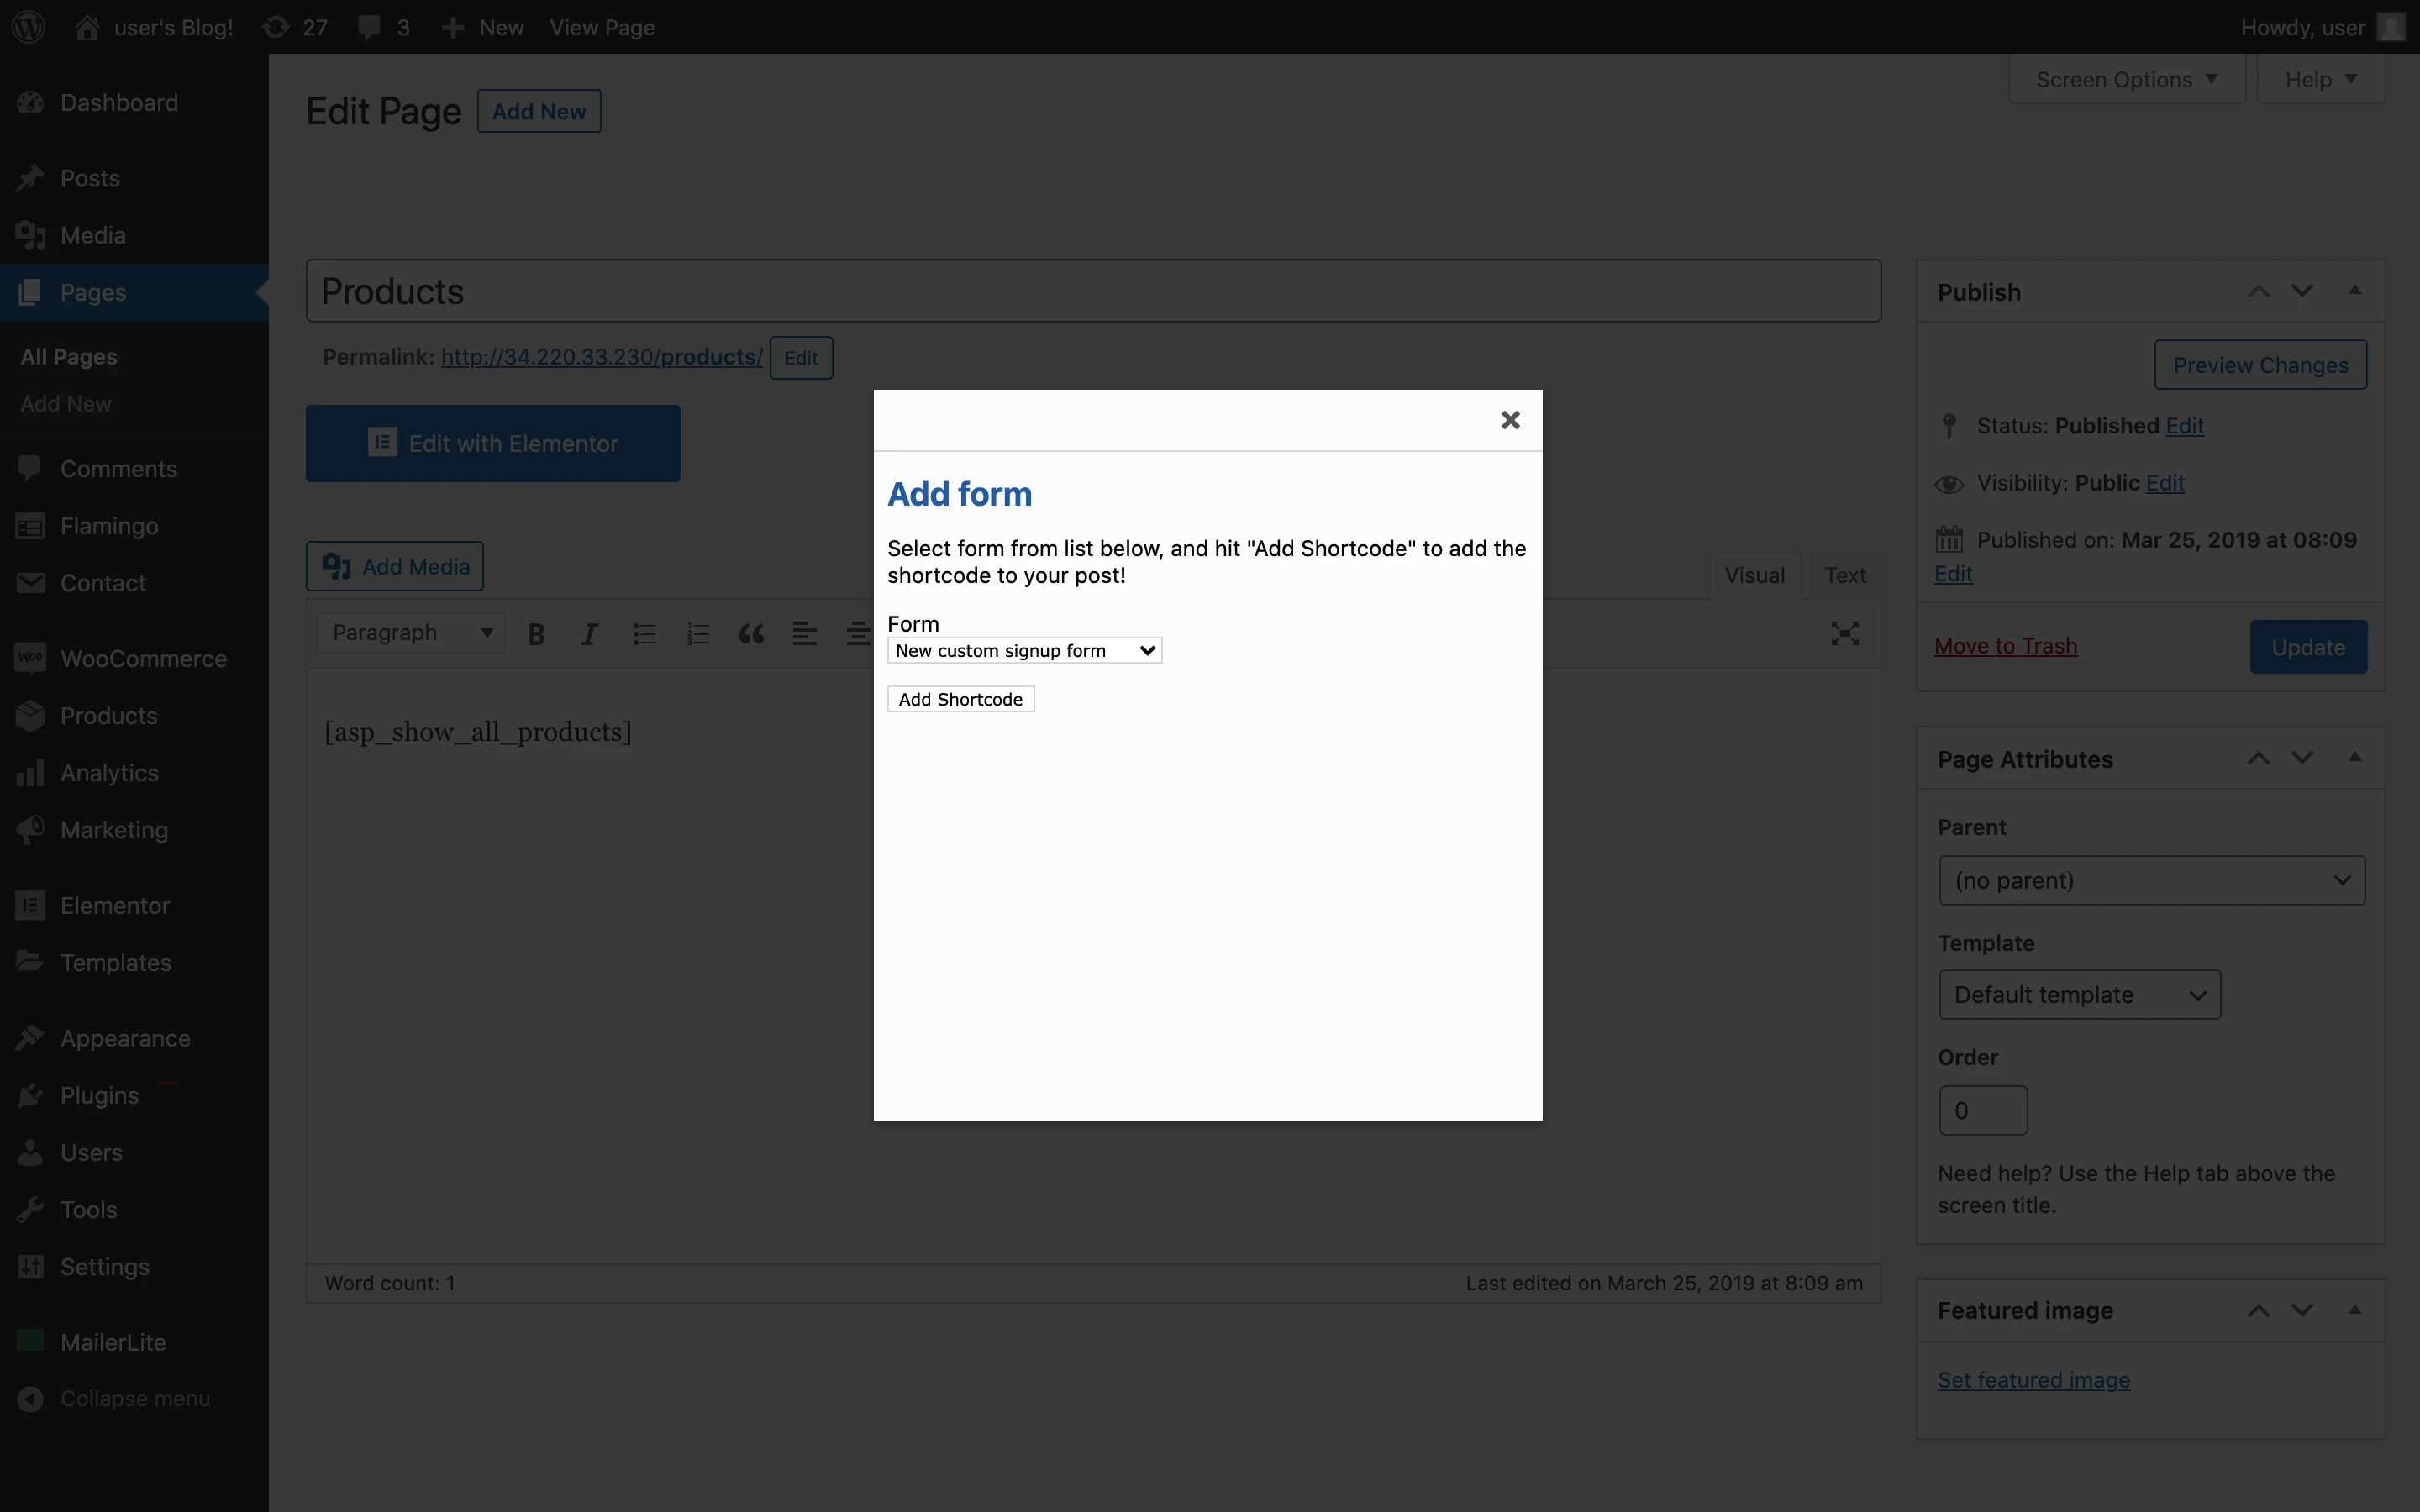
Use the dropdown menu to select the form you wish to add.
Click Add shortcode.
To insert the form into your website’s sidebar:
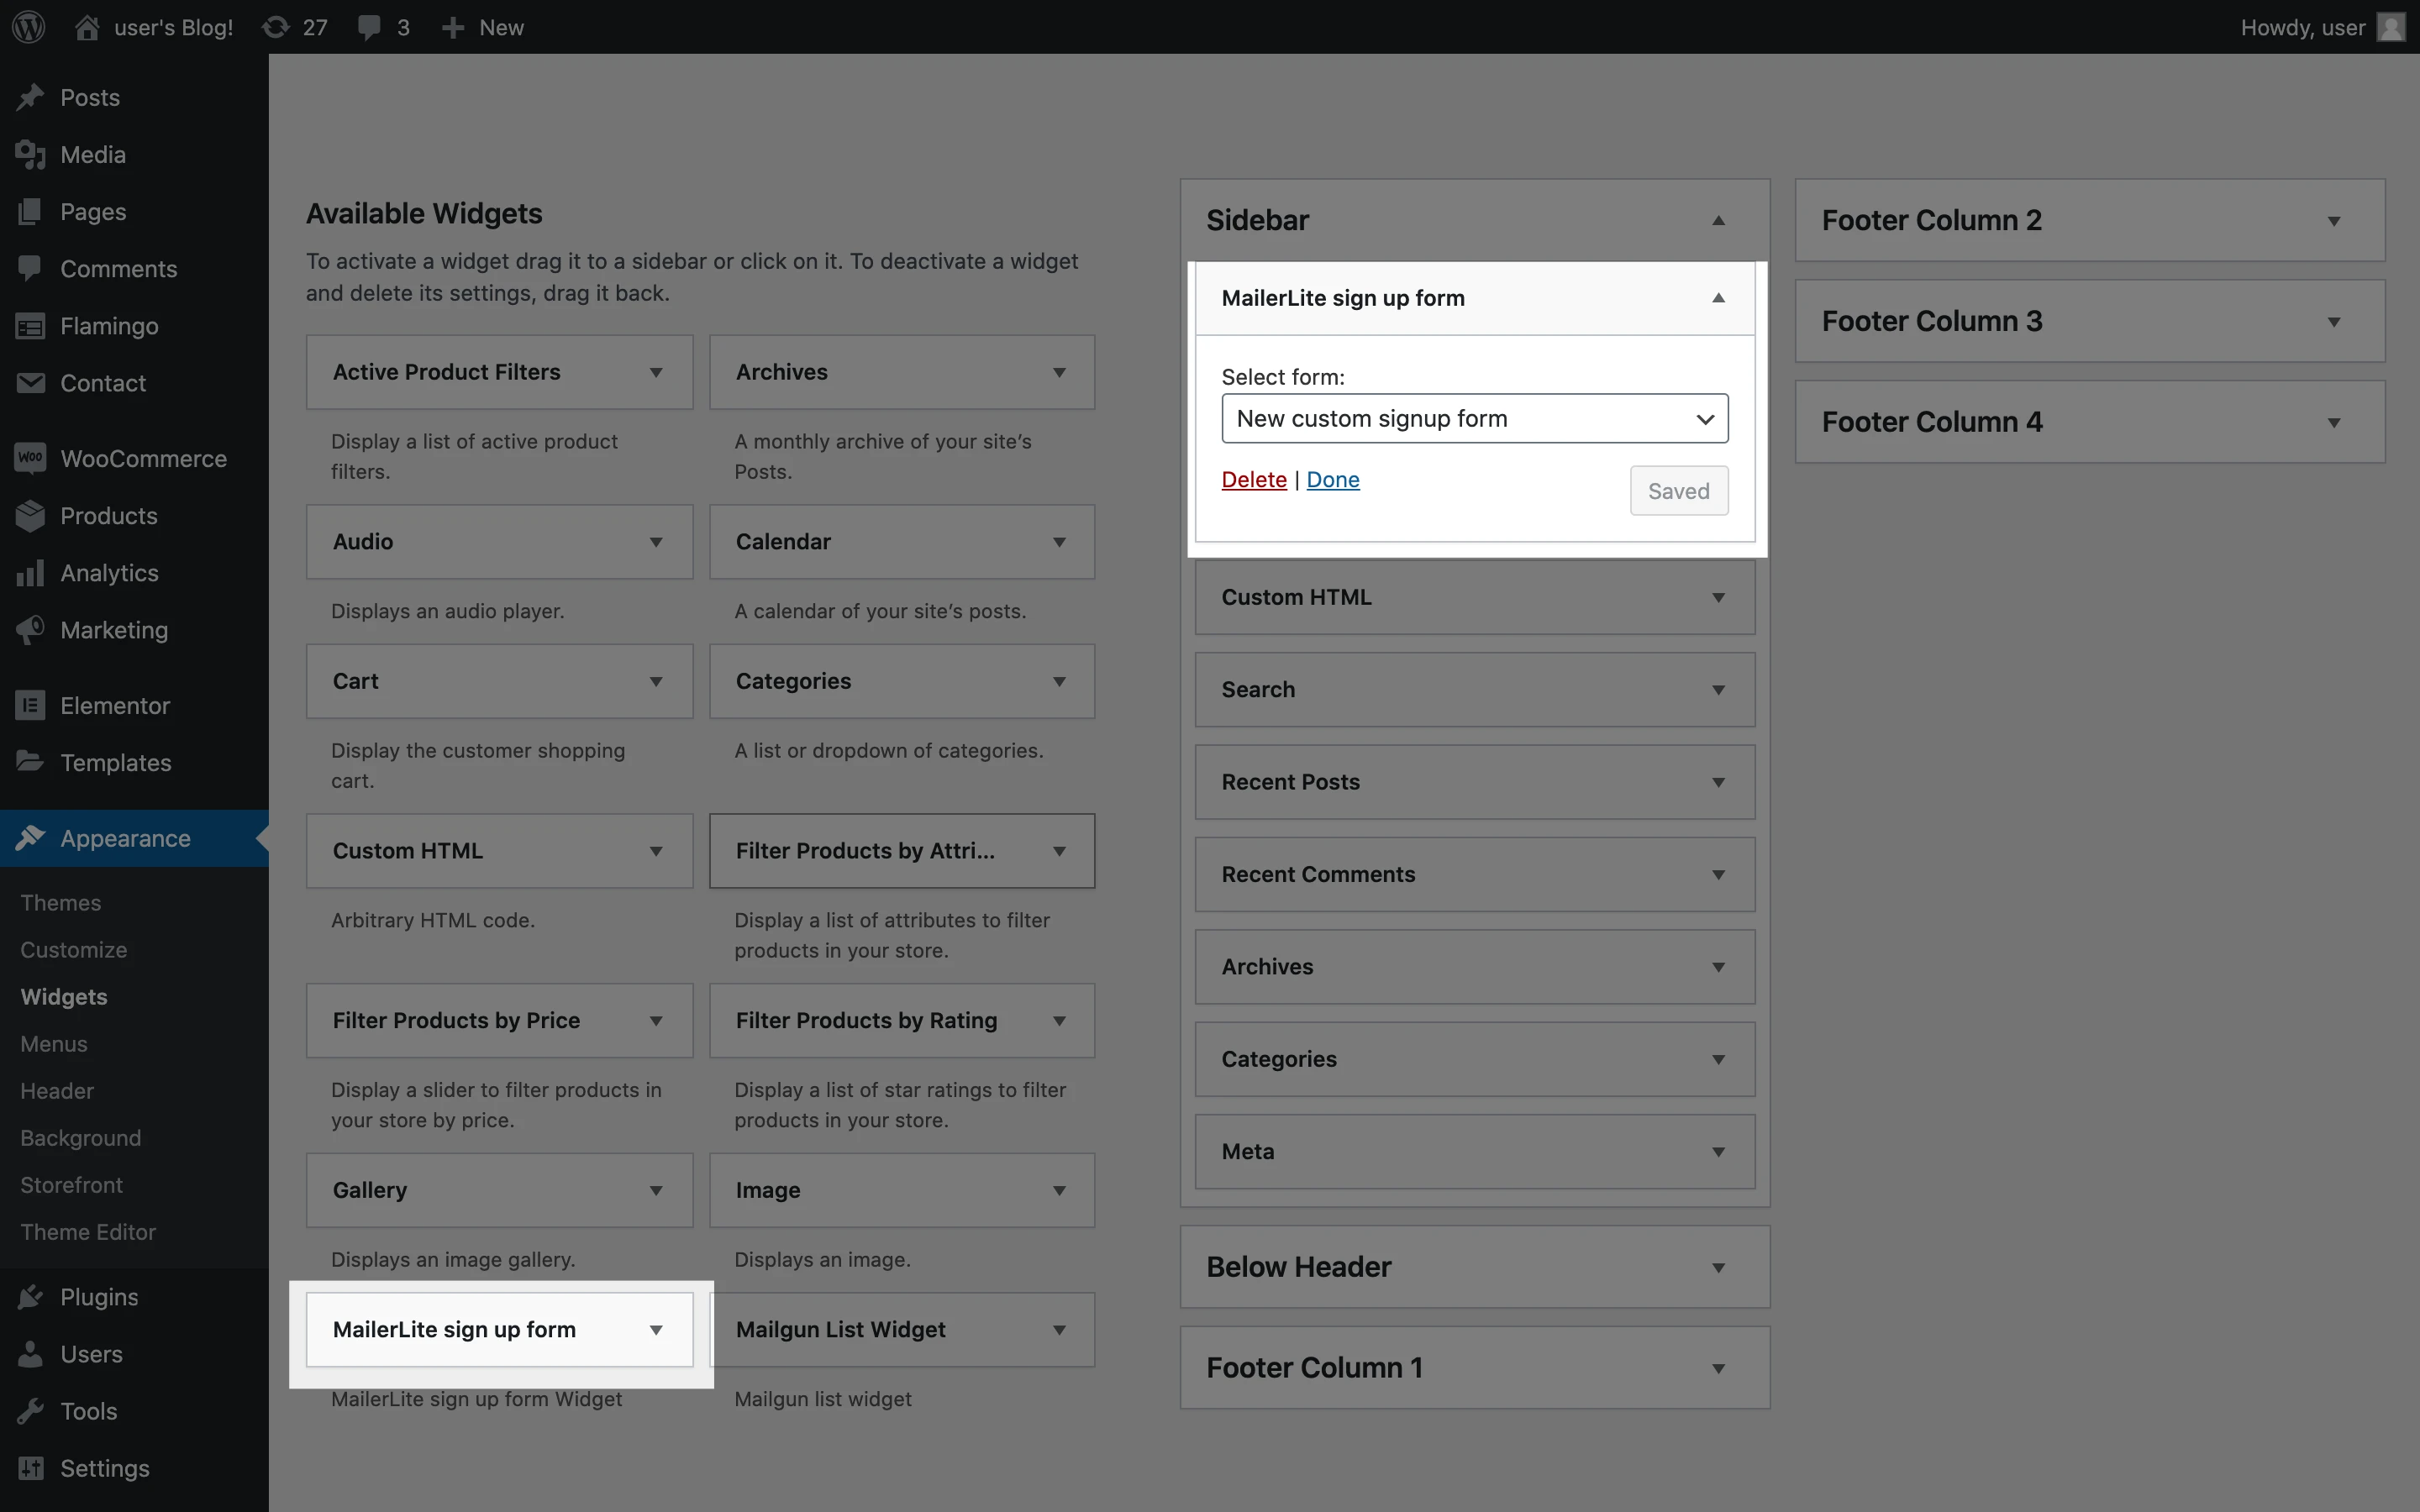
In the sidebar, click Appearance followed by Widgets.
Drag and drop the MailerLite sign-up form widget into your sidebar column.
Select the form you wish to add to your sidebar.
Click Save.
How to enable double opt-in on your Wordpress signup form
If you have created your forms within the MailerLite app, you can enable double opt-in in your form settings. The double opt-in email created within MailerLite will be sent.
If you are using custom signup forms you created in your WordPress dashboard using the Mailerlite plugin, you can follow these simple steps to enable double opt-in:
In the sidebar, click MailerLite followed by Settings.
Next to Double opt-in, click the Enable button.
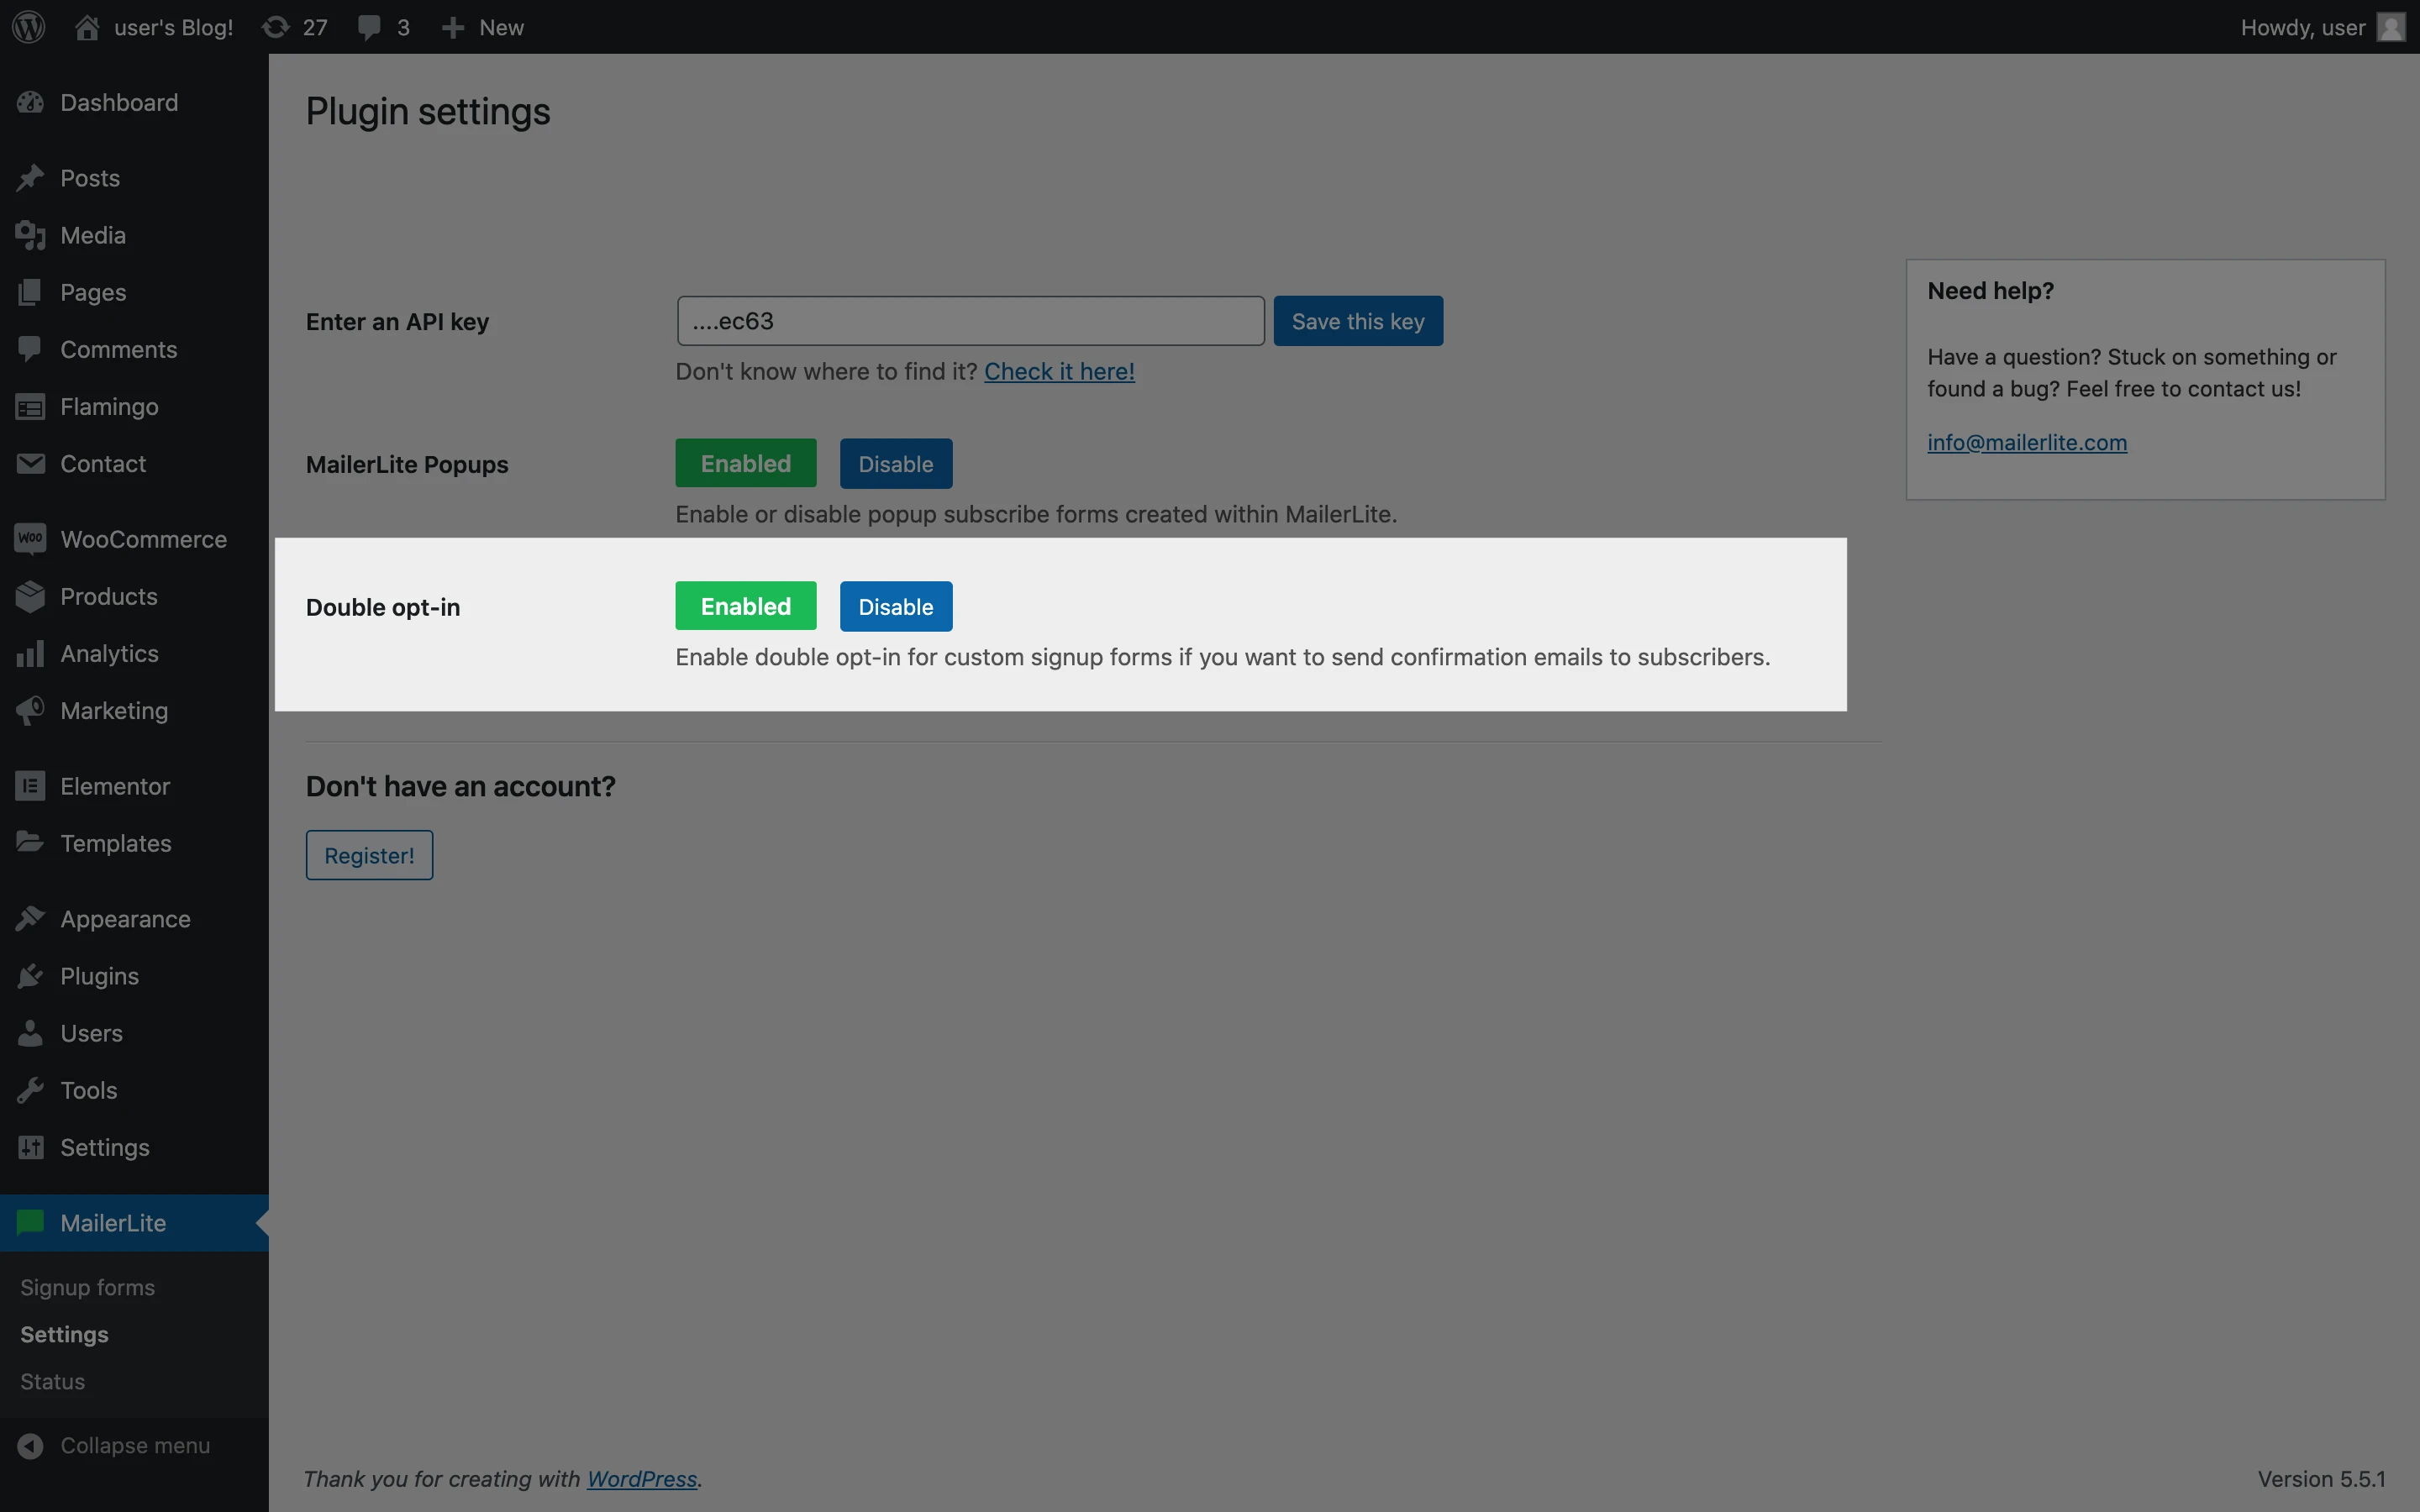
This will enable double opt-in on all of your custom signup forms.


