The term variables refers to data you can add to your newsletter that is unique for each subscriber. They are used to better target and personalize your email to improve engagement.
For example, you would use a personalized variable to enter the value of your subscriber’s Name field into the body of your newsletter.
How variables work
The data that you collect using the fields in your MailerLite signup form is saved in the subscriber fields in each subscriber’s profile.
Every field, or custom field that you create, has its own label called a tag. Tags are used to insert personalized data from your subscriber’s profile into the campaigns you send.
The tag merges the information in the subscriber’s field into the variable’s position.
How to include a personalized variable in a campaign
Personalized variables are an excellent way to personalize your campaign. For example, rather than writing “Hey guys!” or “Dear readers”, you can speak directly to each subscriber by using the name entered in their Name field.
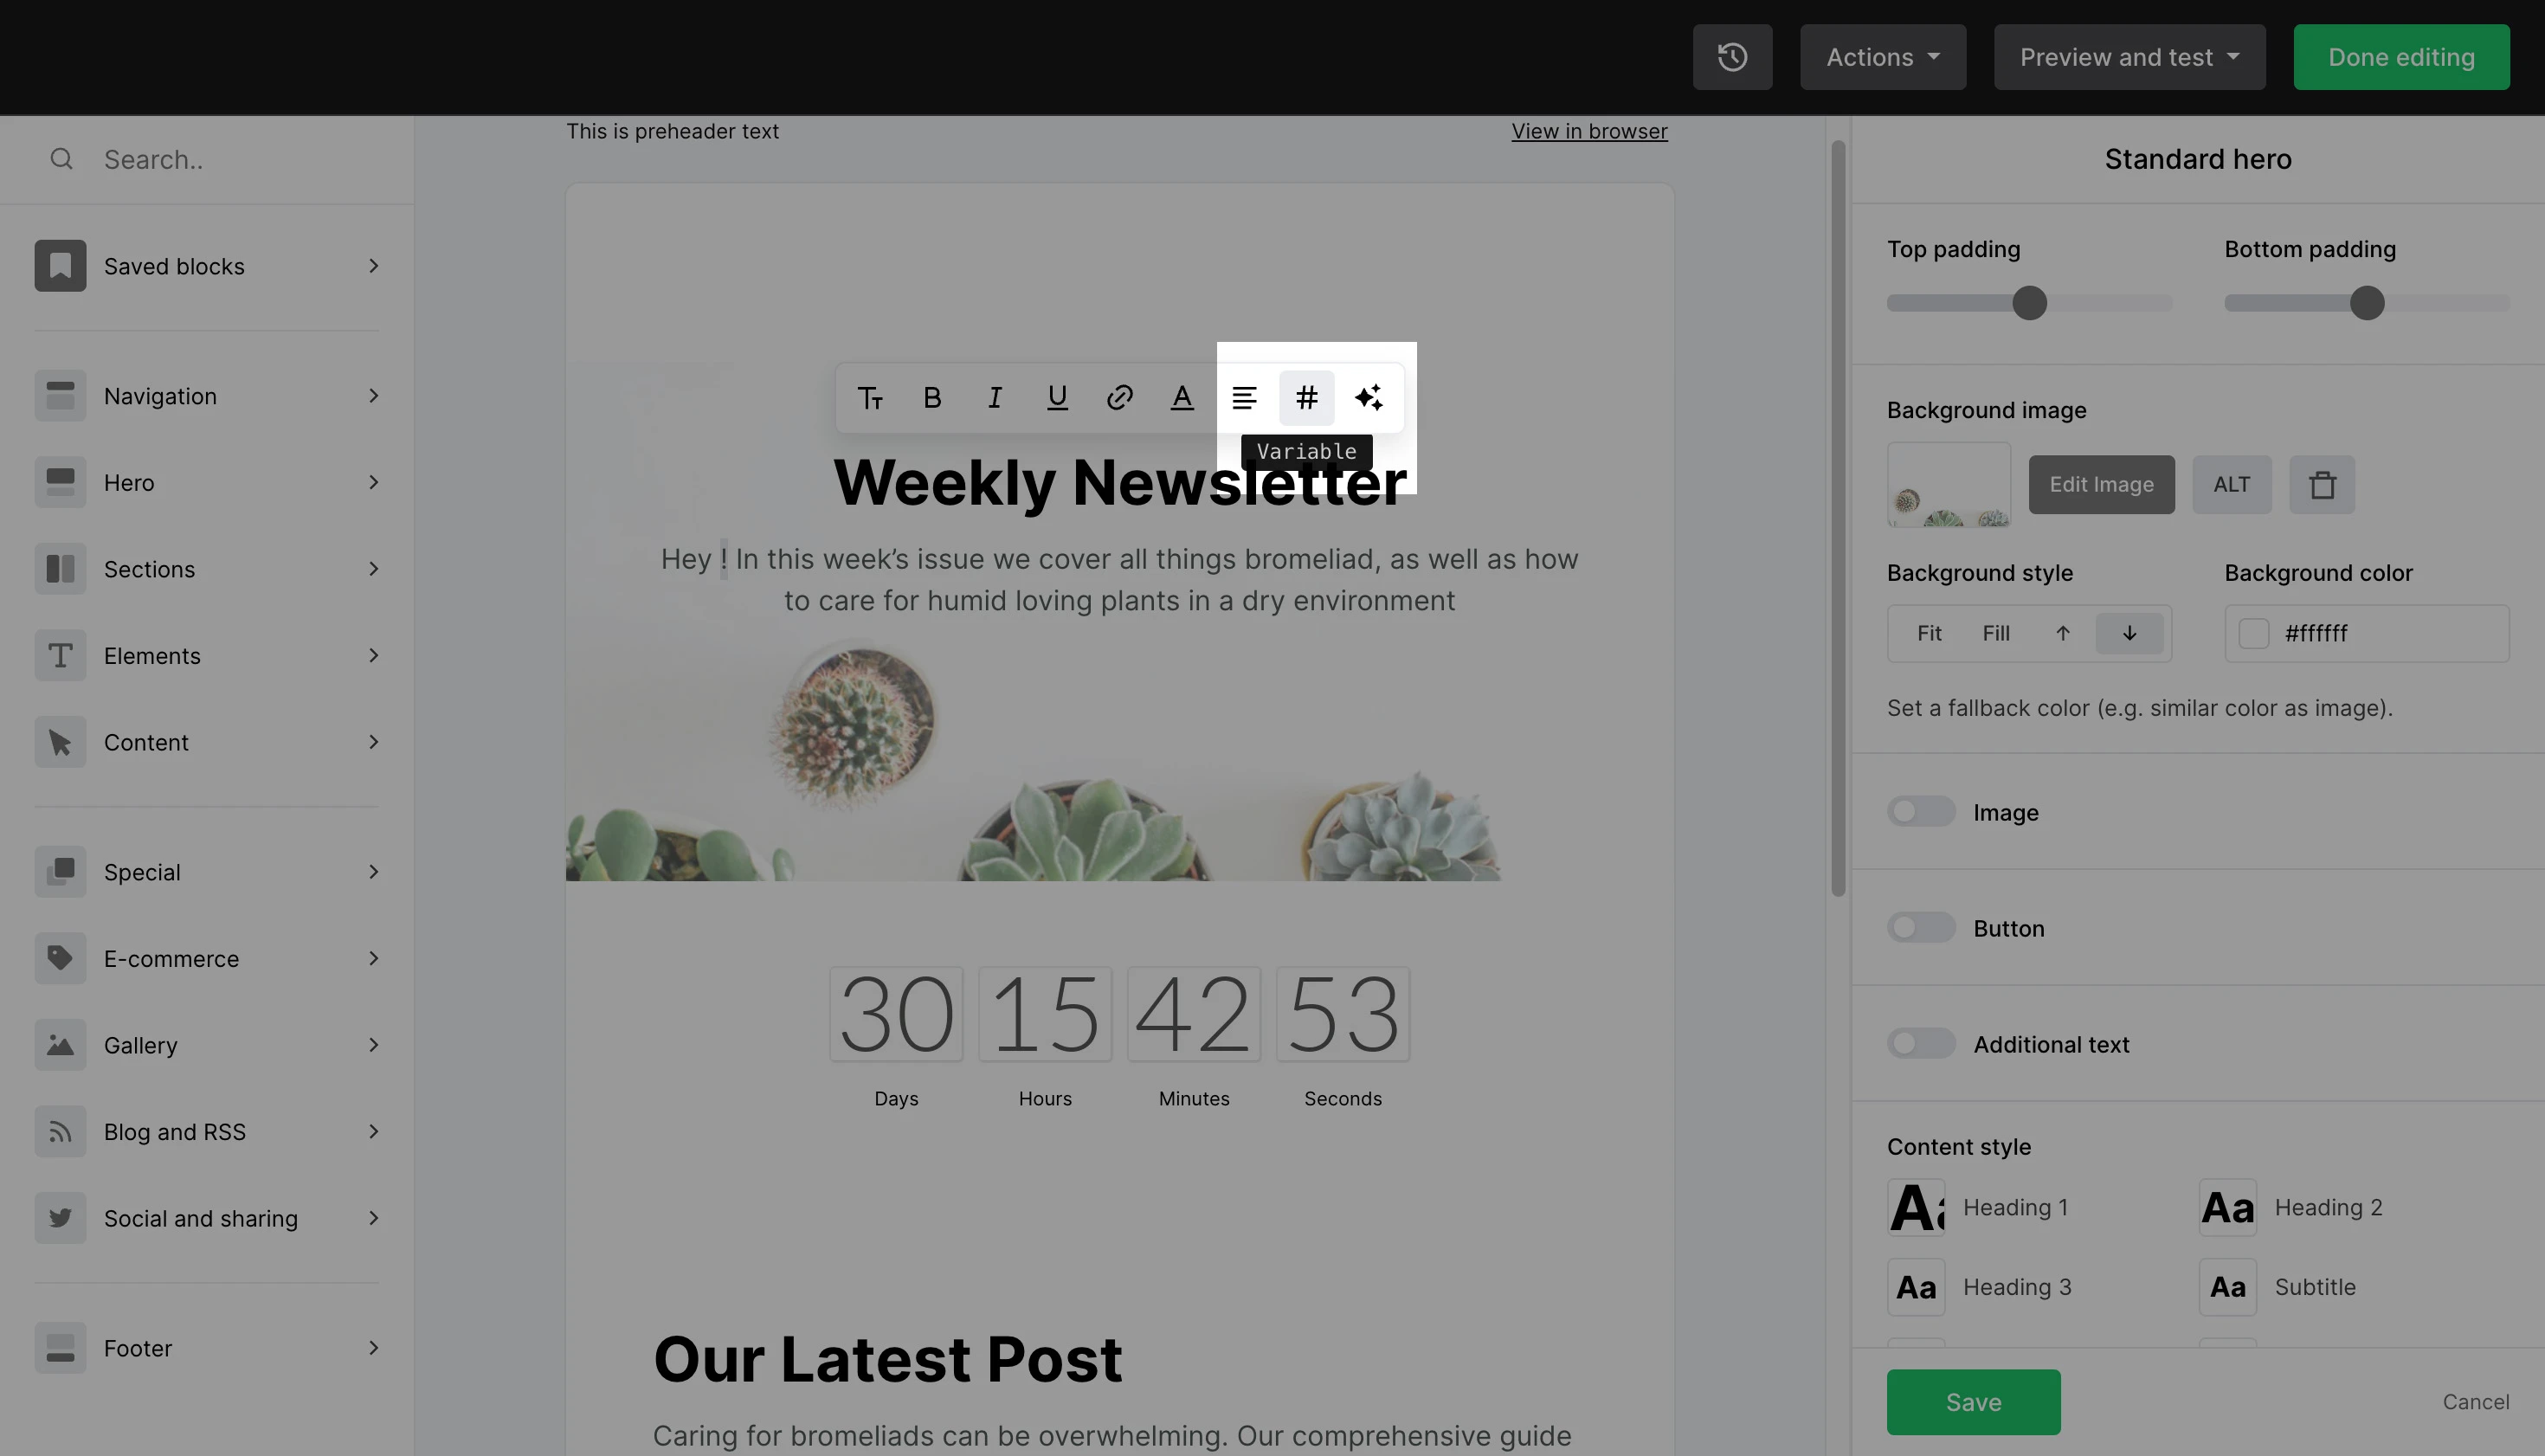
To add personalized variables to your campaign using the Drag and drop editor, we recommend using the Variable button {x}. This will allow you to choose from all of your available merge tags.
The variable button is found in your text input area when editing the content of a text block. Double click on the text to reveal the toolbar, and choose the Variable icon. Then, select which field you would like to use.
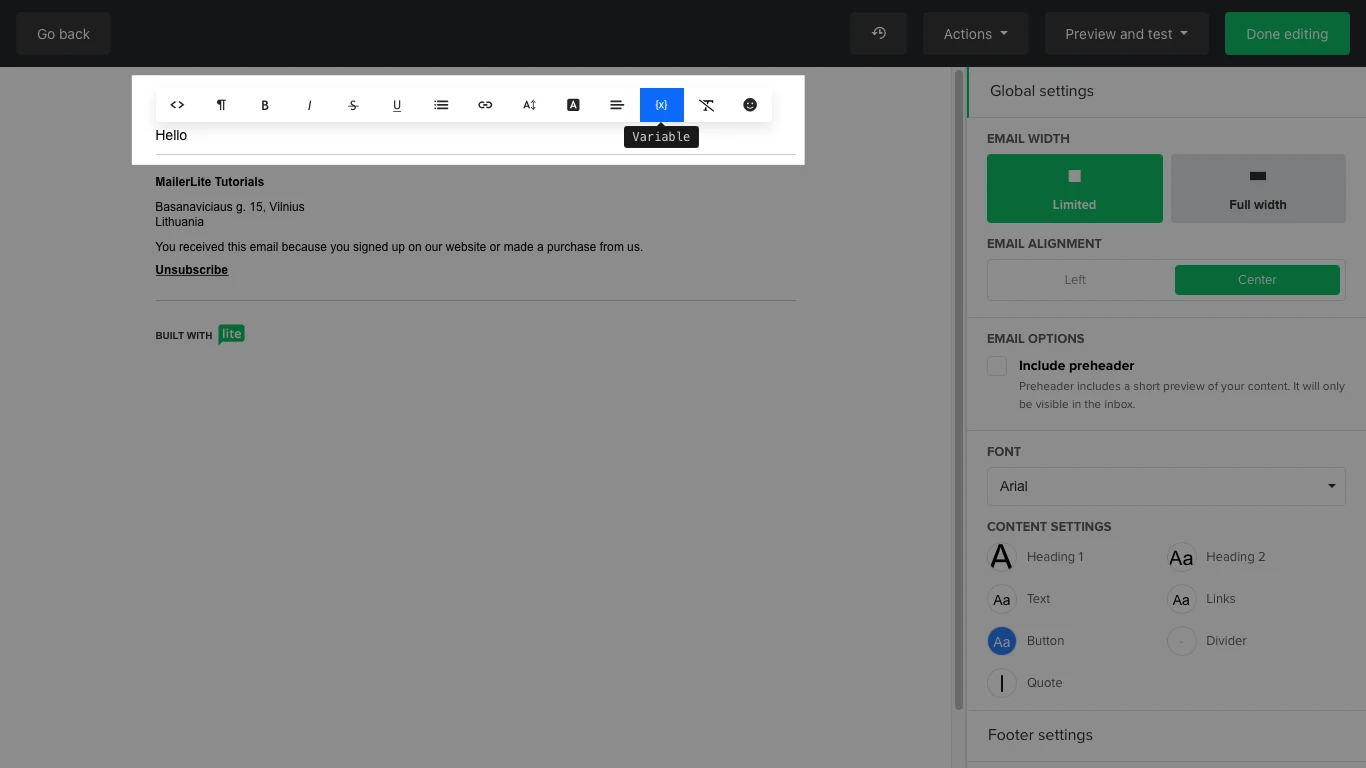
When using the Rich-text editor, you'll find the variable button {x} on the pop-up navigation menu of the text.
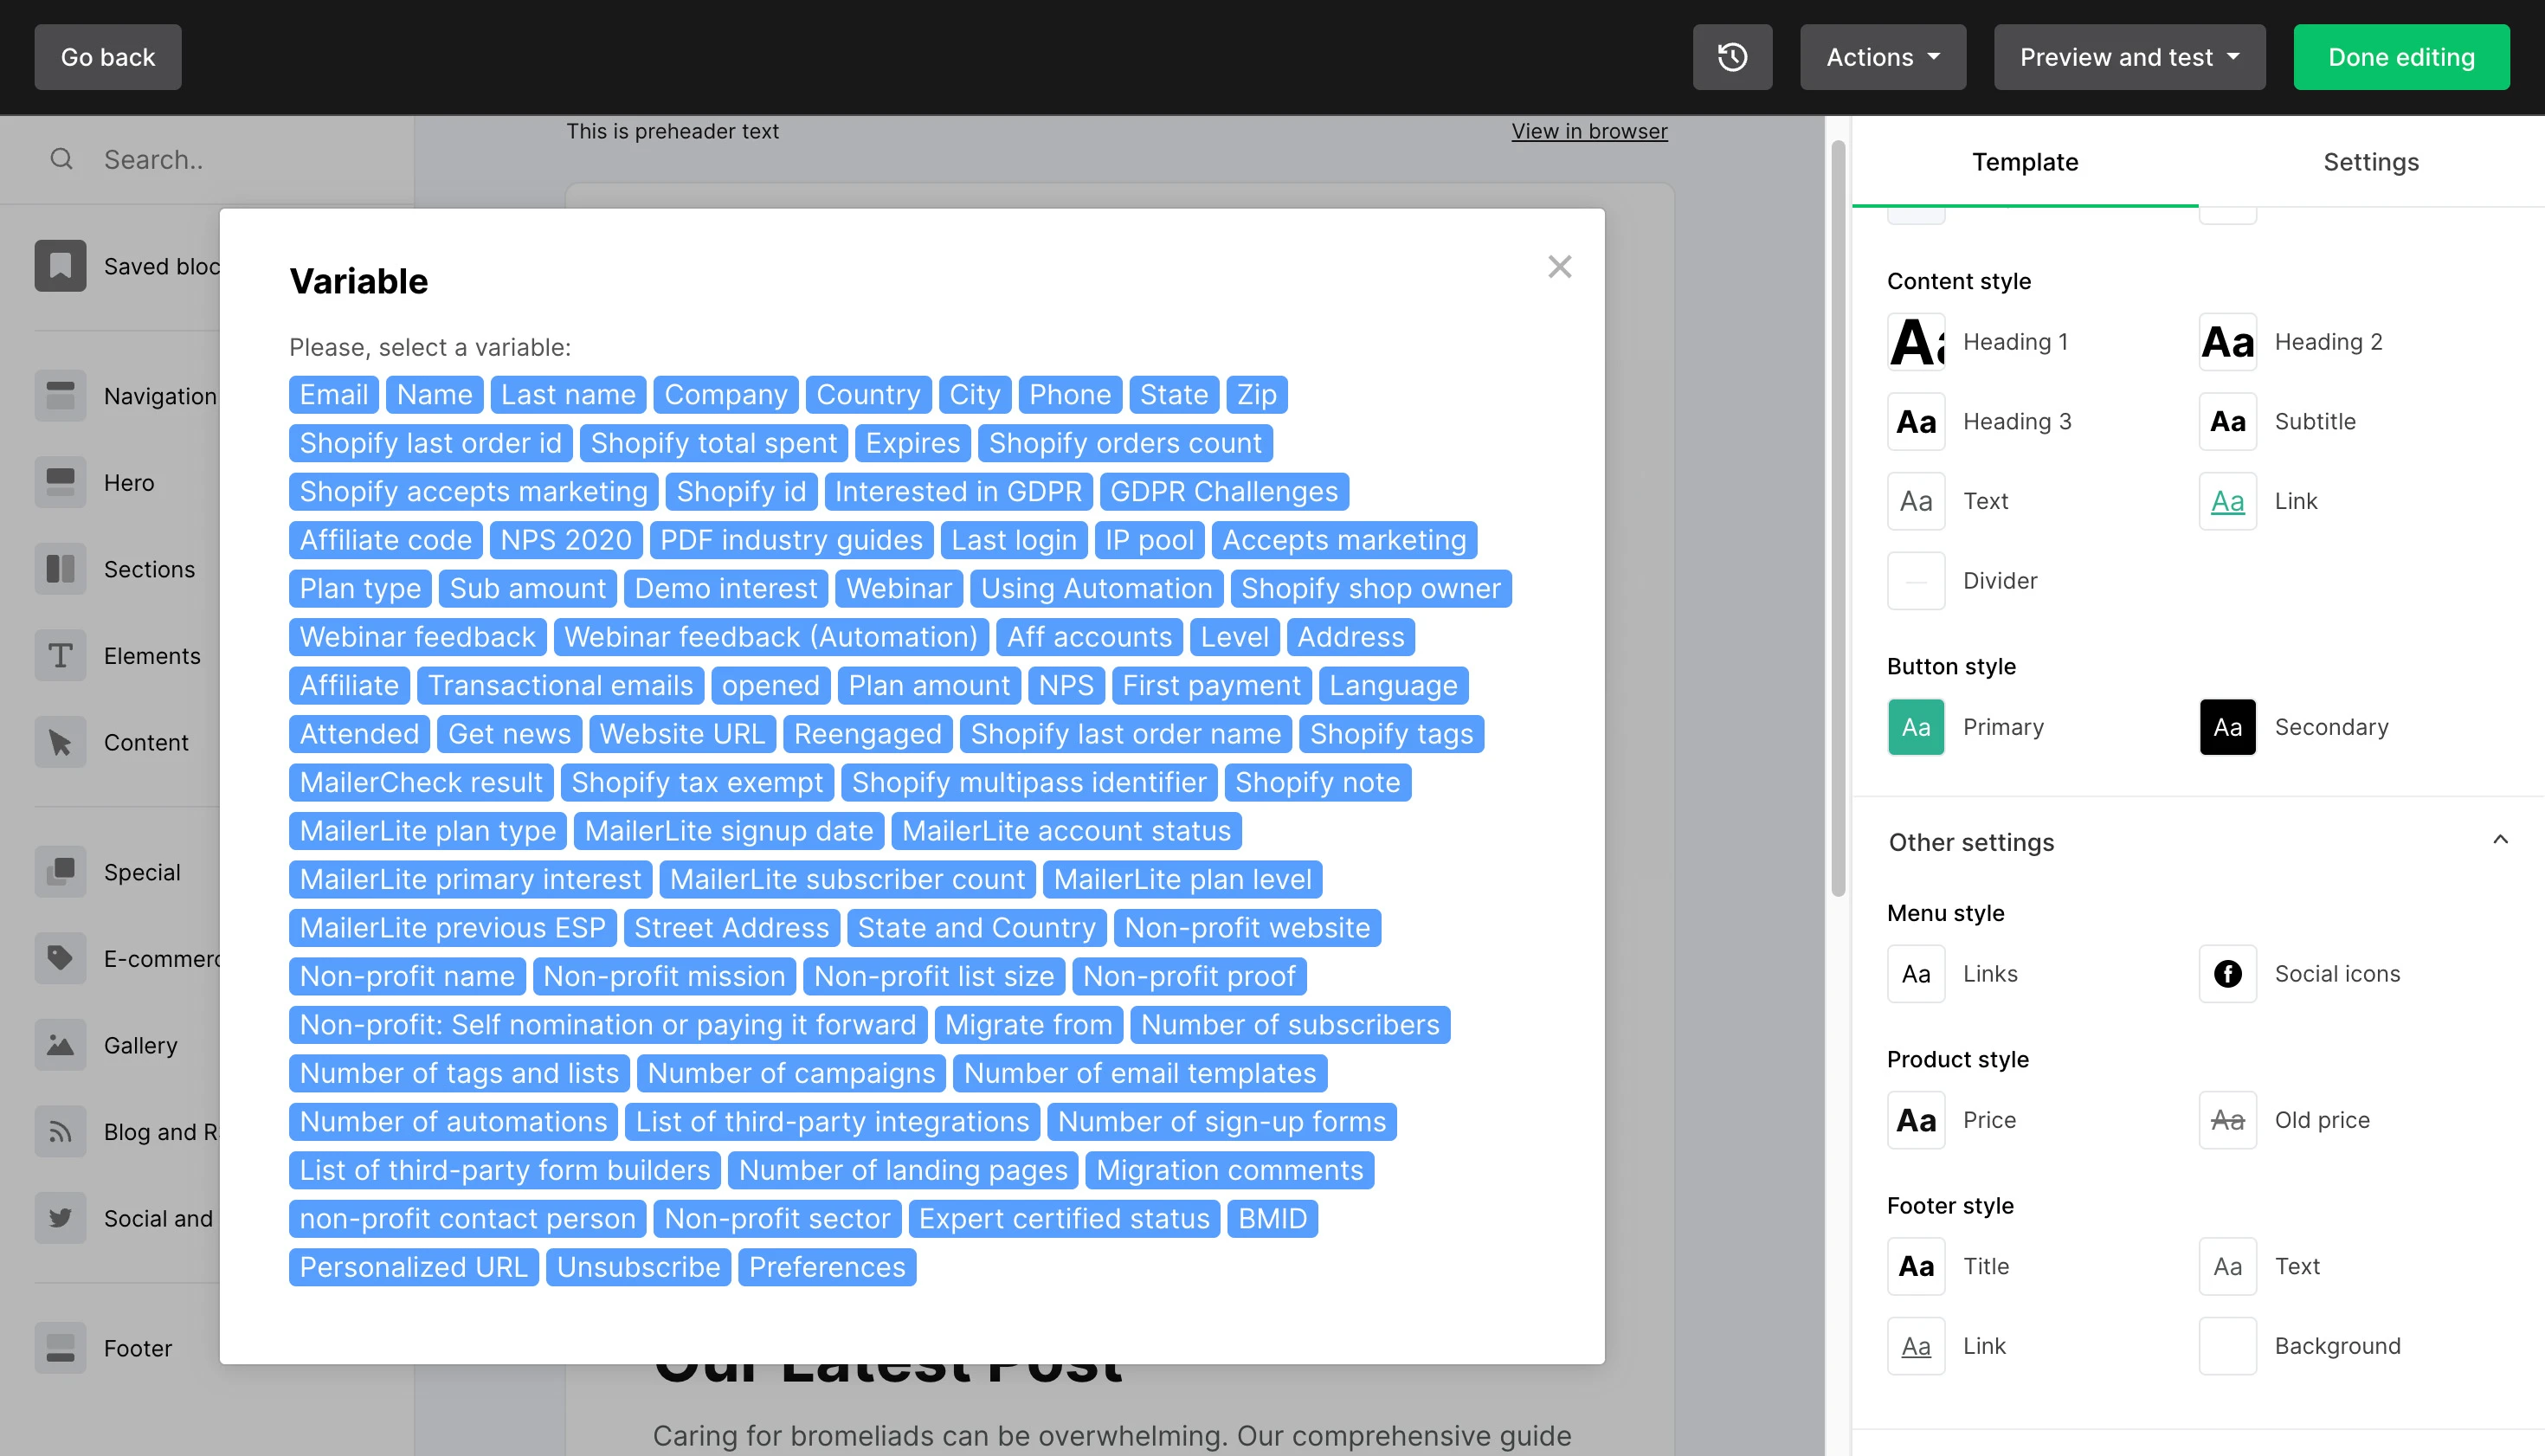
Personalized variables you can use in a campaign
Every field in MailerLite has an accompanying Tag, including the fields you created yourself.
For example:
{$email} – inserts your subscriber’s email address.
{$name} – inserts your subscriber’s first name (if it’s available).
If you’re unsure what the tag is for a particular field, you can find it by following these steps:
Navigate to the Subscribers page.
Click the Fields tab.
Find the field you want to use in a campaign and check its field under the Tag column.
If you wish to include a default value in the case that a subscriber has no data in a particular field, you can use the following format:
{$tag|default('Value')}
For example, if you want to create a default value for a case in which a subscriber has no name in their Name field, you may use something like this:
{$name|default('Friend')}
This will read "Hello Friend" rather than just "Hello".
Note: If a subscriber doesn’t have a value in the field that corresponds with the tag you added to your campaign, the space in which the merge tag was added will appear blank unless you add a default value.
Dynamic variables you can use in a campaign
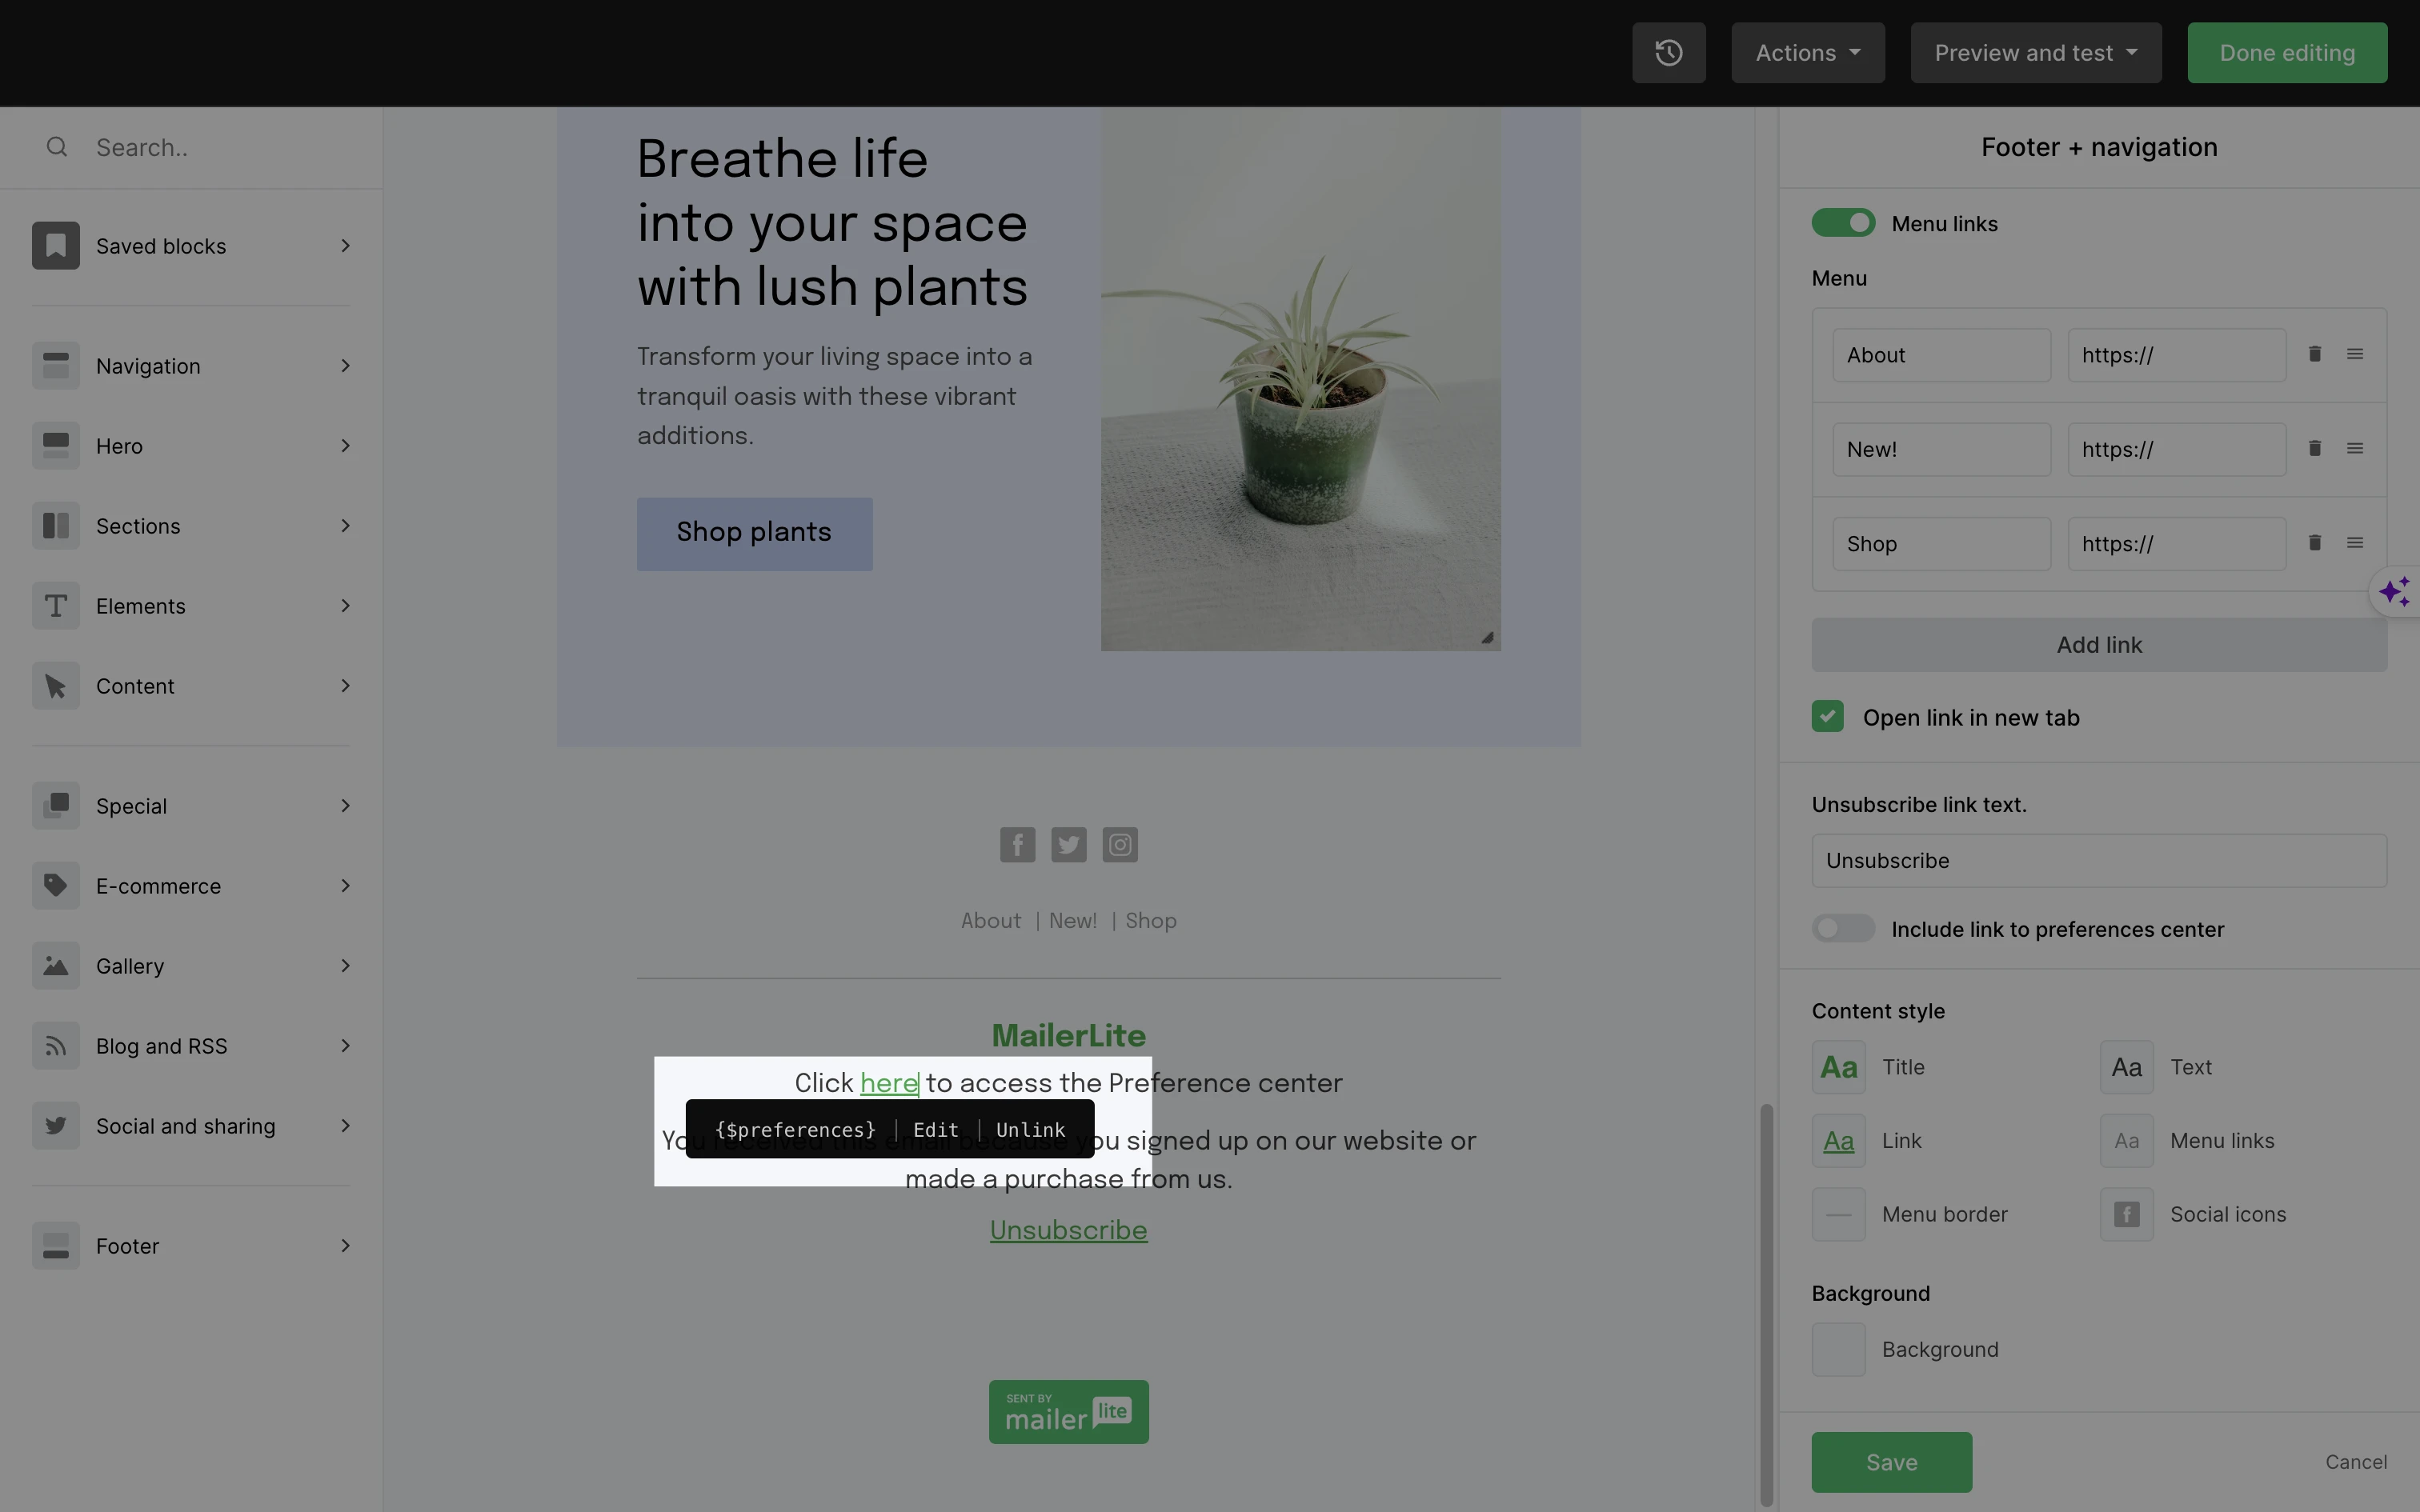
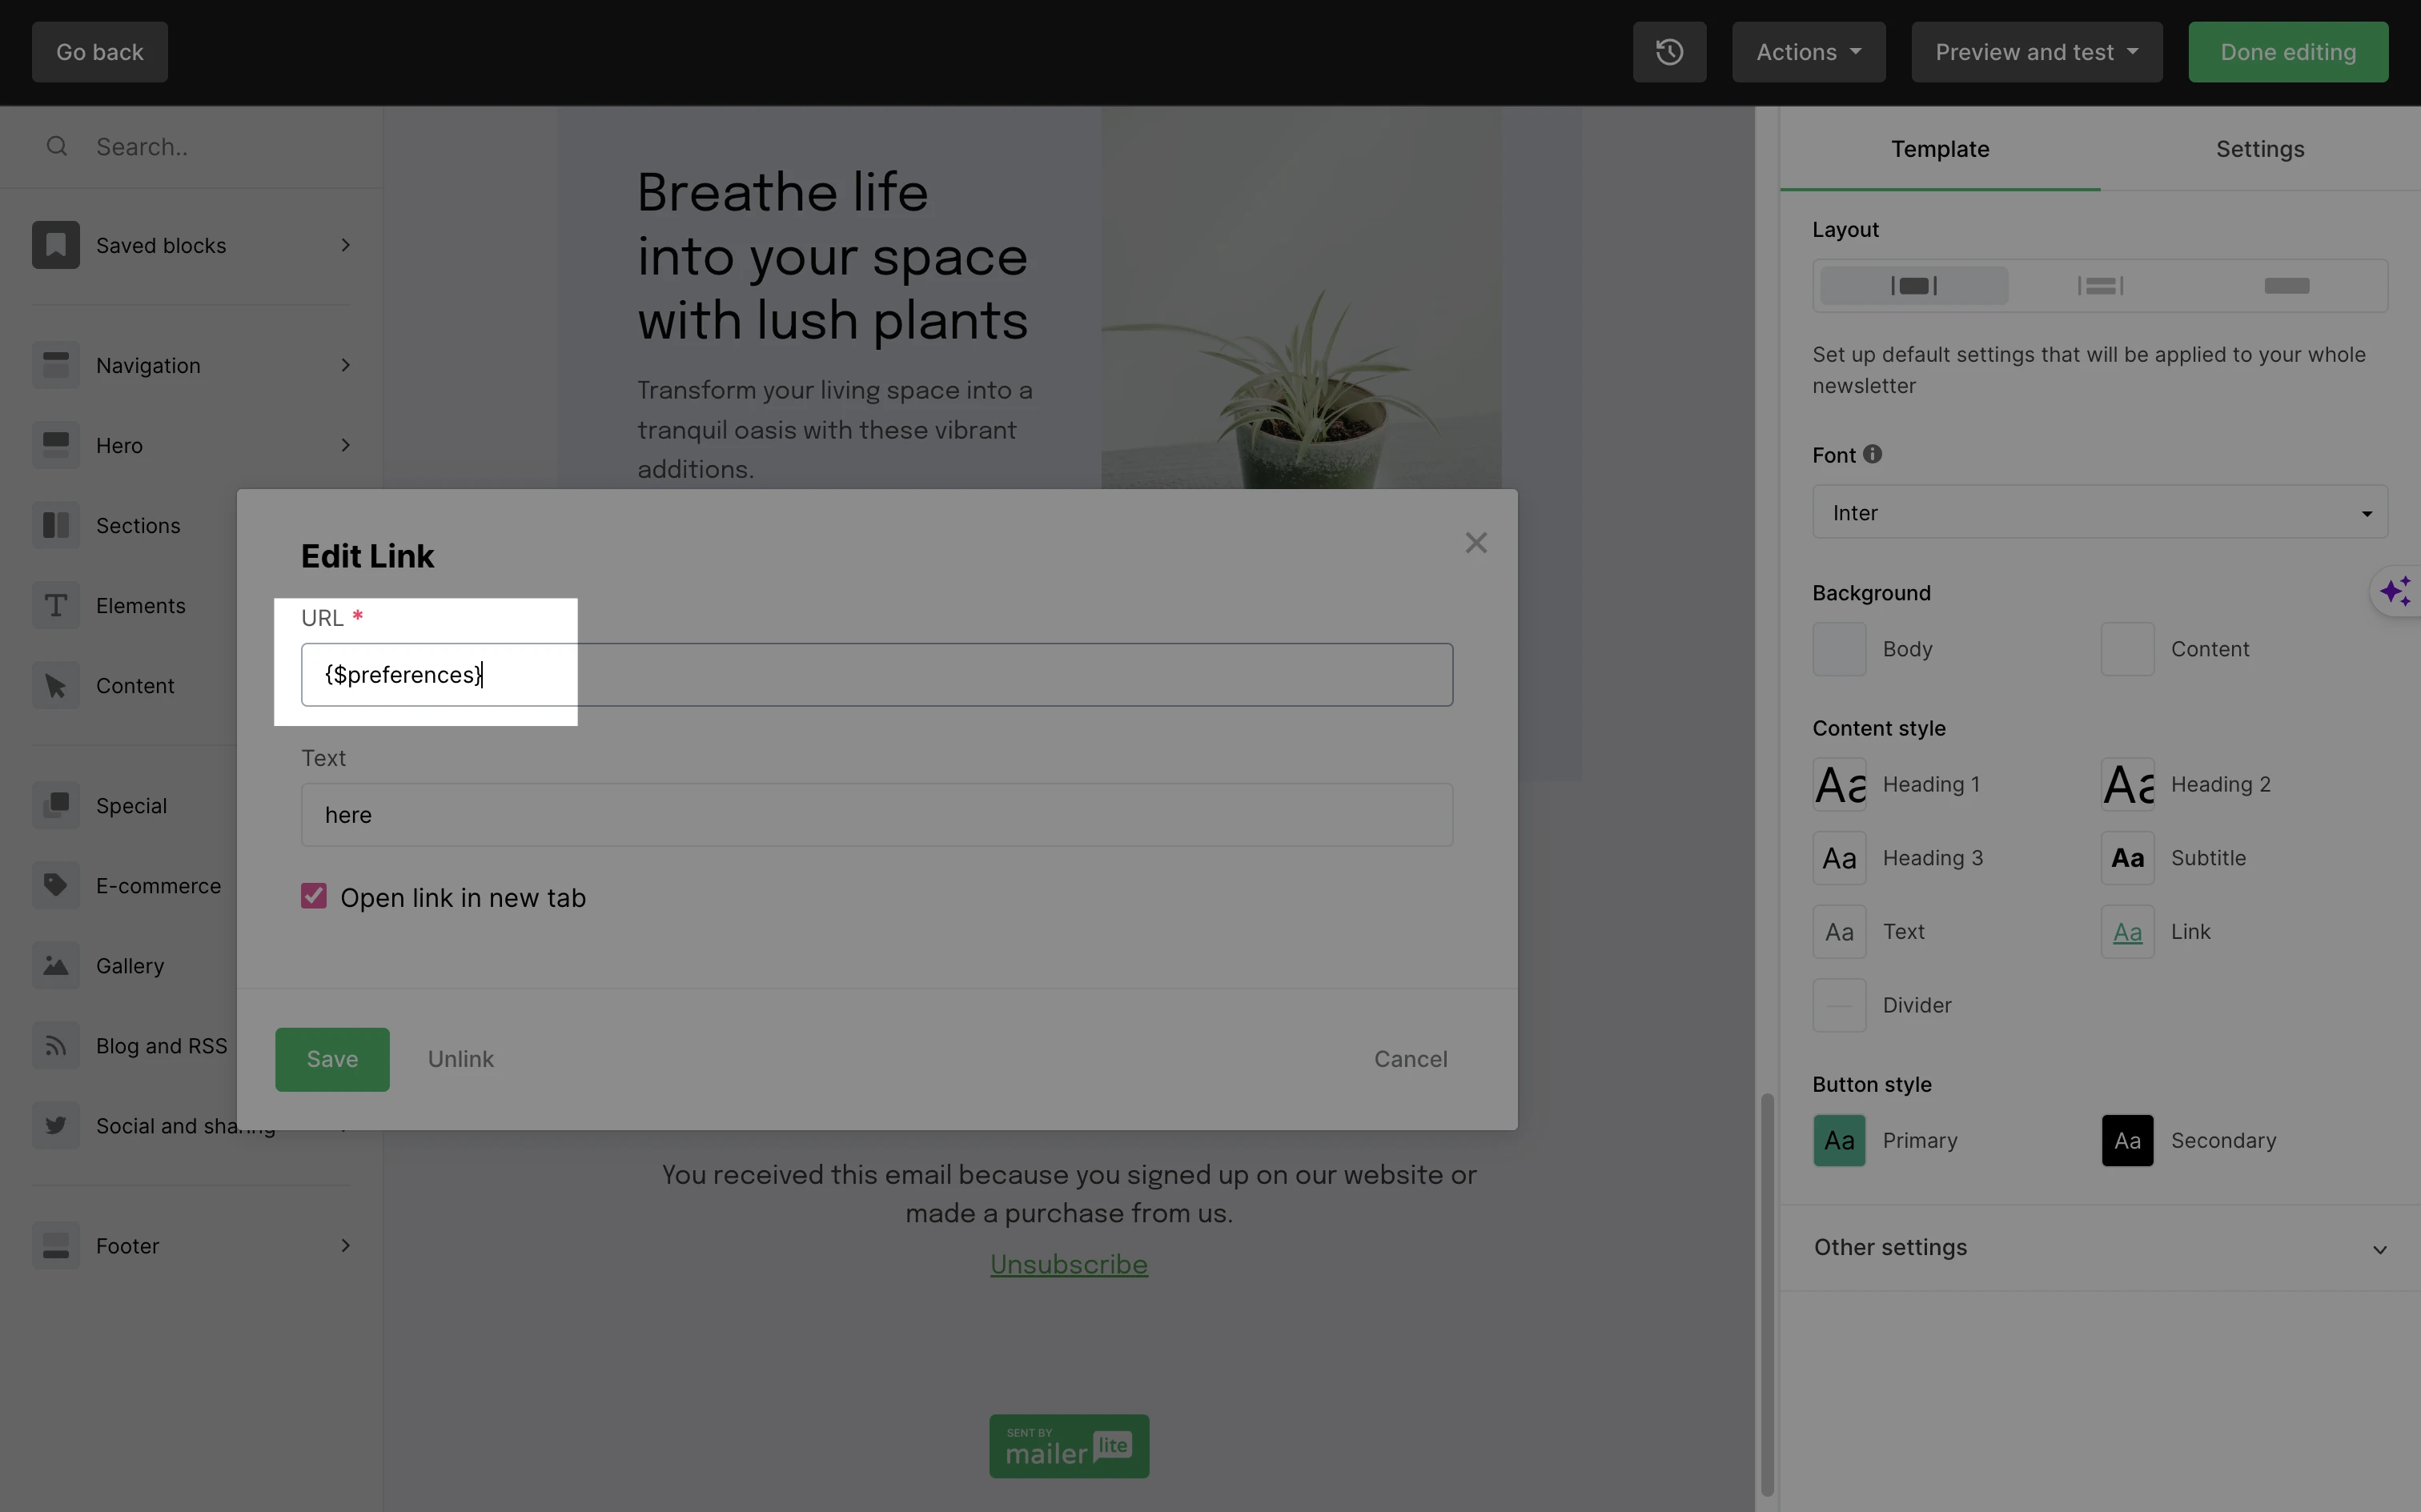
Dynamic variables are like personalized variables, except they allow you to display unique links for each subscriber when you add them to a button block or hyperlink.
Available dynamic variables include:
{$url} – generates a web version link to your campaign.
{$unsubscribe} – generates a link to your campaign’s unsubscribe page.
{$forward} – generates a link to Forward to a Friend page.
{$preferences} - generates a link to the Preference Center.
Variables you can use in an RSS campaign
These variables can be used and displayed only in RSS Campaigns. Below listed variables can be used in the subject line or in campaign content.
{$campaign_date} – displays the current date in a “yyyy-mm-dd” format.
{$feed_title} – displays the title of your feed.
{$last_post_title} – displays the title of your feed’s last post.
When variables won’t work
Variables may not work if you’re attempting to test them using a test email. Test emails allow you to preview the layout of a campaign and do not test full functionality.
To properly test your variables, make a duplicate of your campaign and send it to yourself as if you were a regular subscriber.
Personalized variables won’t appear for subscribers who do not have data in the field you’re inserting in your campaign. If no default variable is used, the personalized variable will simply appear as a blank space.


