What is a landing page?
A landing page (sometimes referred to as a “lead capture page” or “static page”) is a stand-alone webpage that serves the sole purpose of capturing leads and growing your subscriber list.
For example, you may use your landing page to offer a freebie that entices visitors to sign up for your newsletter.
💡 Check out our landing page gallery for real-life examples of landing pages.
How to create a landing page
To create your first landing page:
Navigate to the Sites page.
The Landing pages tab will be shown by default.
Click New site.
4. Give your landing page a name.
5. Click Save and continue.
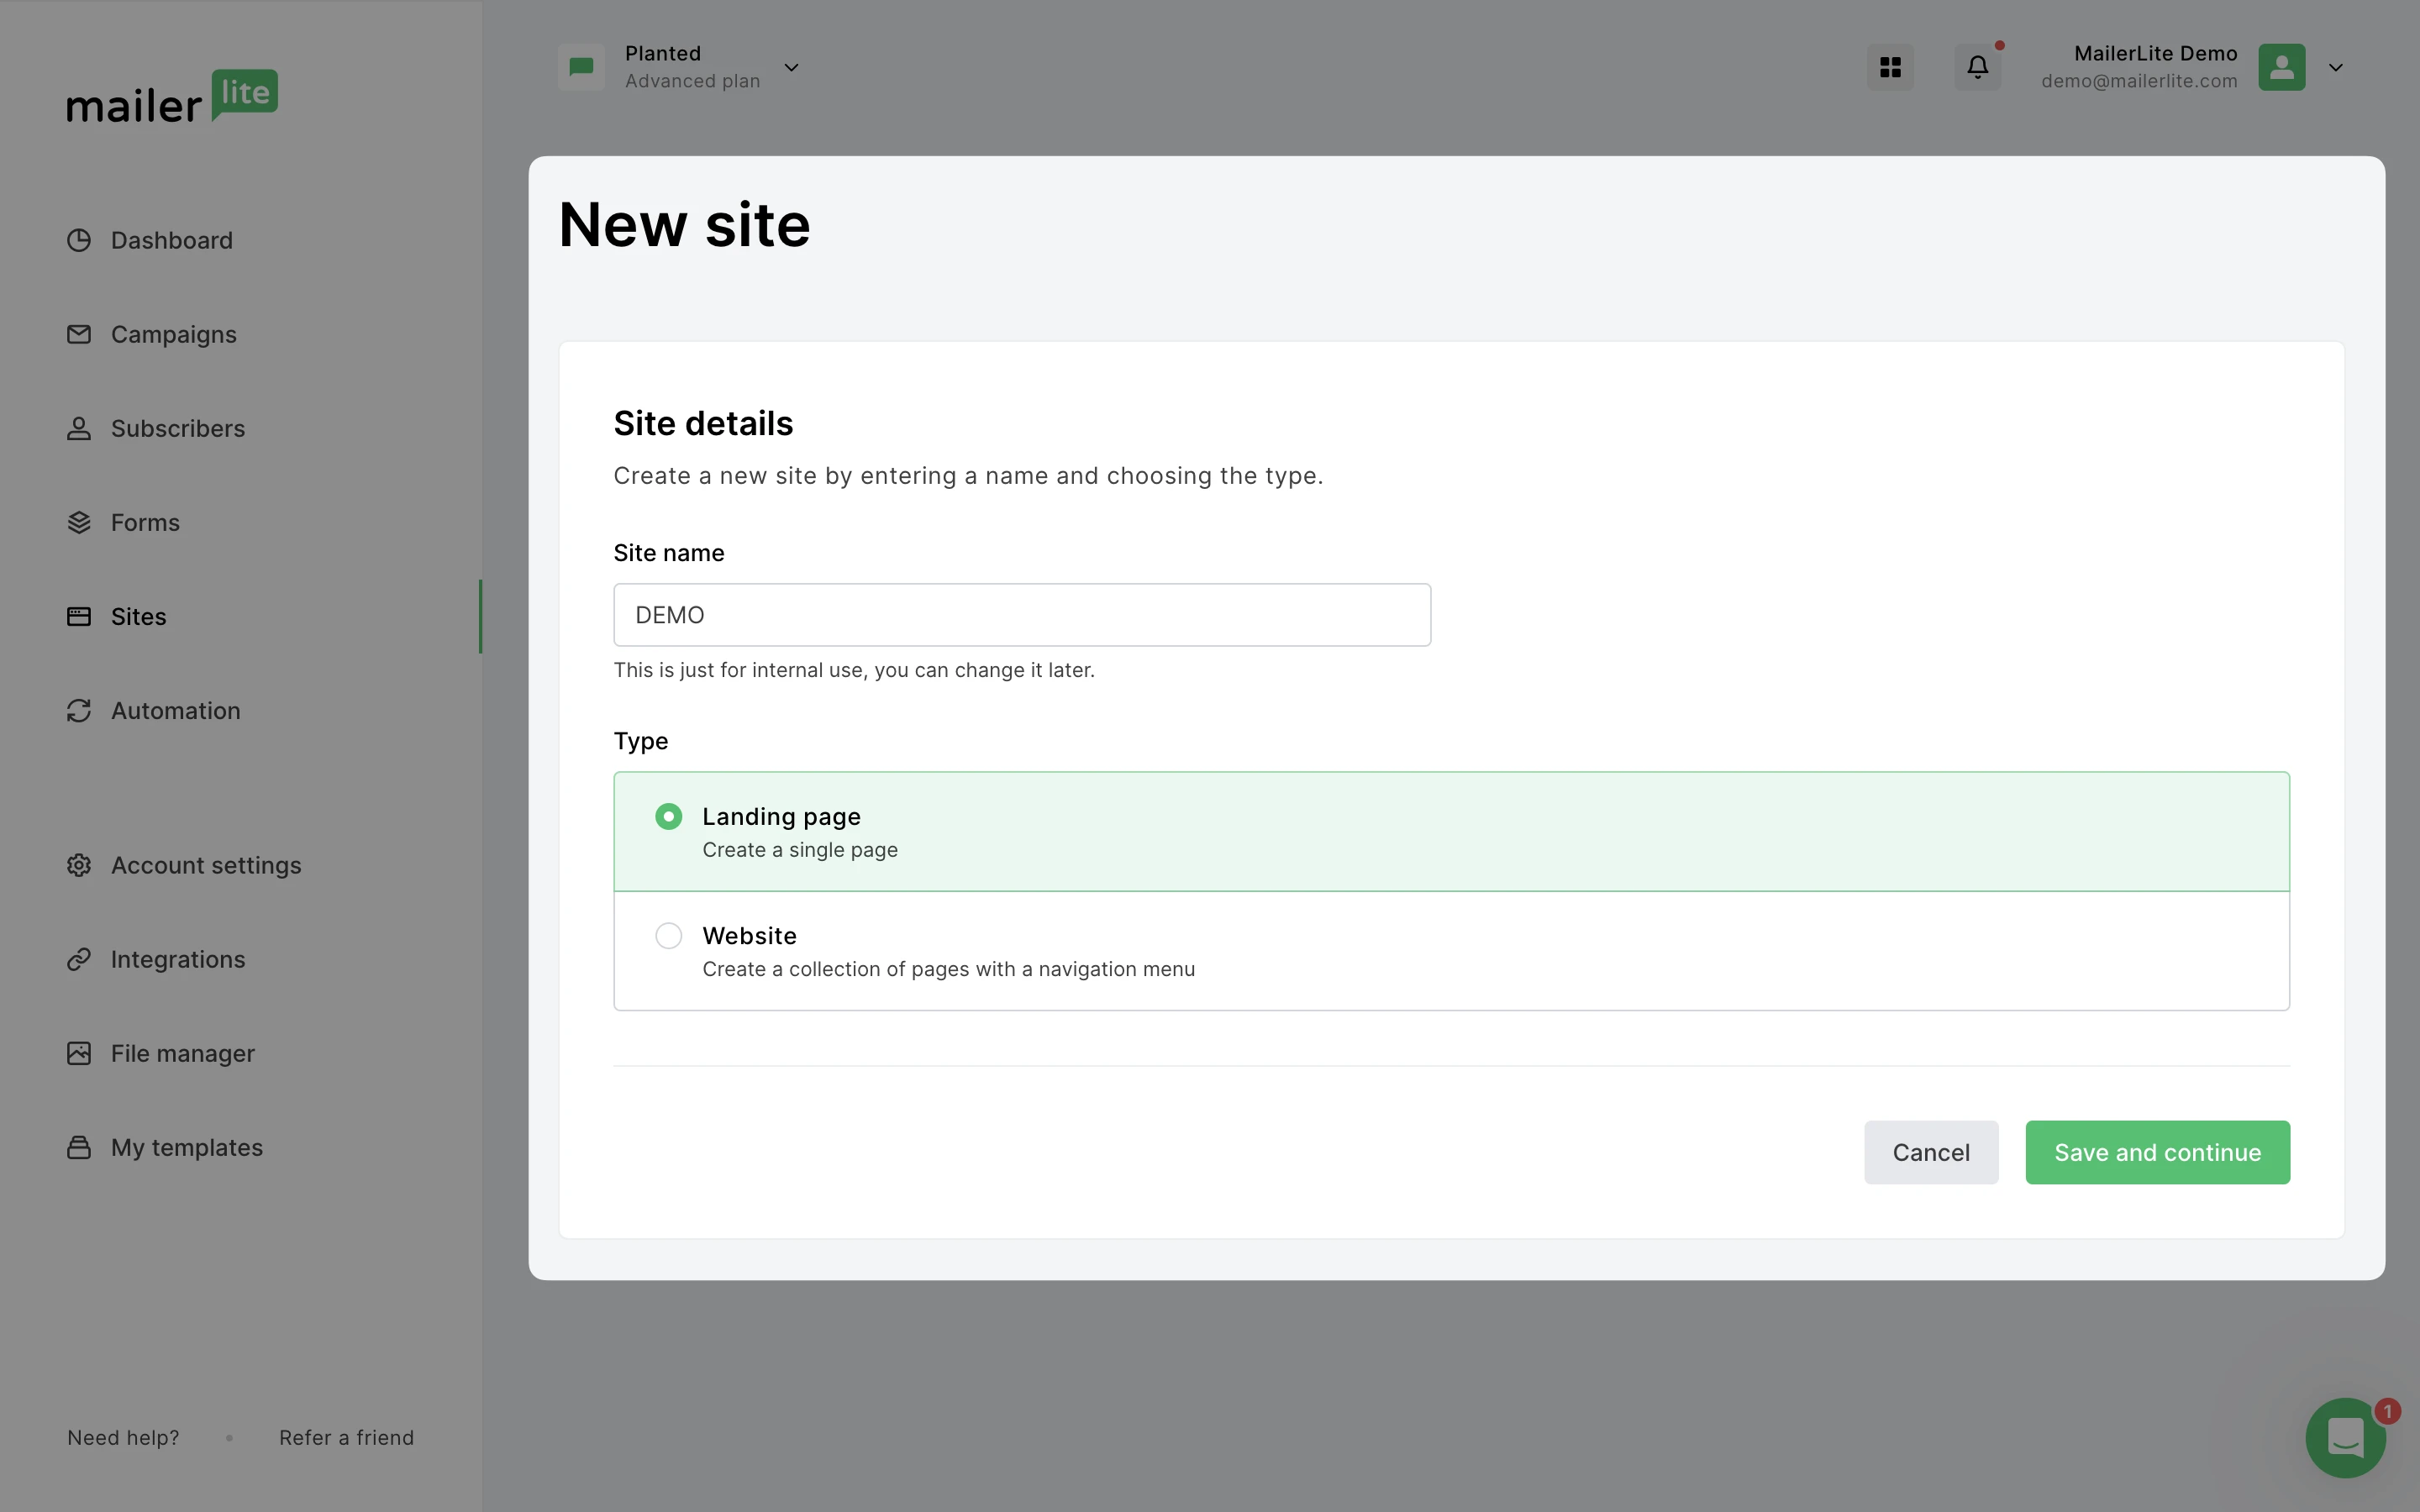
6. Choose a subscriber group. This will be group that subscribers will be added to if they complete a sign-up form on this landing page.
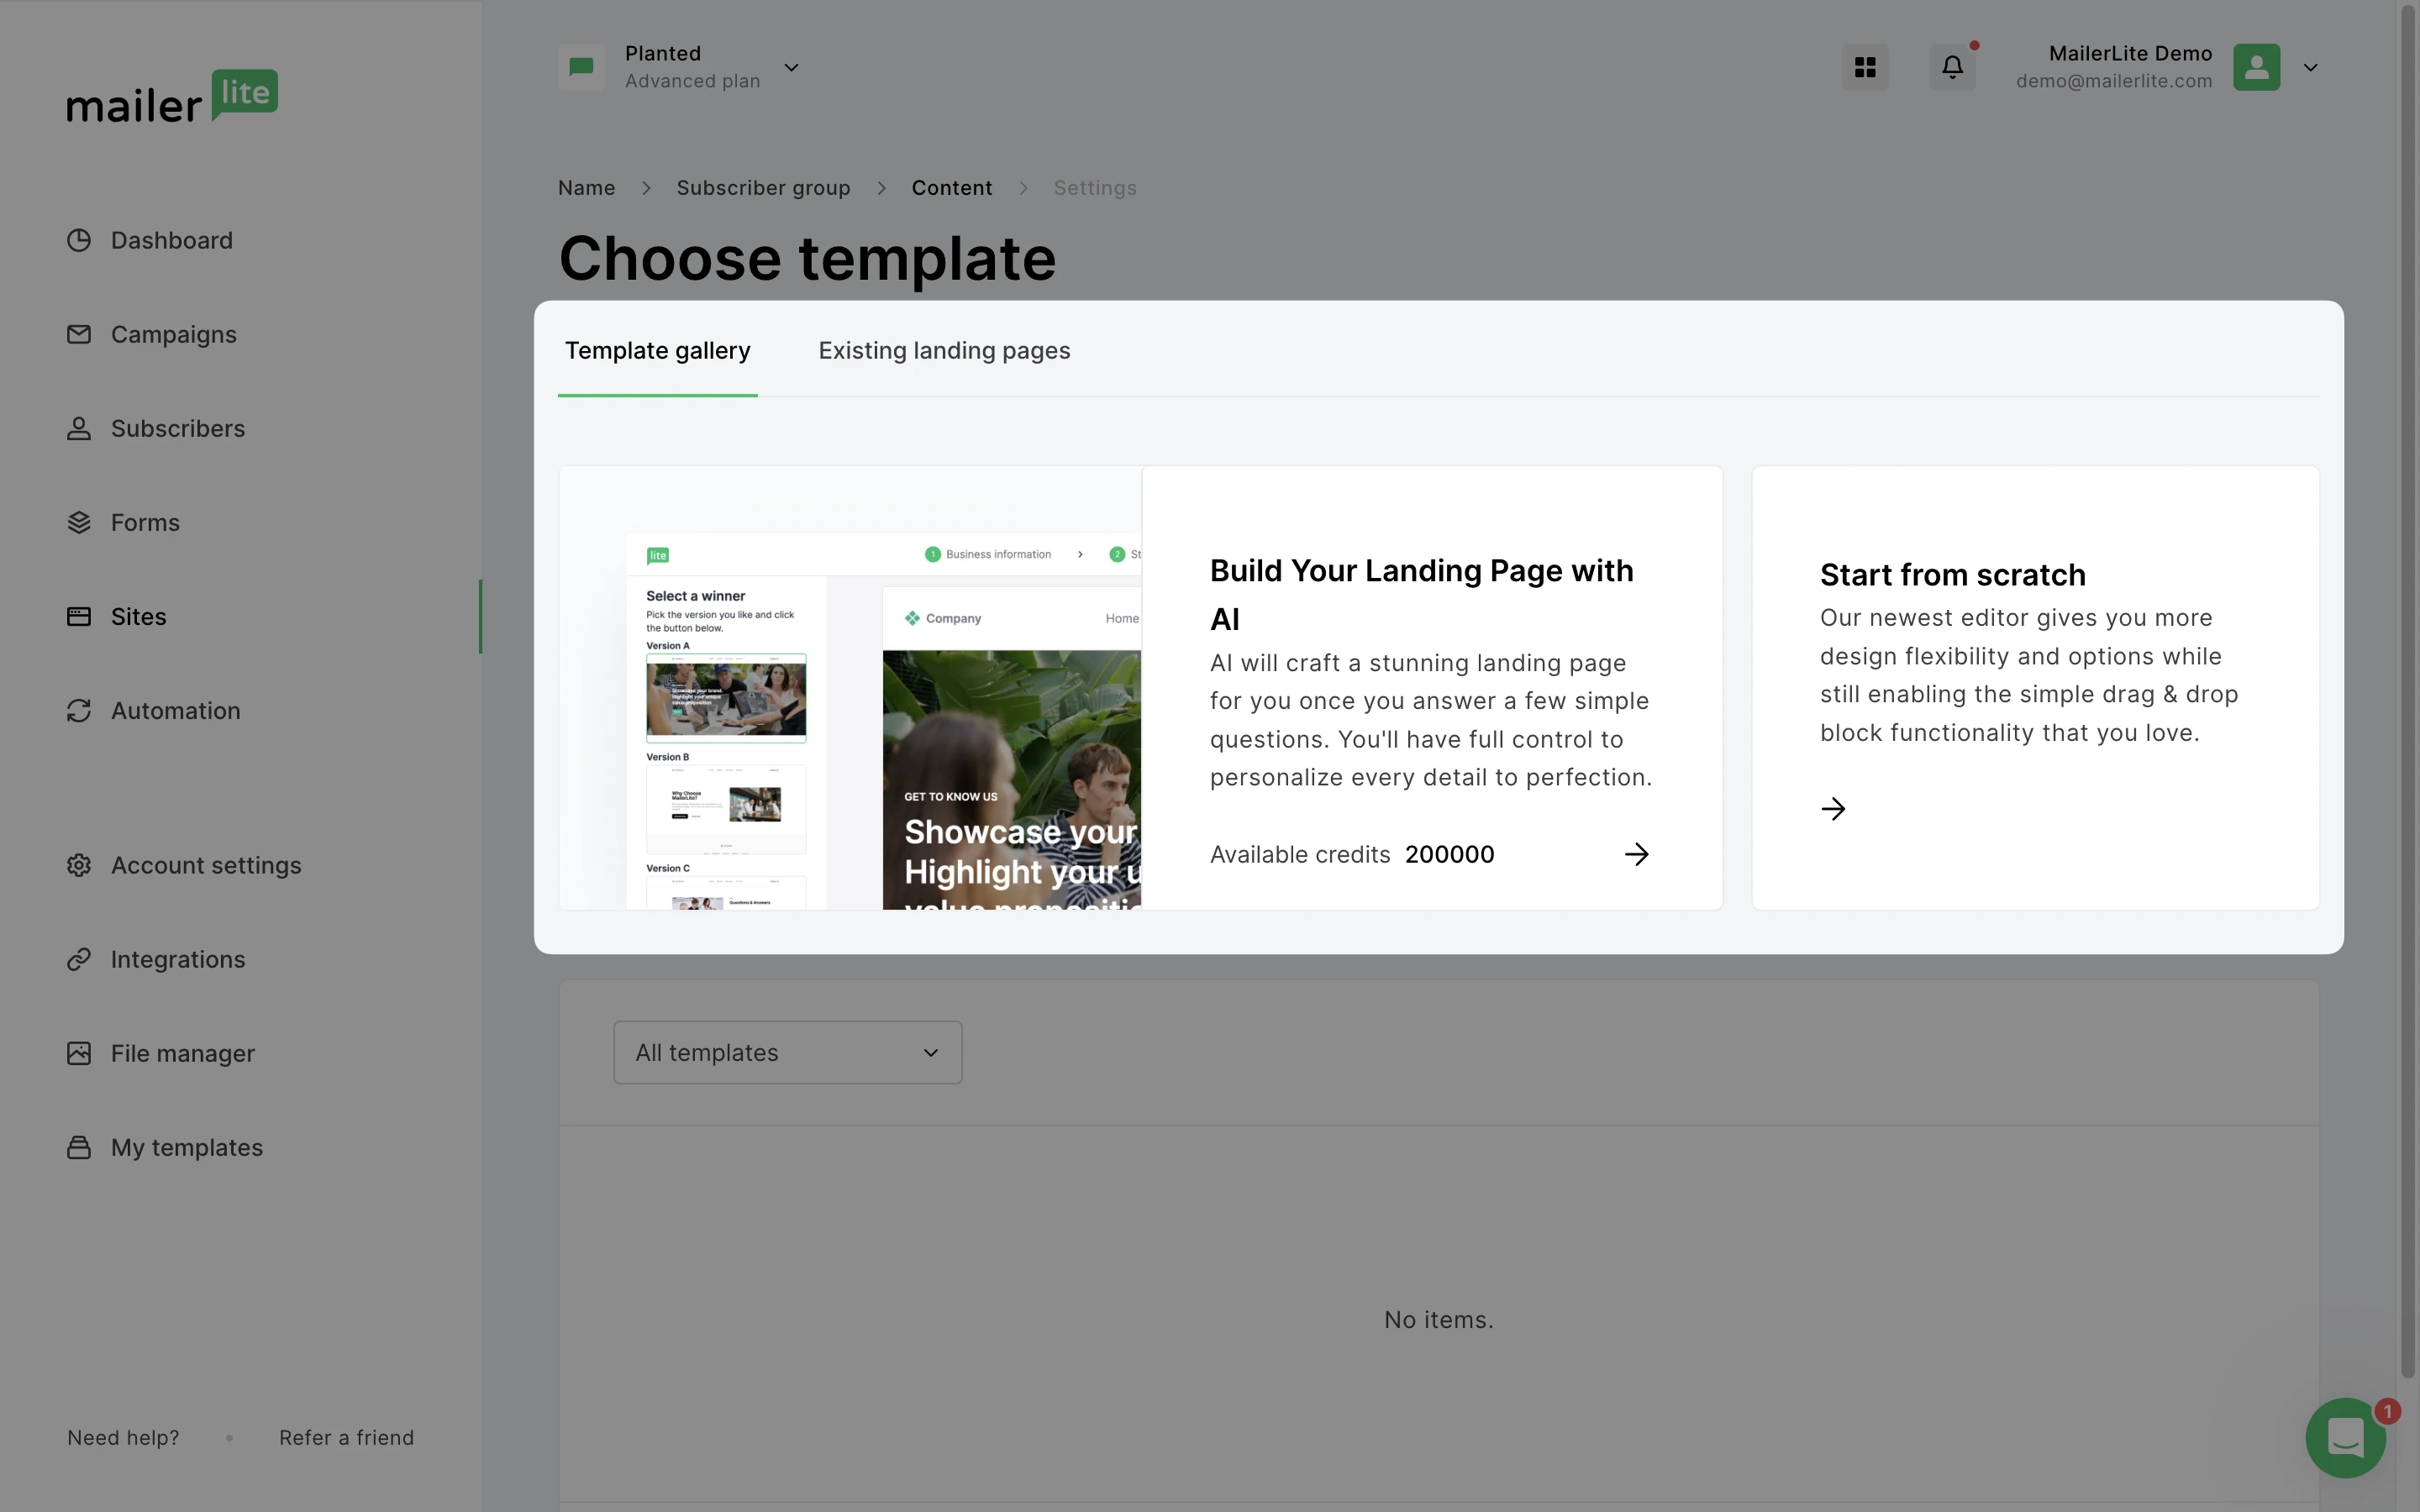
7. Choose how to build your landing page.
Build with AI (Advanced plans only) - Simply answer a few questions about your landing page goals to generate a full site using artificial intelligence. You can always regenerate to see different designs, and make your own adjustments. Our editor allows you to adjust the text, layout, images, ect - even if the design was generated by AI.
Start from scratch - Create your landing page using the Drag & drop editor.
Generating a landing page with AI
⚠️ Generating a landing page using artificial intelligence is only available for accounts on Advanced plans.
To generate a landing page using artificial intelligence, choose the option to Build your landing page with AI.
1. Begin by answering a few general questions about your business, and the goal of your landing page.
2. Click Continue.
3. Next, choose the preferred style for your landing page. From tone of voice to color scheme, you can customize your final design.
4. Once you have chosen your preferences, click Generate.
5. Within a few seconds, three different versions of a landing page will be generated for you to choose from. Simply choose between version A, B, or C - or choose to Regenerate for more design options.
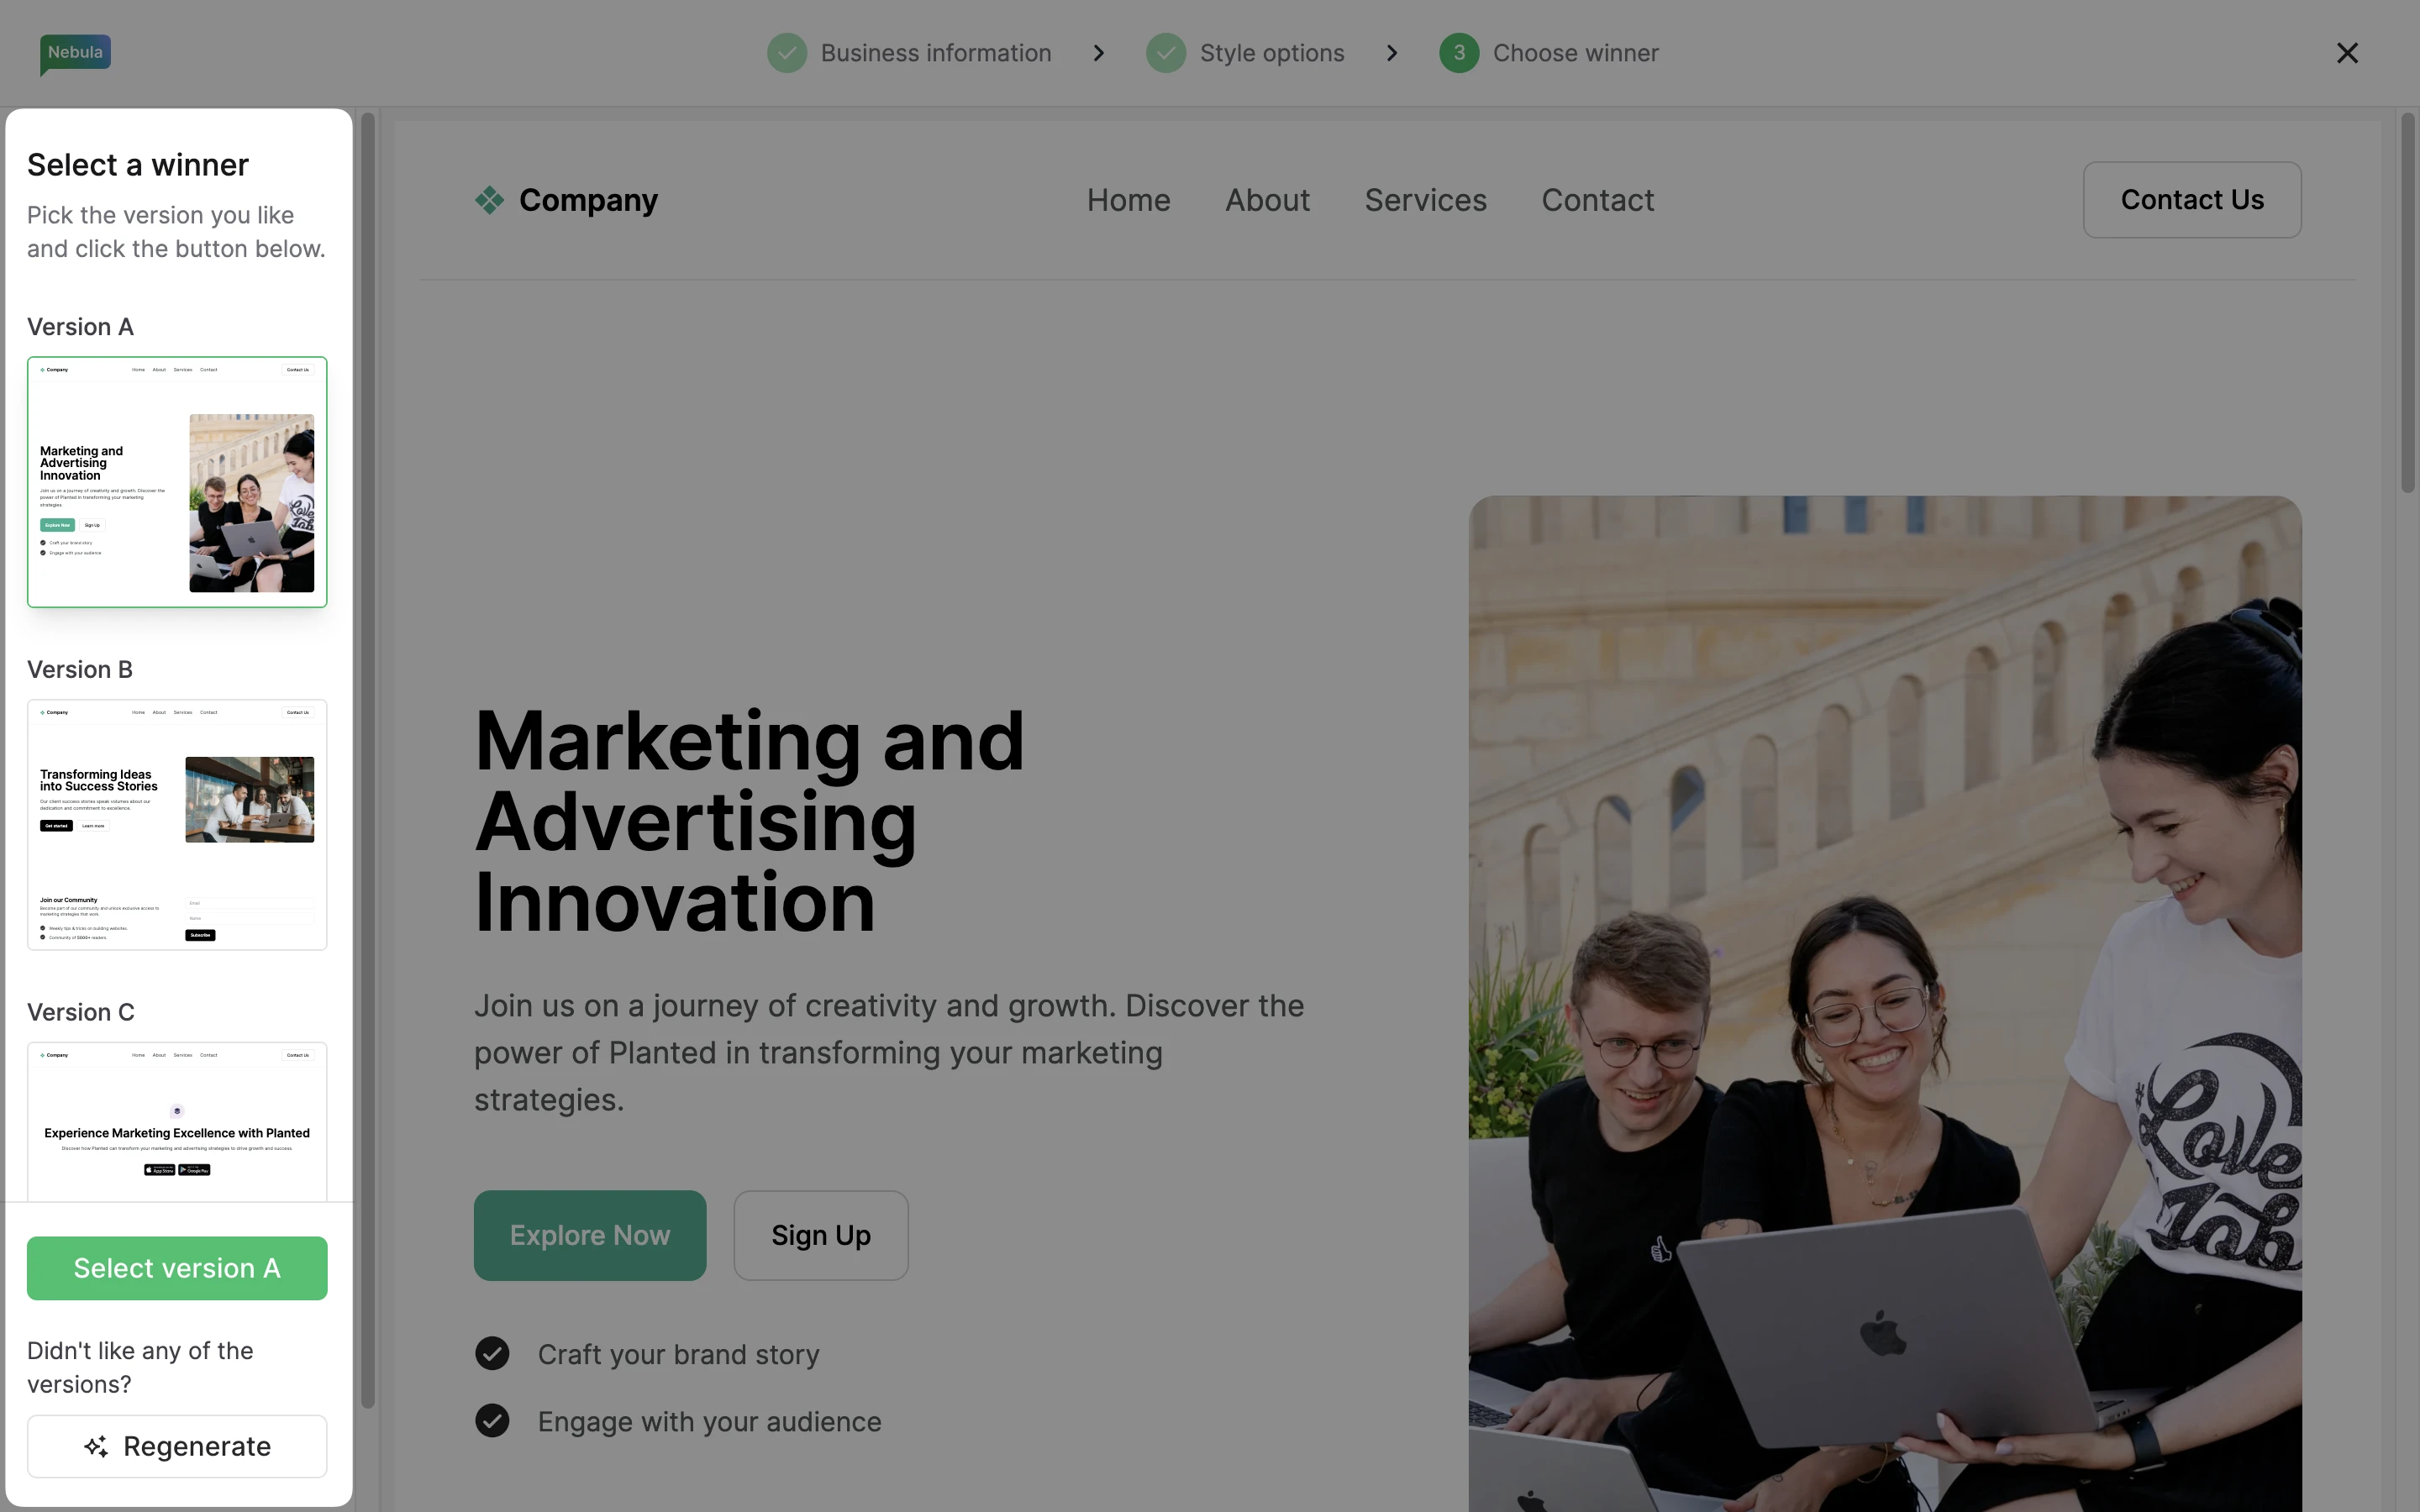
Once you have selected a version of the landing page, you can continue to customize the design using the Drag & drop editor.
Using Elements: Customize your content with ease
Elements are draggable content blocks that you can add to Sections or Columns.
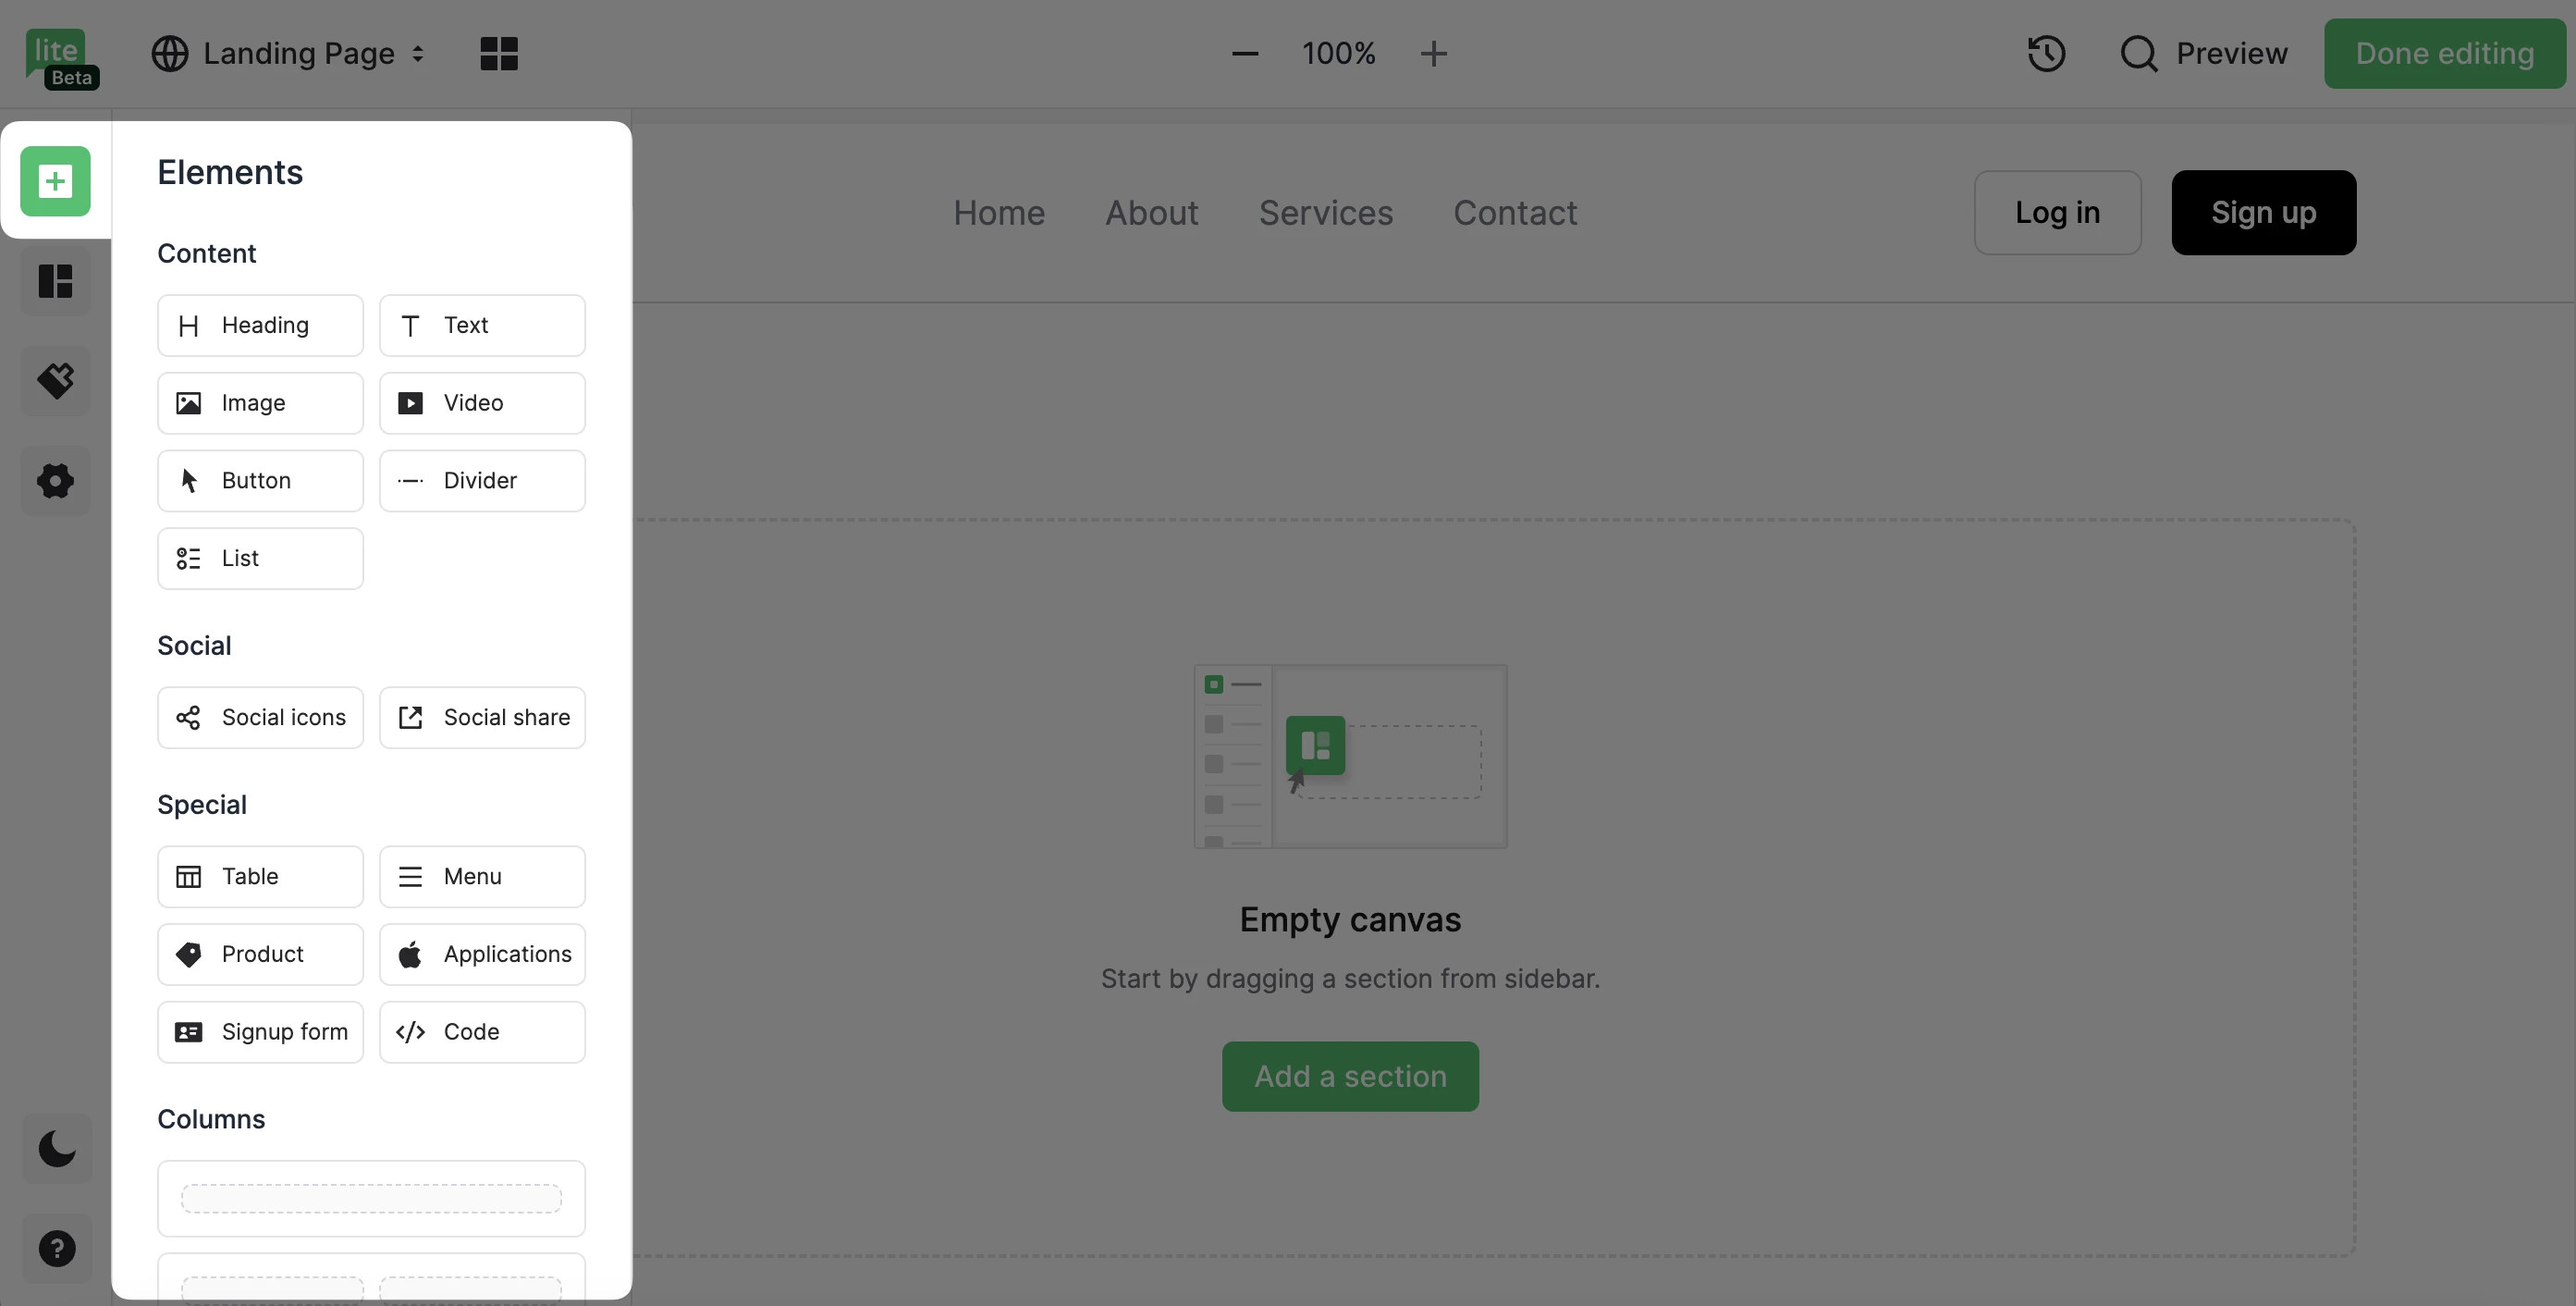
Content elements: Create compelling content with elements like headings, text, images, videos, and buttons. Tell your story and showcase your products or services in style
Social elements: Boost engagement with social media icons and share buttons. Seamlessly integrate your social media channels into your landing pages and expand your reach
Special elements: Add a touch of sophistication with elements like countdown timers, testimonials, maps and forms. These elements add dynamic functionality, making your landing pages more engaging and persuasive
Columns: Structure your landing page with columns, into which you can drag and drop elements. Creating a visually appealing layout to guide visitors through your content
Sections: Configure your landing page layout in seconds
Our builder includes a variety of premade sections that you can drag and drop into your layout, allowing you to create professional-looking designs in a snap.
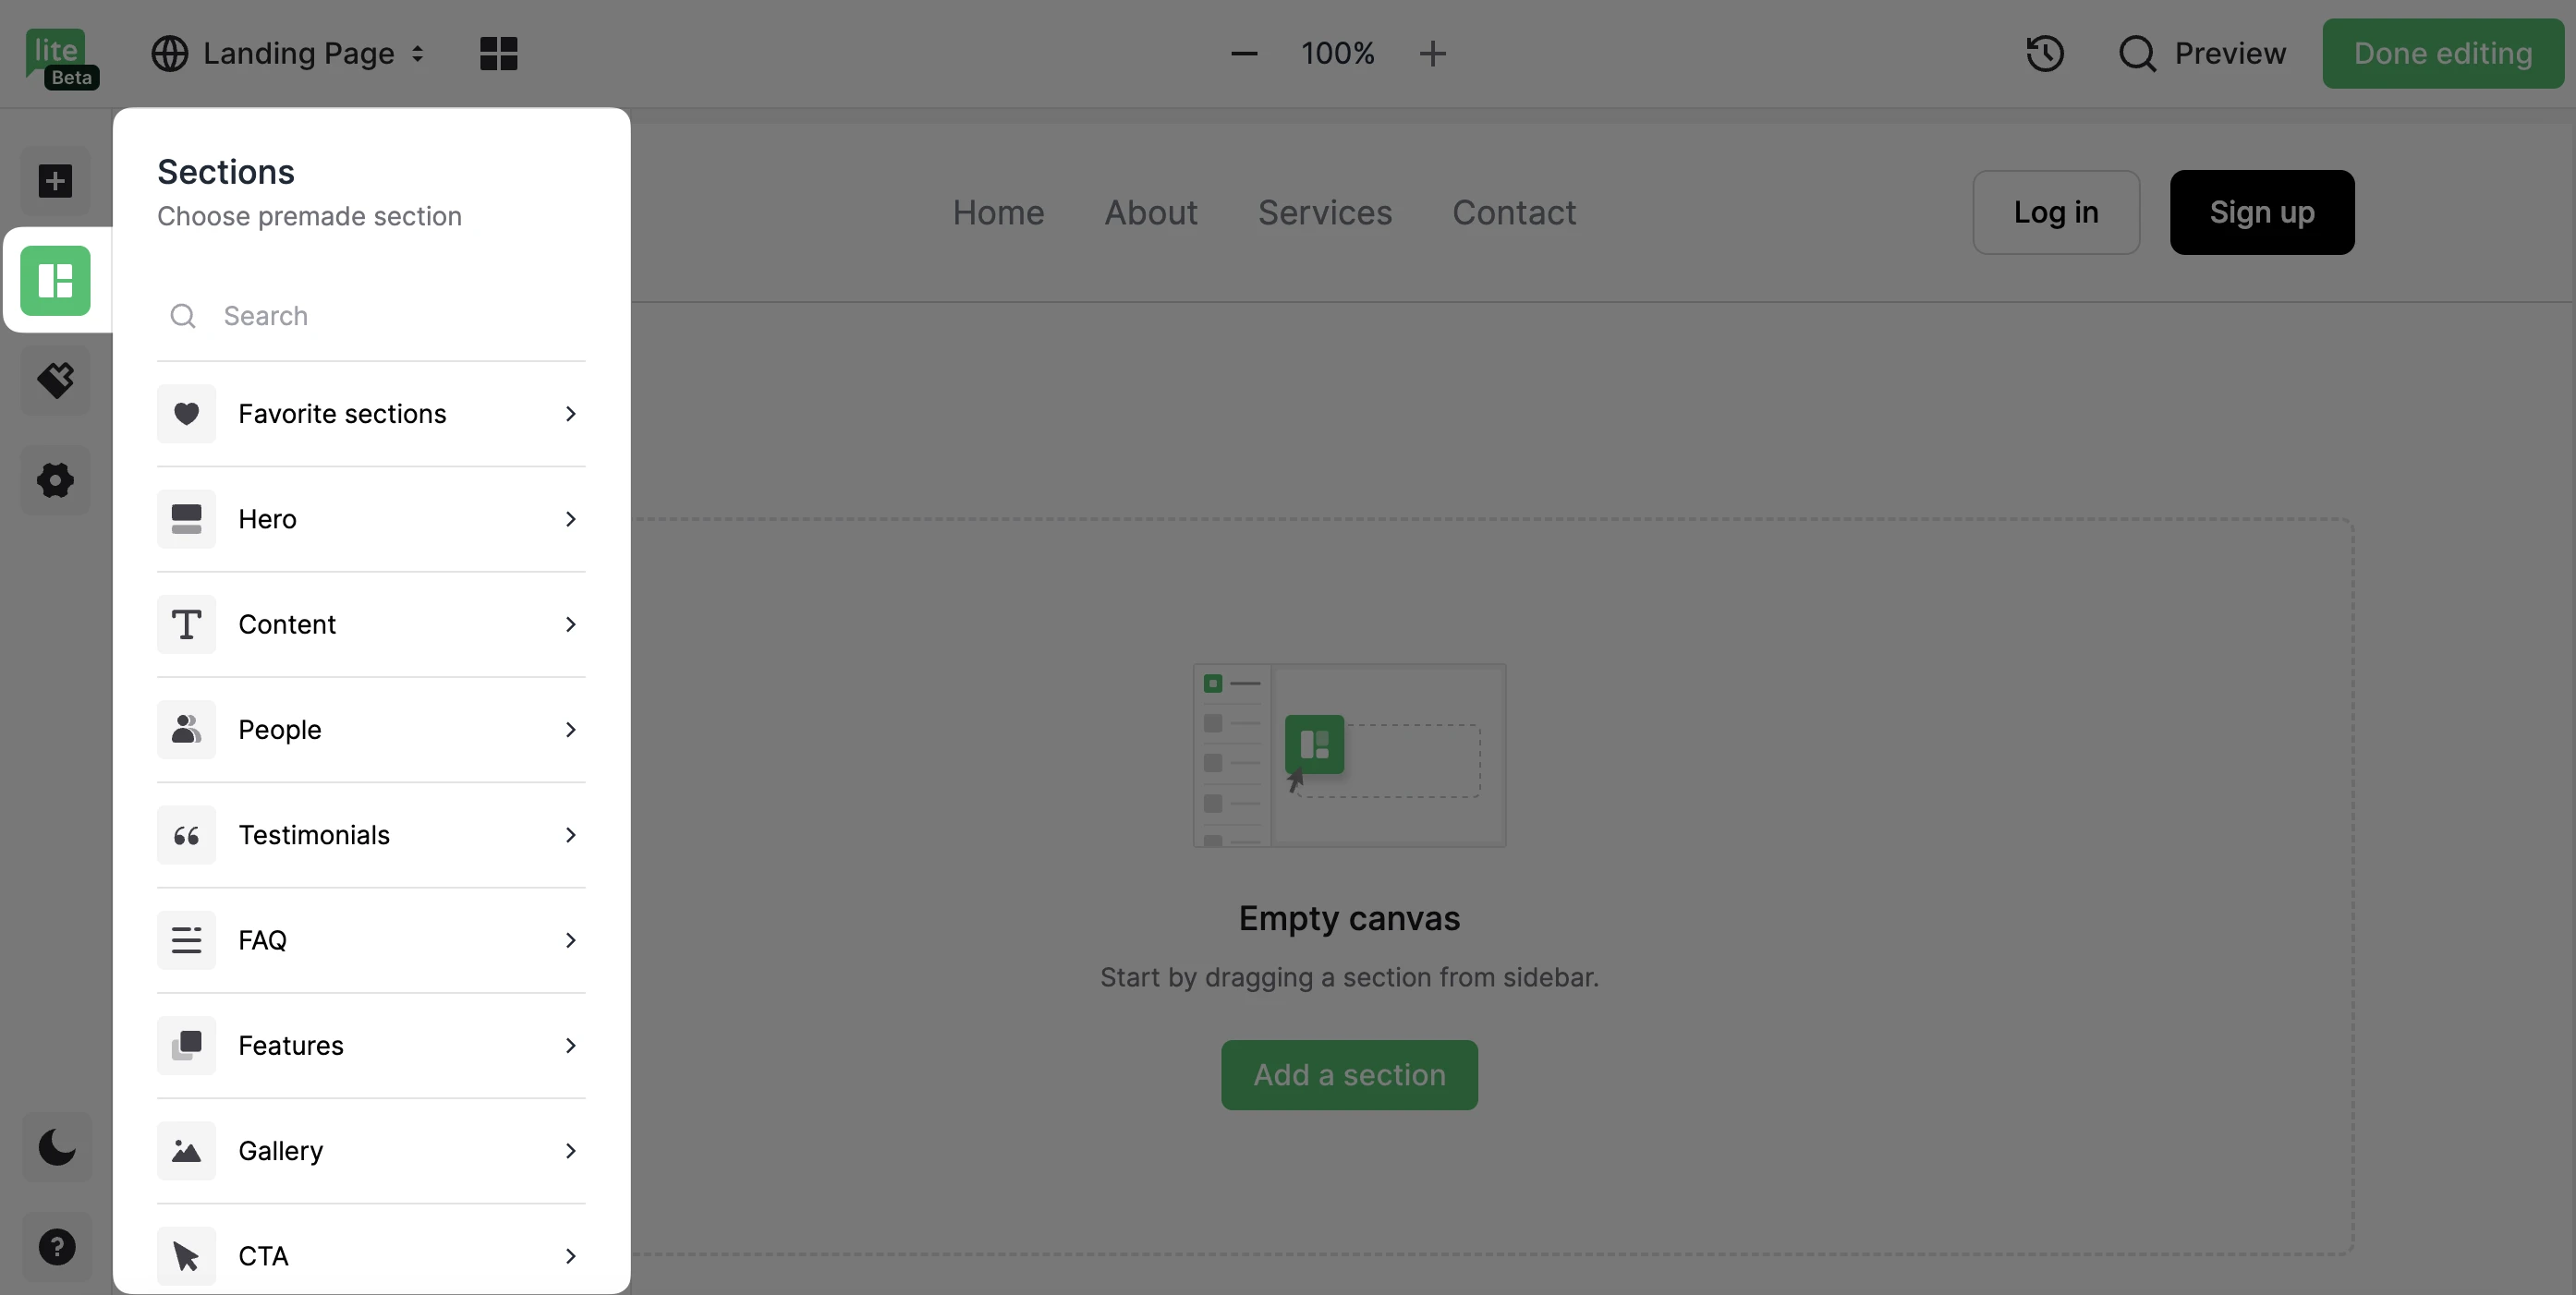
Hero: Make a bold statement with a striking hero section that grabs your visitors' attention from the moment they land on your page.
Content: Showcase your content beautifully with a well-structured layout that highlights your message and keeps your visitors engaged.
Team/People: Introduce your team or key individuals with a dedicated section that adds a personal touch to your landing page.
FAQs: Anticipate and address common questions with an FAQ section that provides valuable information to your visitors.
Social proof: Add elements such as brands you have worked with or statistics you want to showcase.
Testimonials: Build trust and credibility with testimonials from satisfied customers, displayed in an eye-catching format.
Features & events: Highlight key features of your product or service in a visually appealing way that captures your visitors' interest.
Contacts: Make it easy for visitors to get in touch with you by including a contact section that provides all the necessary information.
CTA: Encourage action with a Call-to-Action section that prompts visitors to take the desired step.
Pricing: Clearly display your pricing plans or packages in a pricing section that helps visitors understand the value of your offerings.
Gallery: Display images or videos in a gallery section that showcases your products, services, or portfolio in an attractive and organized manner.
Interactive: Add a Surveys that allows landing page visitors to provide valuable feedback, or display a Newsletter archive to show off your recent newsletters.
Easy margin adjustment
Fine-tuning your landing page layout is now made simple. You can easily drag and adjust the margins of sections to space them out exactly as you desire.
Favorites: Save your custom designs for later
Once you’ve designed a section, save it to your Favorite sections folder so you can re-use it across all your landing pages.
To save a section to your favorites:
Hover over the section to reveal the edit icons.
Click the heart icon to save the section to Favorites.
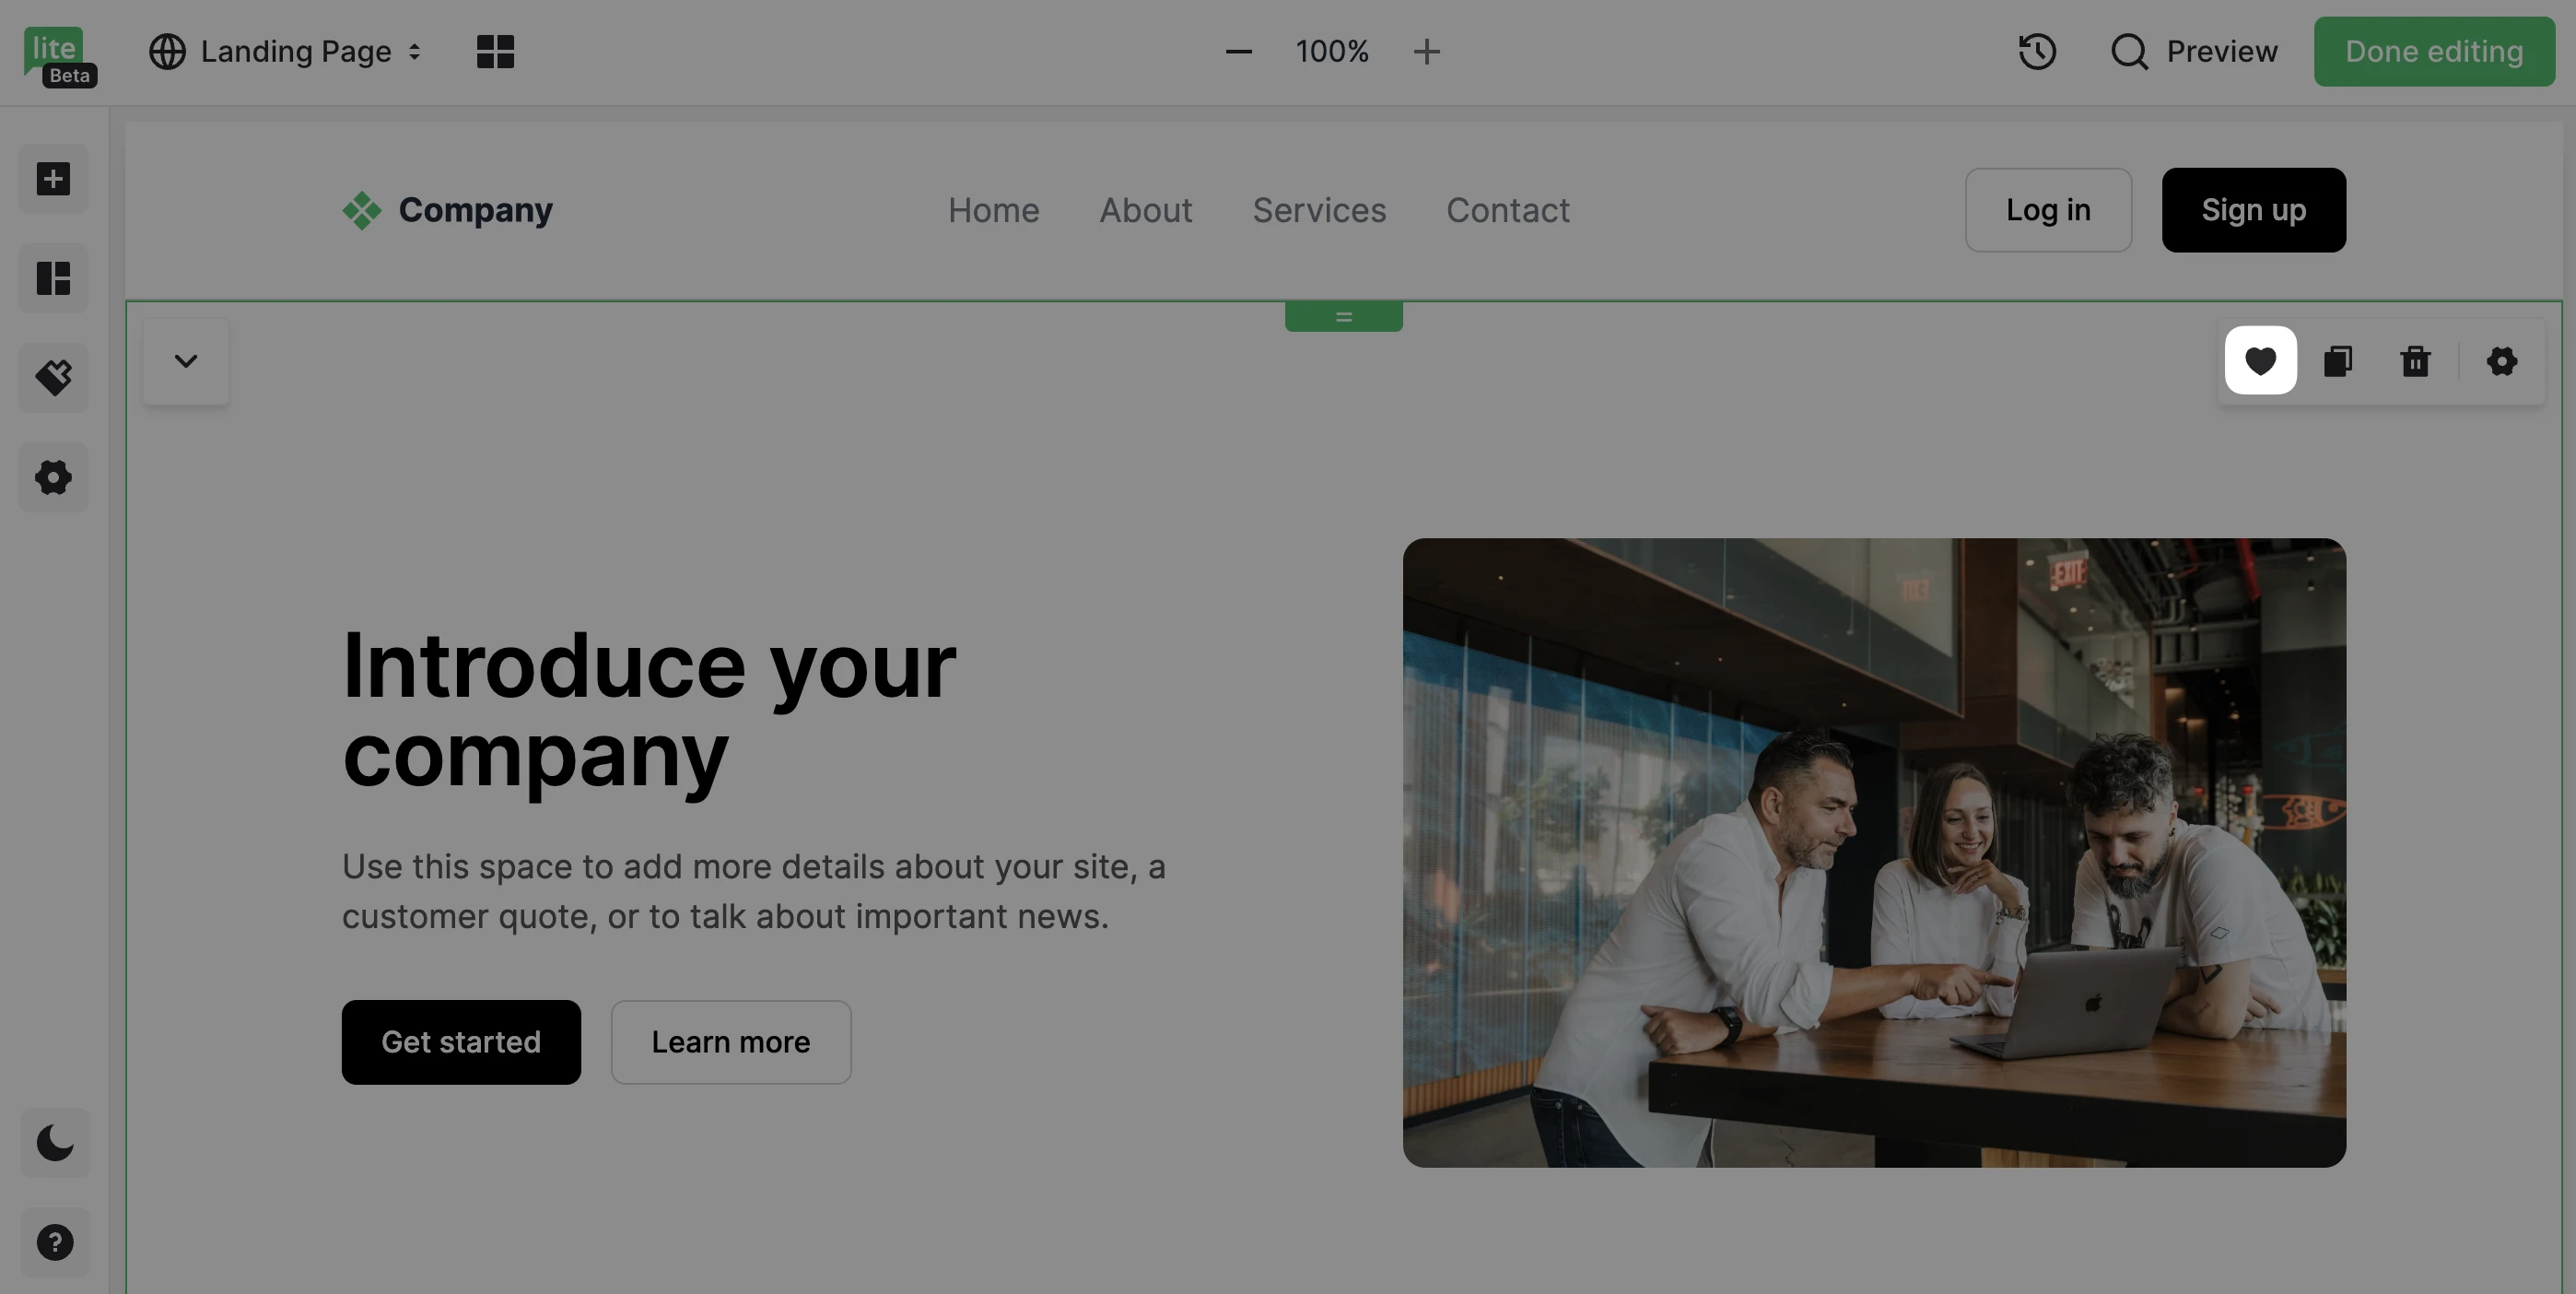
You can find the Favorite sections folder at the top of the Sections tab.
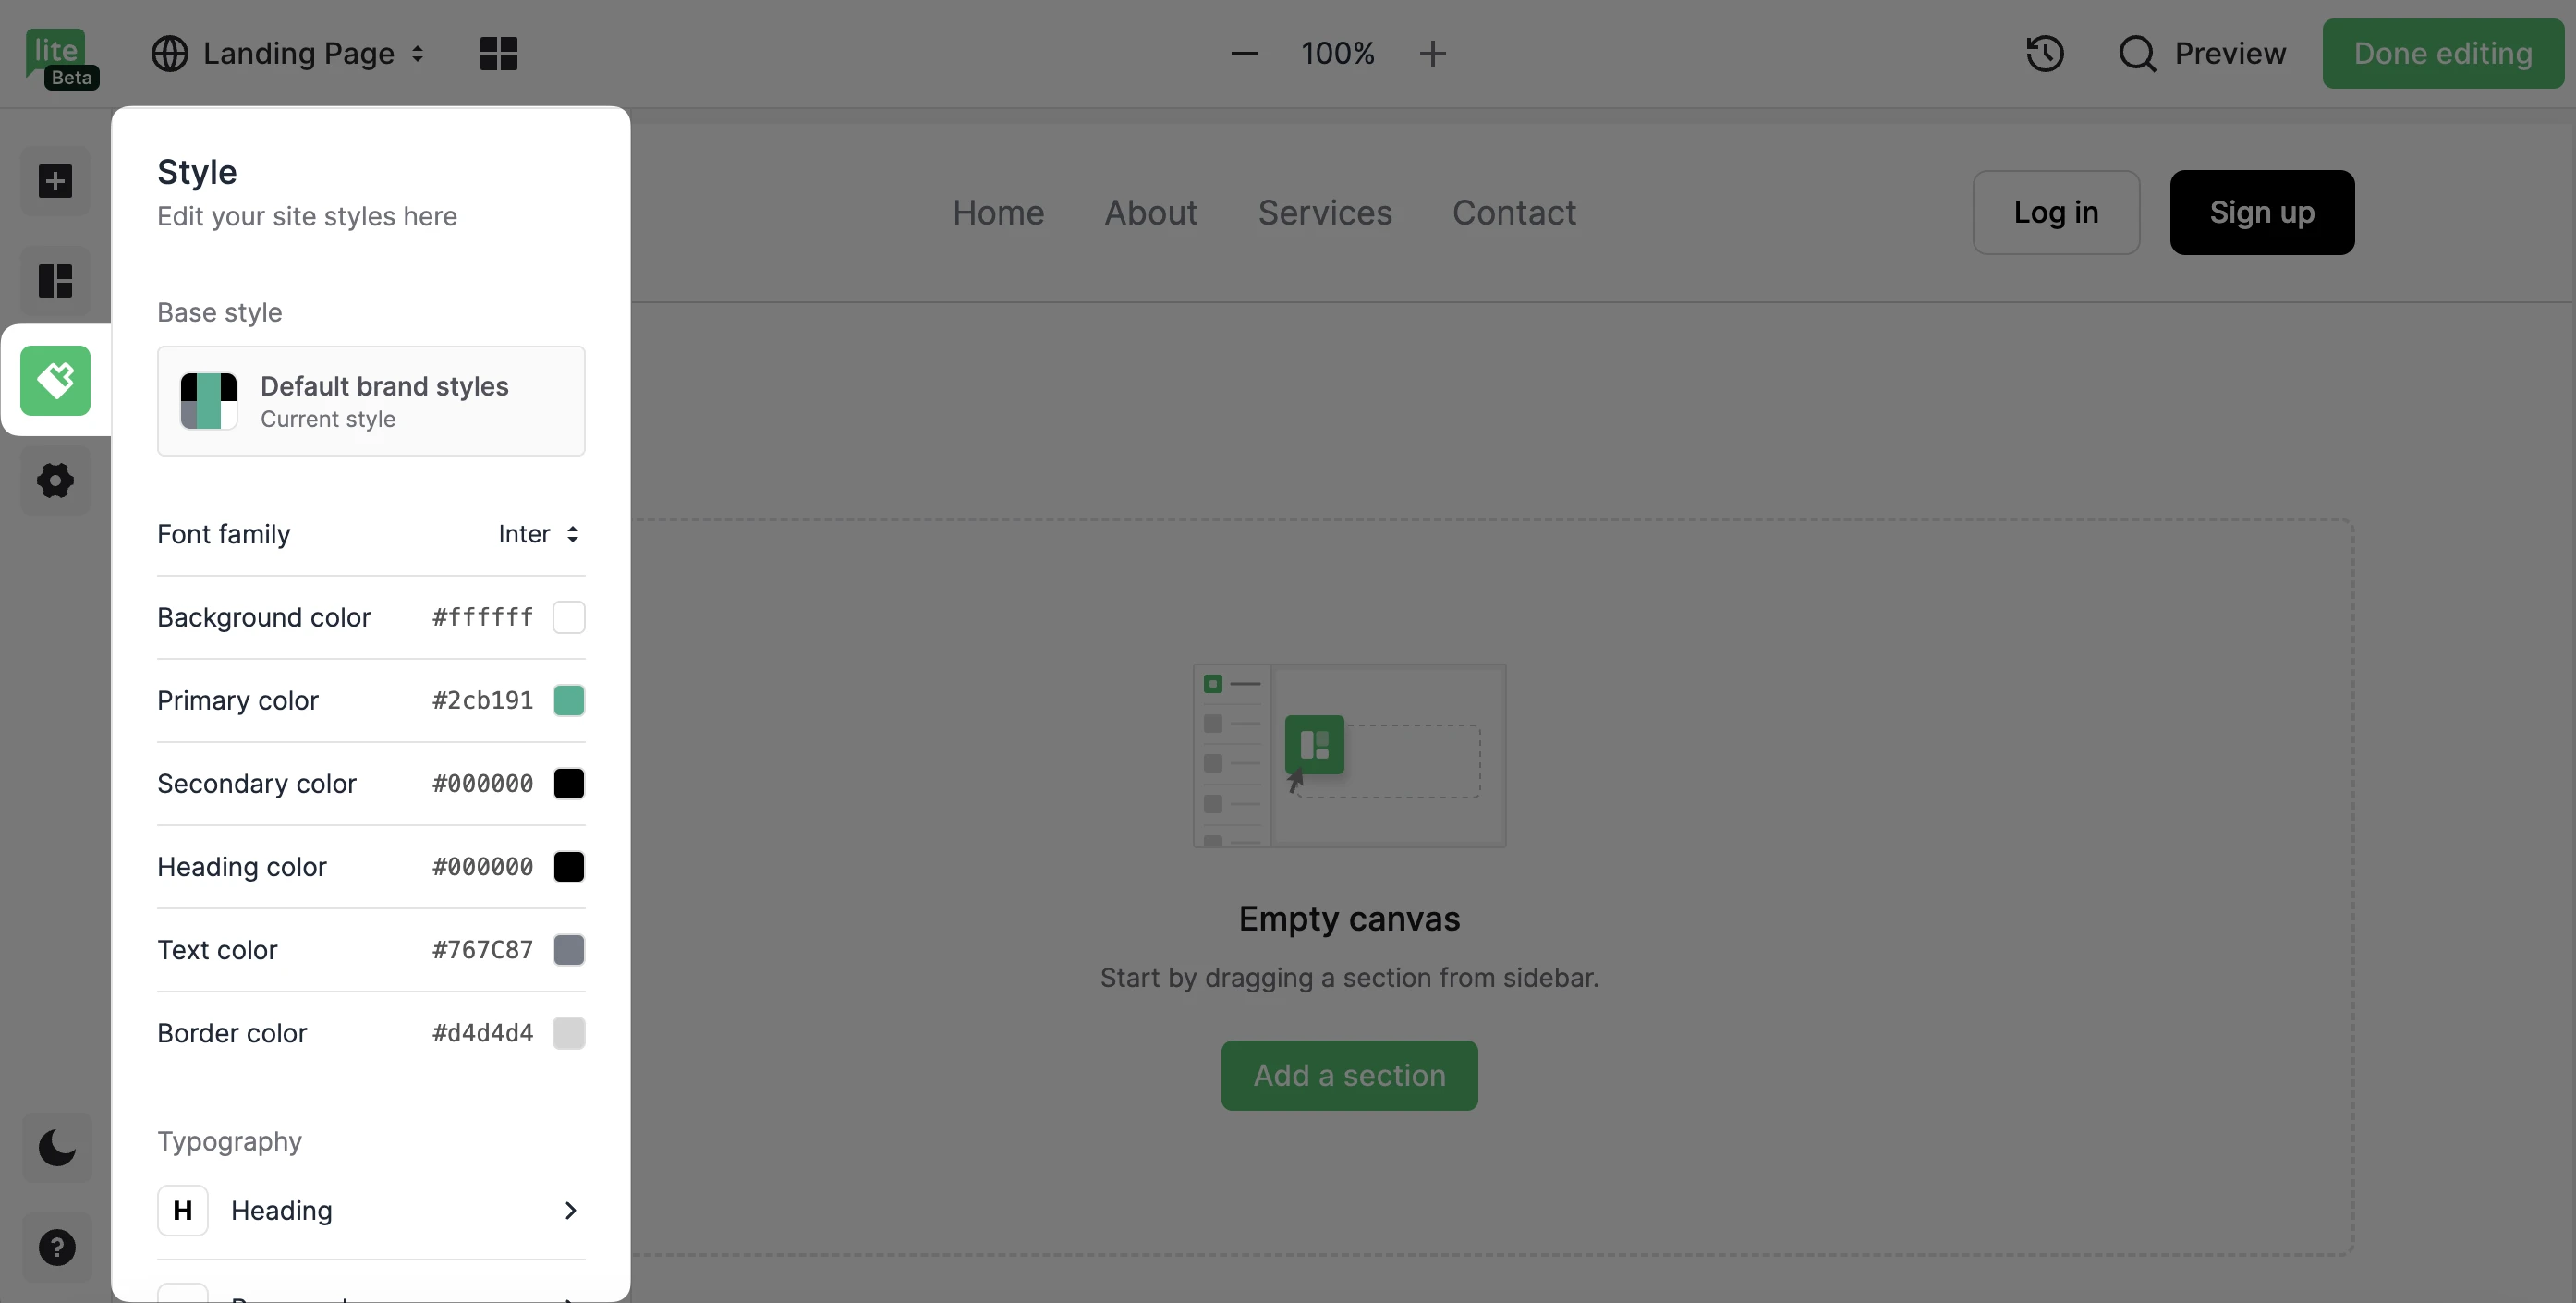
Brand styles: Apply consistent branding across all elements
Set global brand styles, including fonts, colors, and typography, ensuring a consistent and professional look across your entire landing page.
AI text and image generation (Advanced)
Those on the Advanced plan can experience the power of AI image and text generation while building landing pages.
AI text generation:
Instantly generate engaging text content for your landing pages. Whether you need catchy headlines, compelling product descriptions, or informative paragraphs, our AI can help you create content that resonates with your audience.
To use the AI text generator:
1. Highlight any text and click AI suggestions.
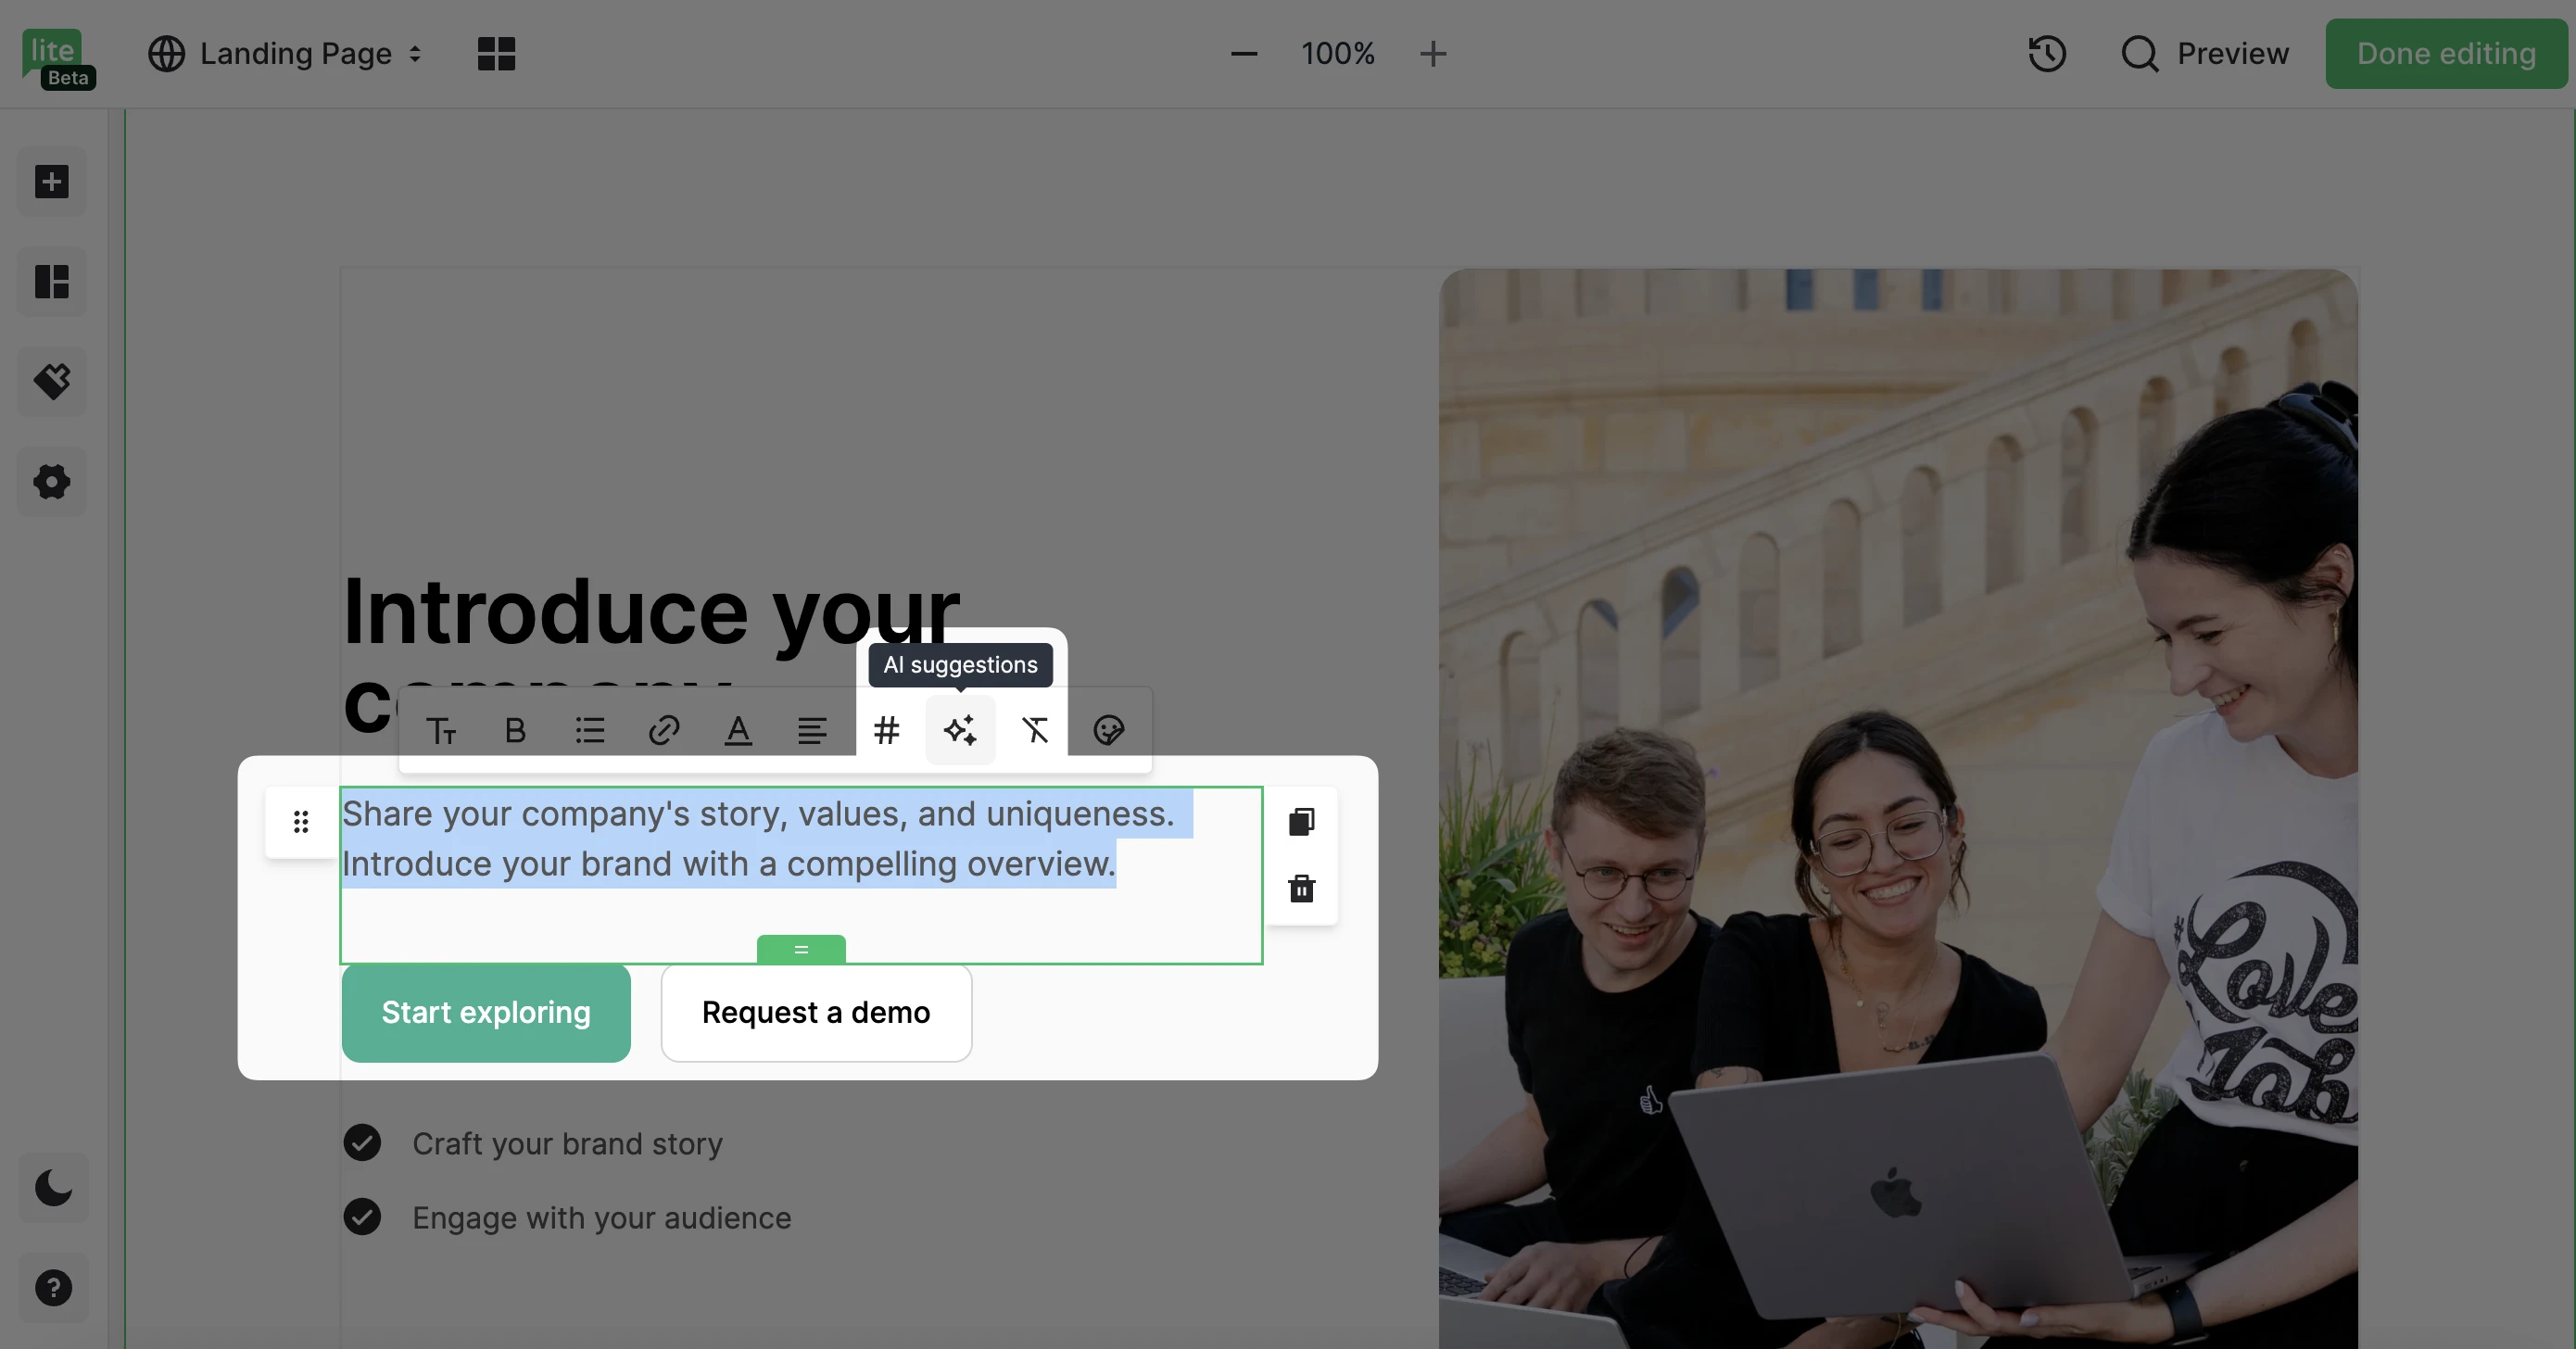
2. Select a tone, text type and language before entering your prompt in the field provided.
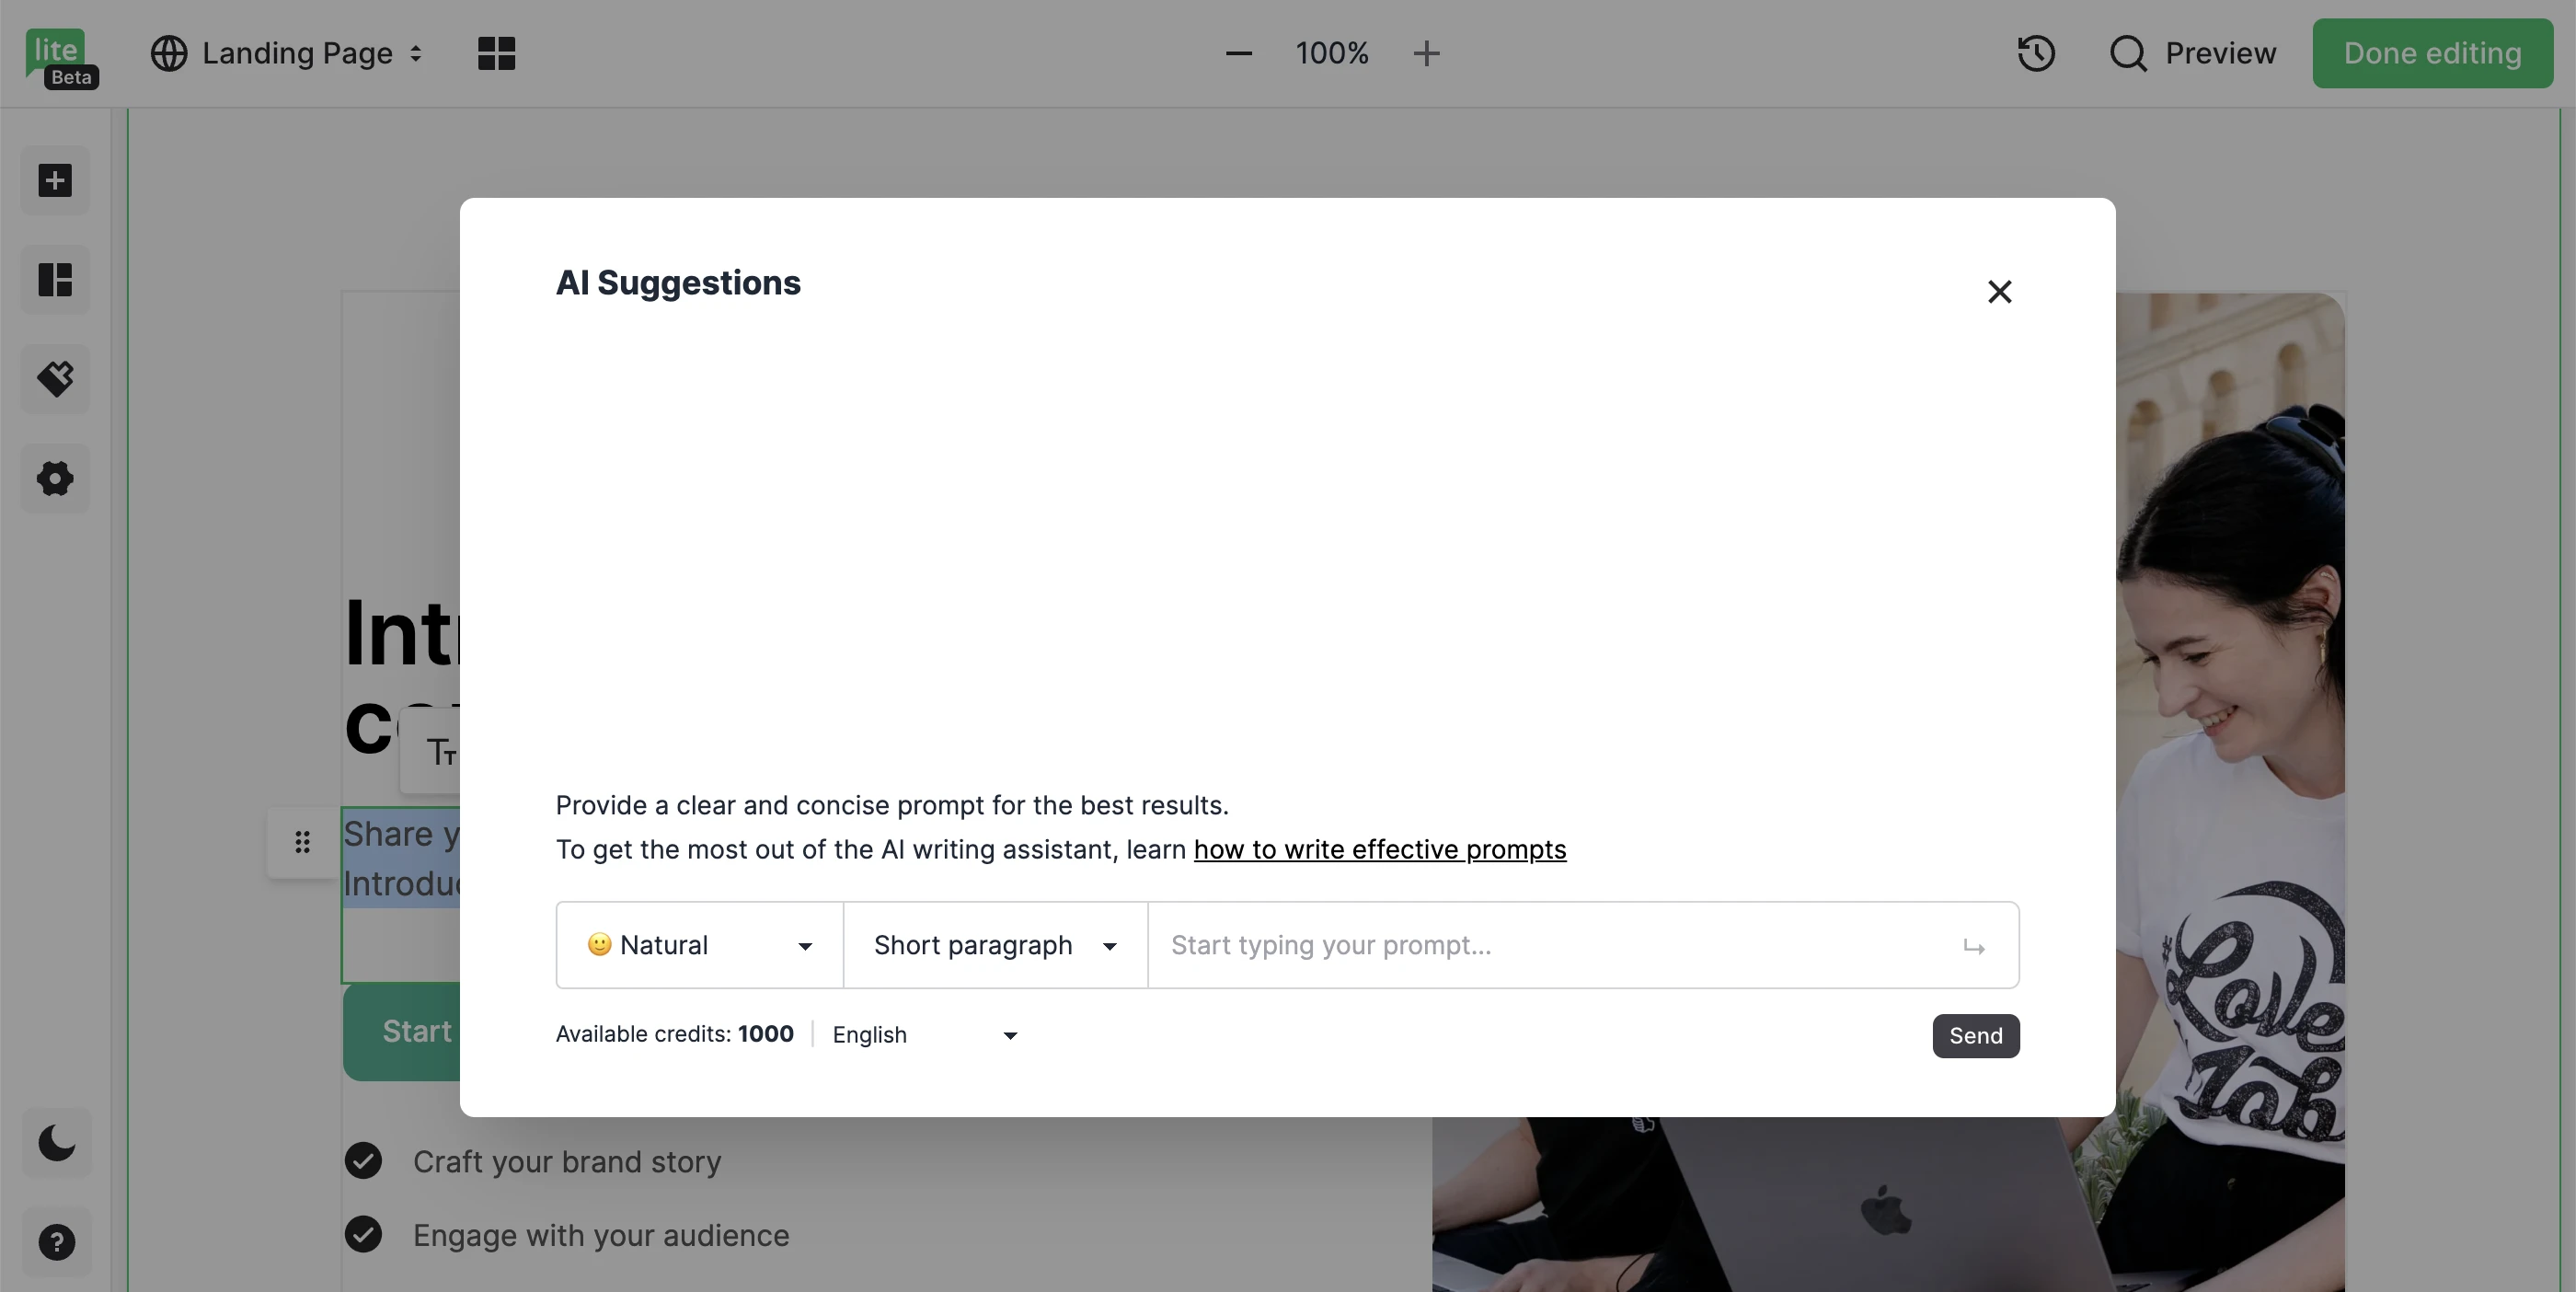
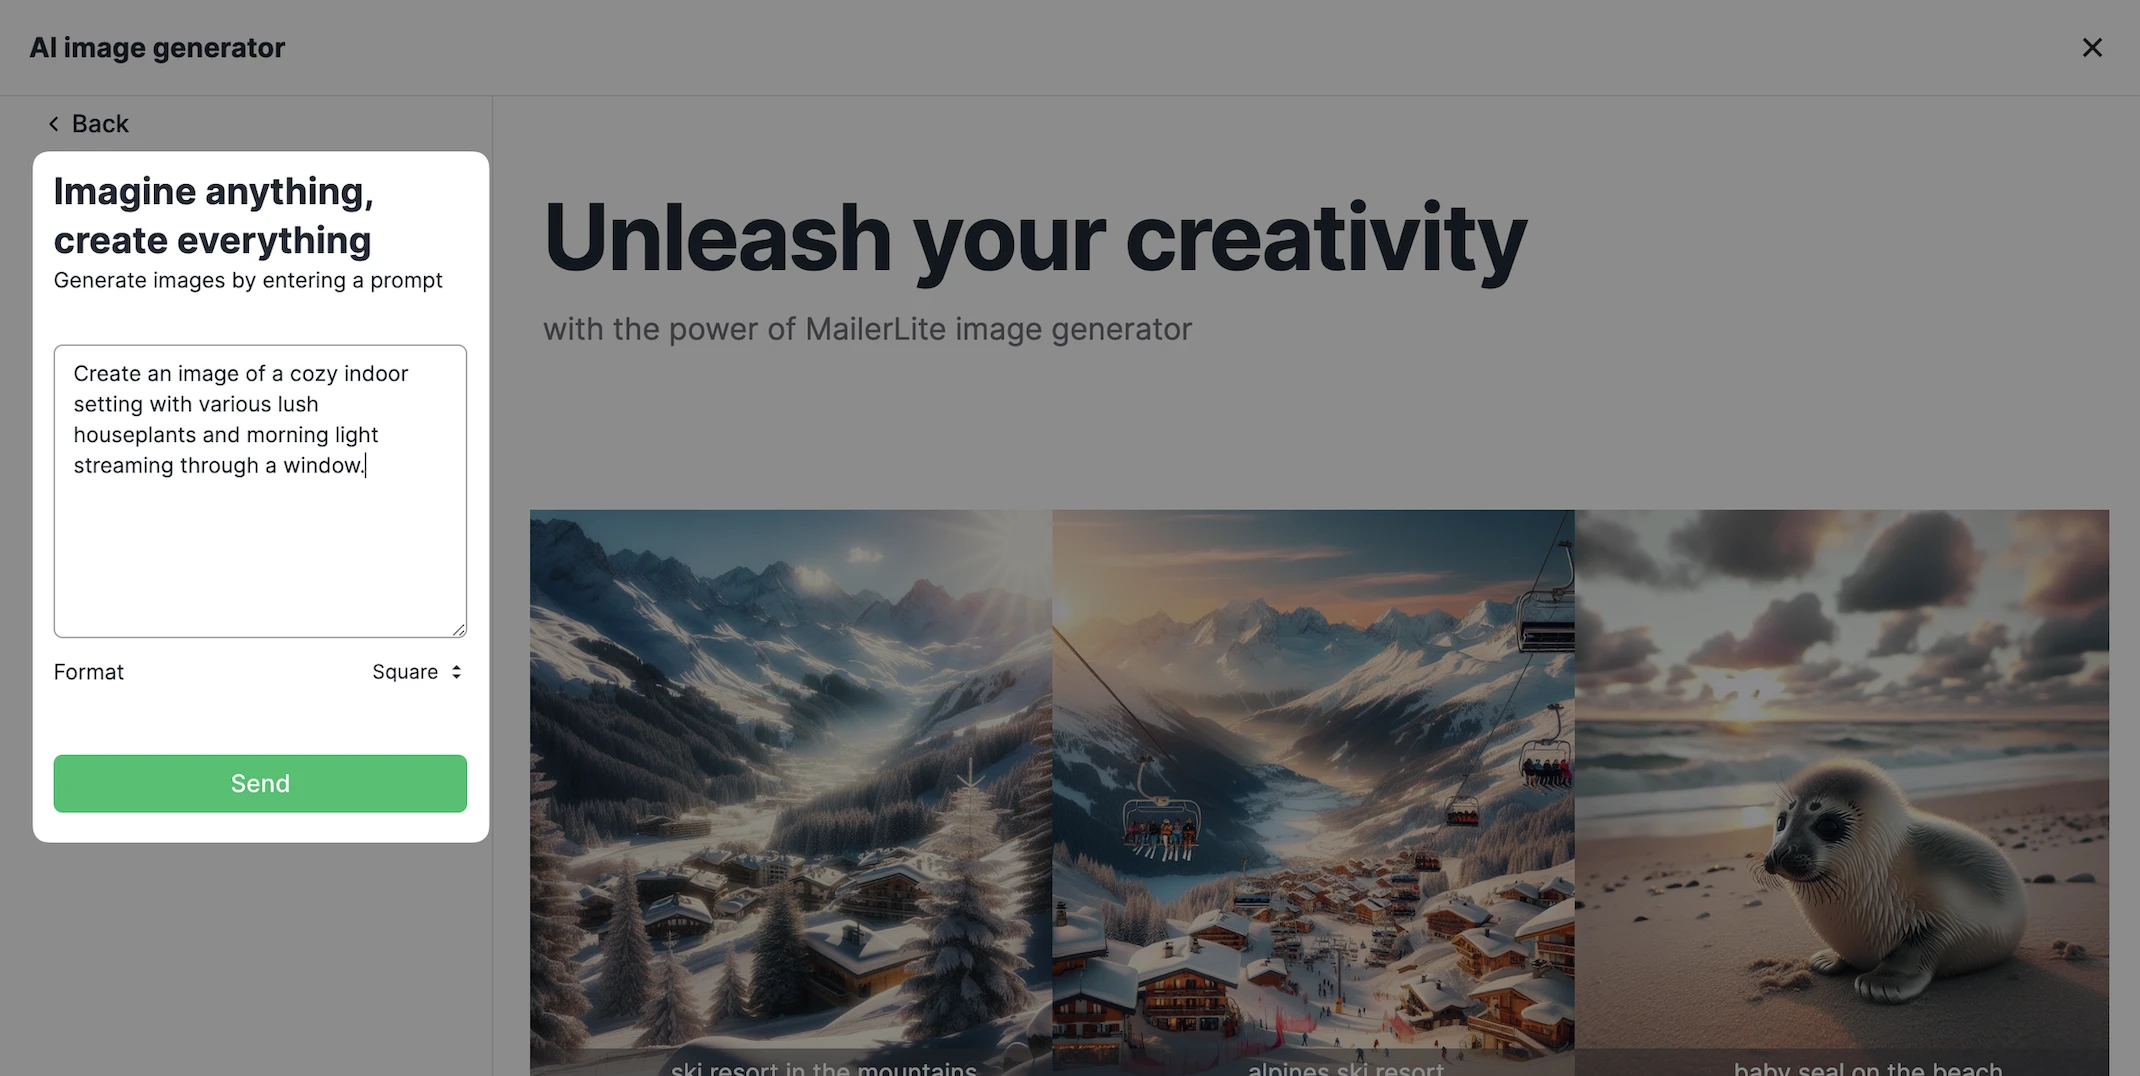
Image generation:
Quickly generate high-quality images for your landing pages. Simply input your requirements, and let AI create custom images tailored to your needs.
To start generating images:
1. Drag and drop an image element onto your landing page.
2. Click the AI image button.
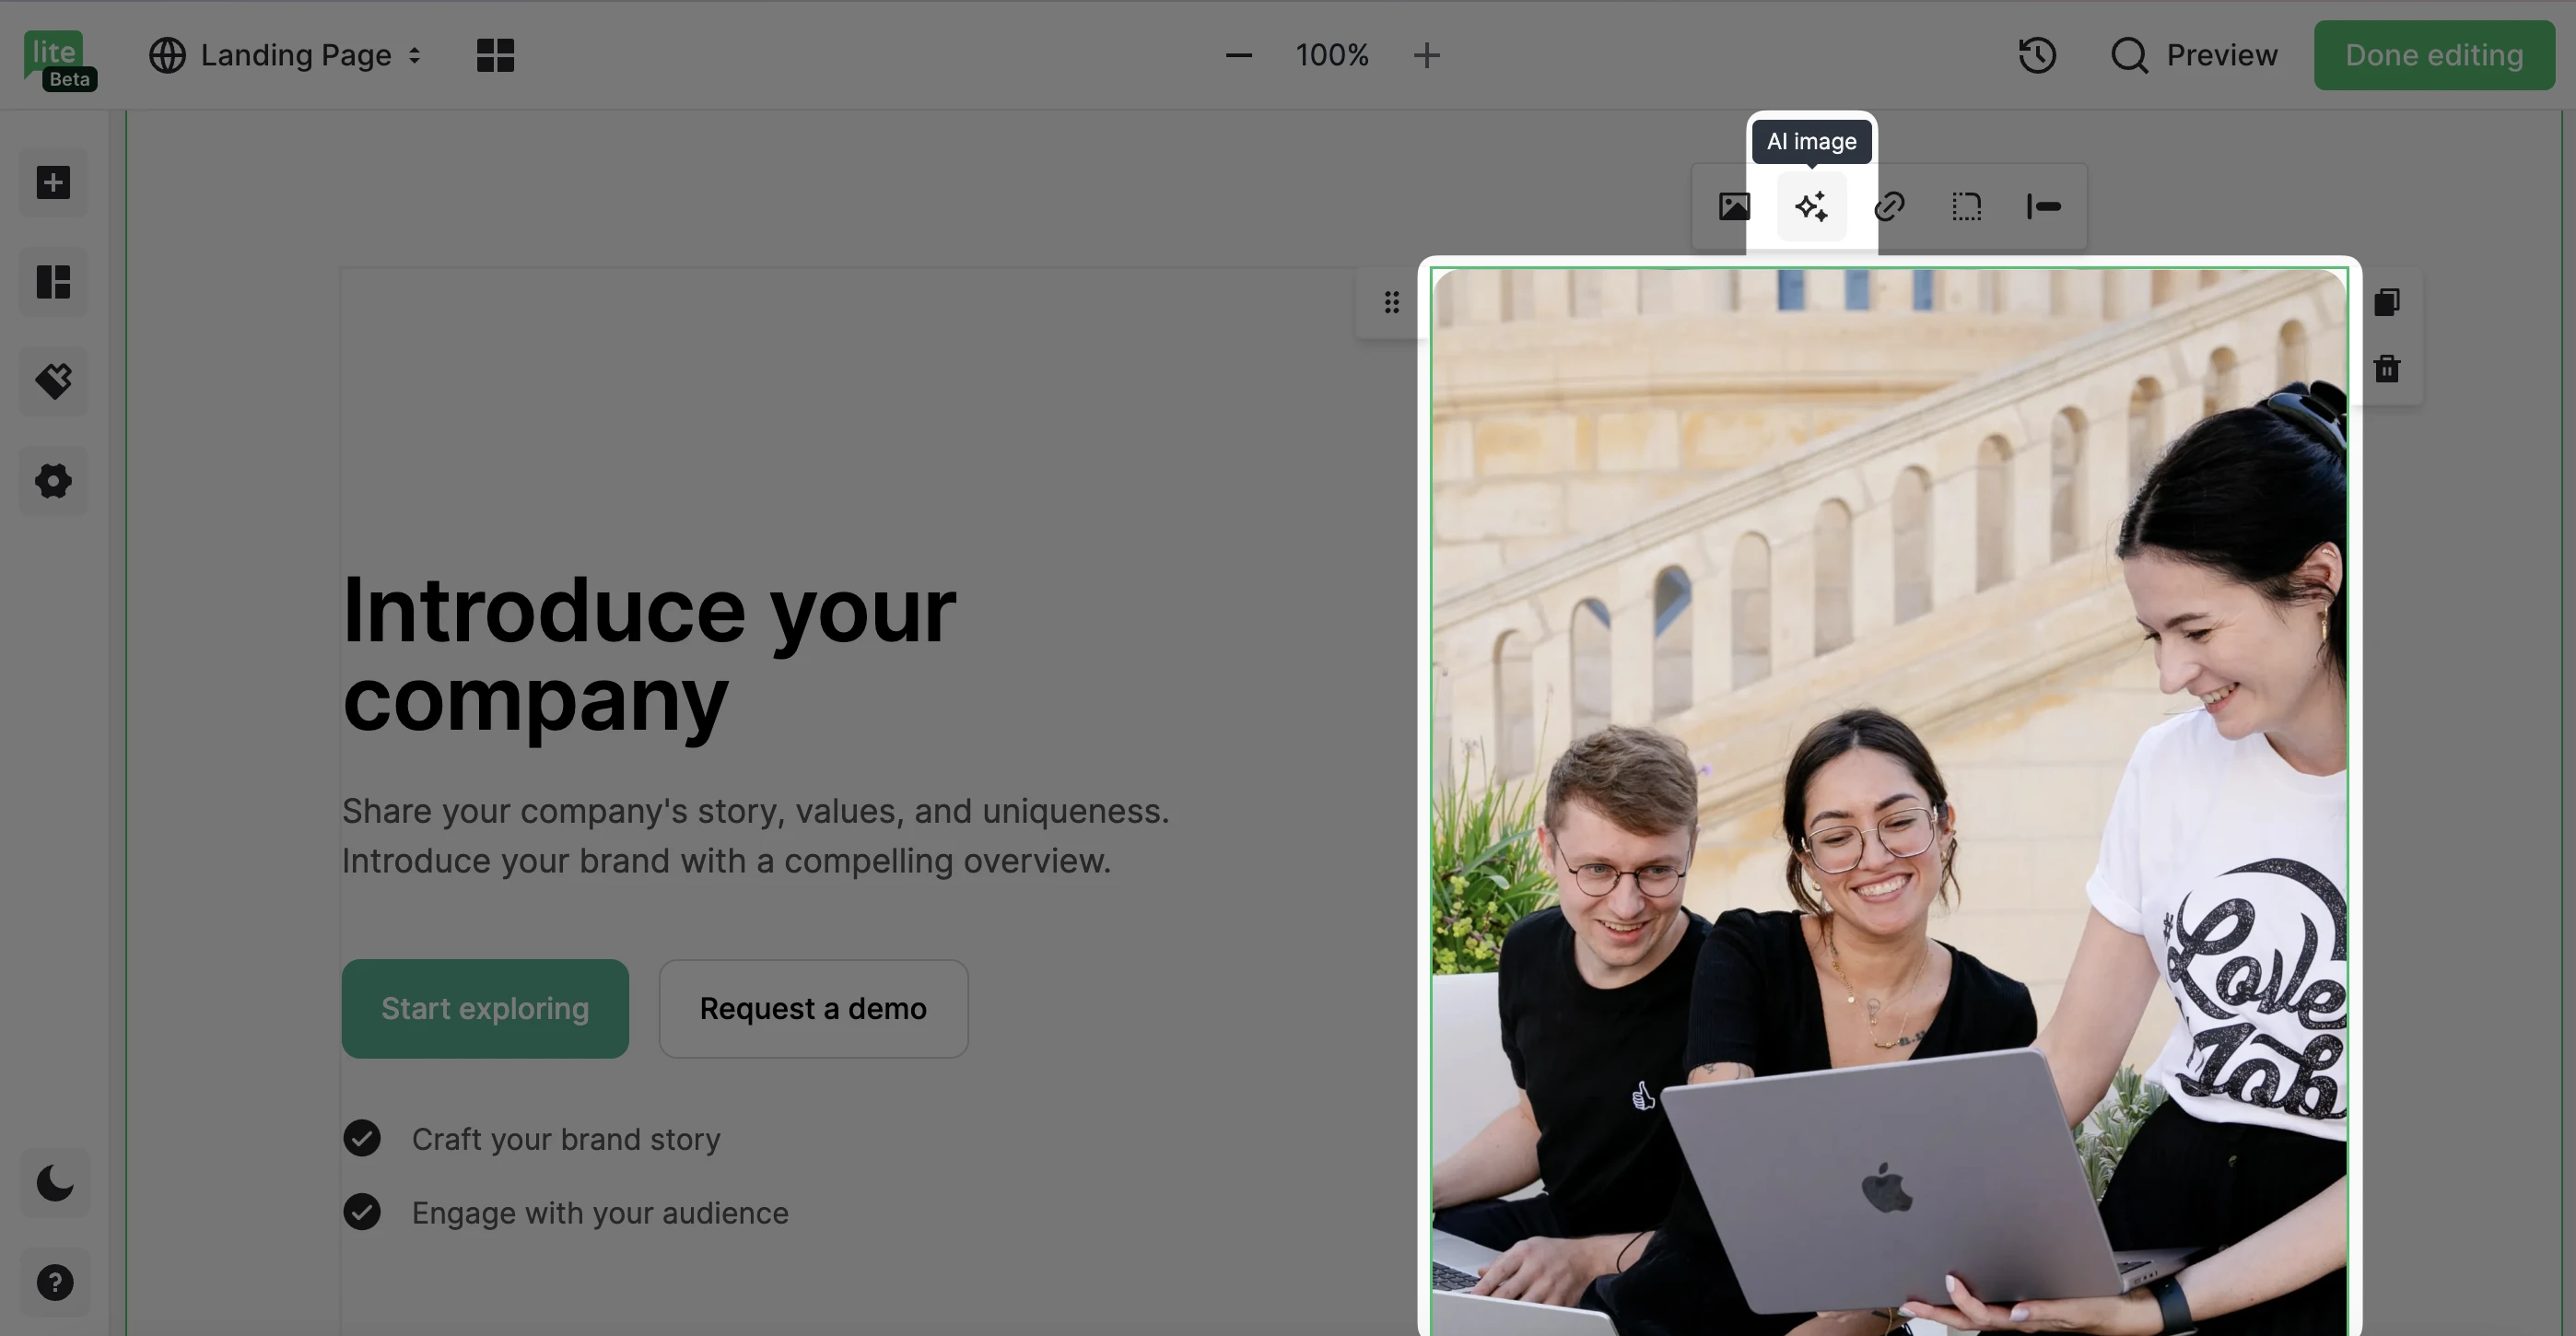
3. Enter your prompt and select an image format (square, portrait or landscape).
💡 Note: Advanced plans receive 30 image generations per month.
Once an image is generated, you can either add it to your landing page or save it to the file manager for later use.
Publishing
Once you’re done editing, click the Done editing button; or click the three horizontal dots to save your landing page as a template.
You will be directed to your Page settings. Here you can choose your landing page domain. We recommend using your own domain.

Other settings you can apply on this page include:
Favicon - The icon that appears next to your page title in the browser tabs
SEO settings - Optimize your landing page for search engines. Scroll down to learn how to set up your SEO settings
Social share - Use these settings to determine how your landing page will appear when shared on social media
Analytics and custom code - Here is where you can inject custom code into your landing page and apply your Facebook tracking pixel
How landing page publishing works
Free accounts can have up to ten published landing pages at one time. If you need to have more than ten public landing pages, you can upgrade to a Growing business or Advanced plan to use unlimited landing pages.
Landing pages are only visible to the public after you publish them.
If you open your landing page editor and make a minor change, you will need to republish. You can republish your landing page by clicking the Done editing button in the landing page editor.
Alternatively, you can publish the latest version of your landing page from your landing page overview:
Navigate to the Sites page.
Click the Landing page tab.
Click the Overview button of your landing page.
Click the Publish new version button.

If you want to unpublish a landing page so that it is no longer visible, click the Unpublish button.

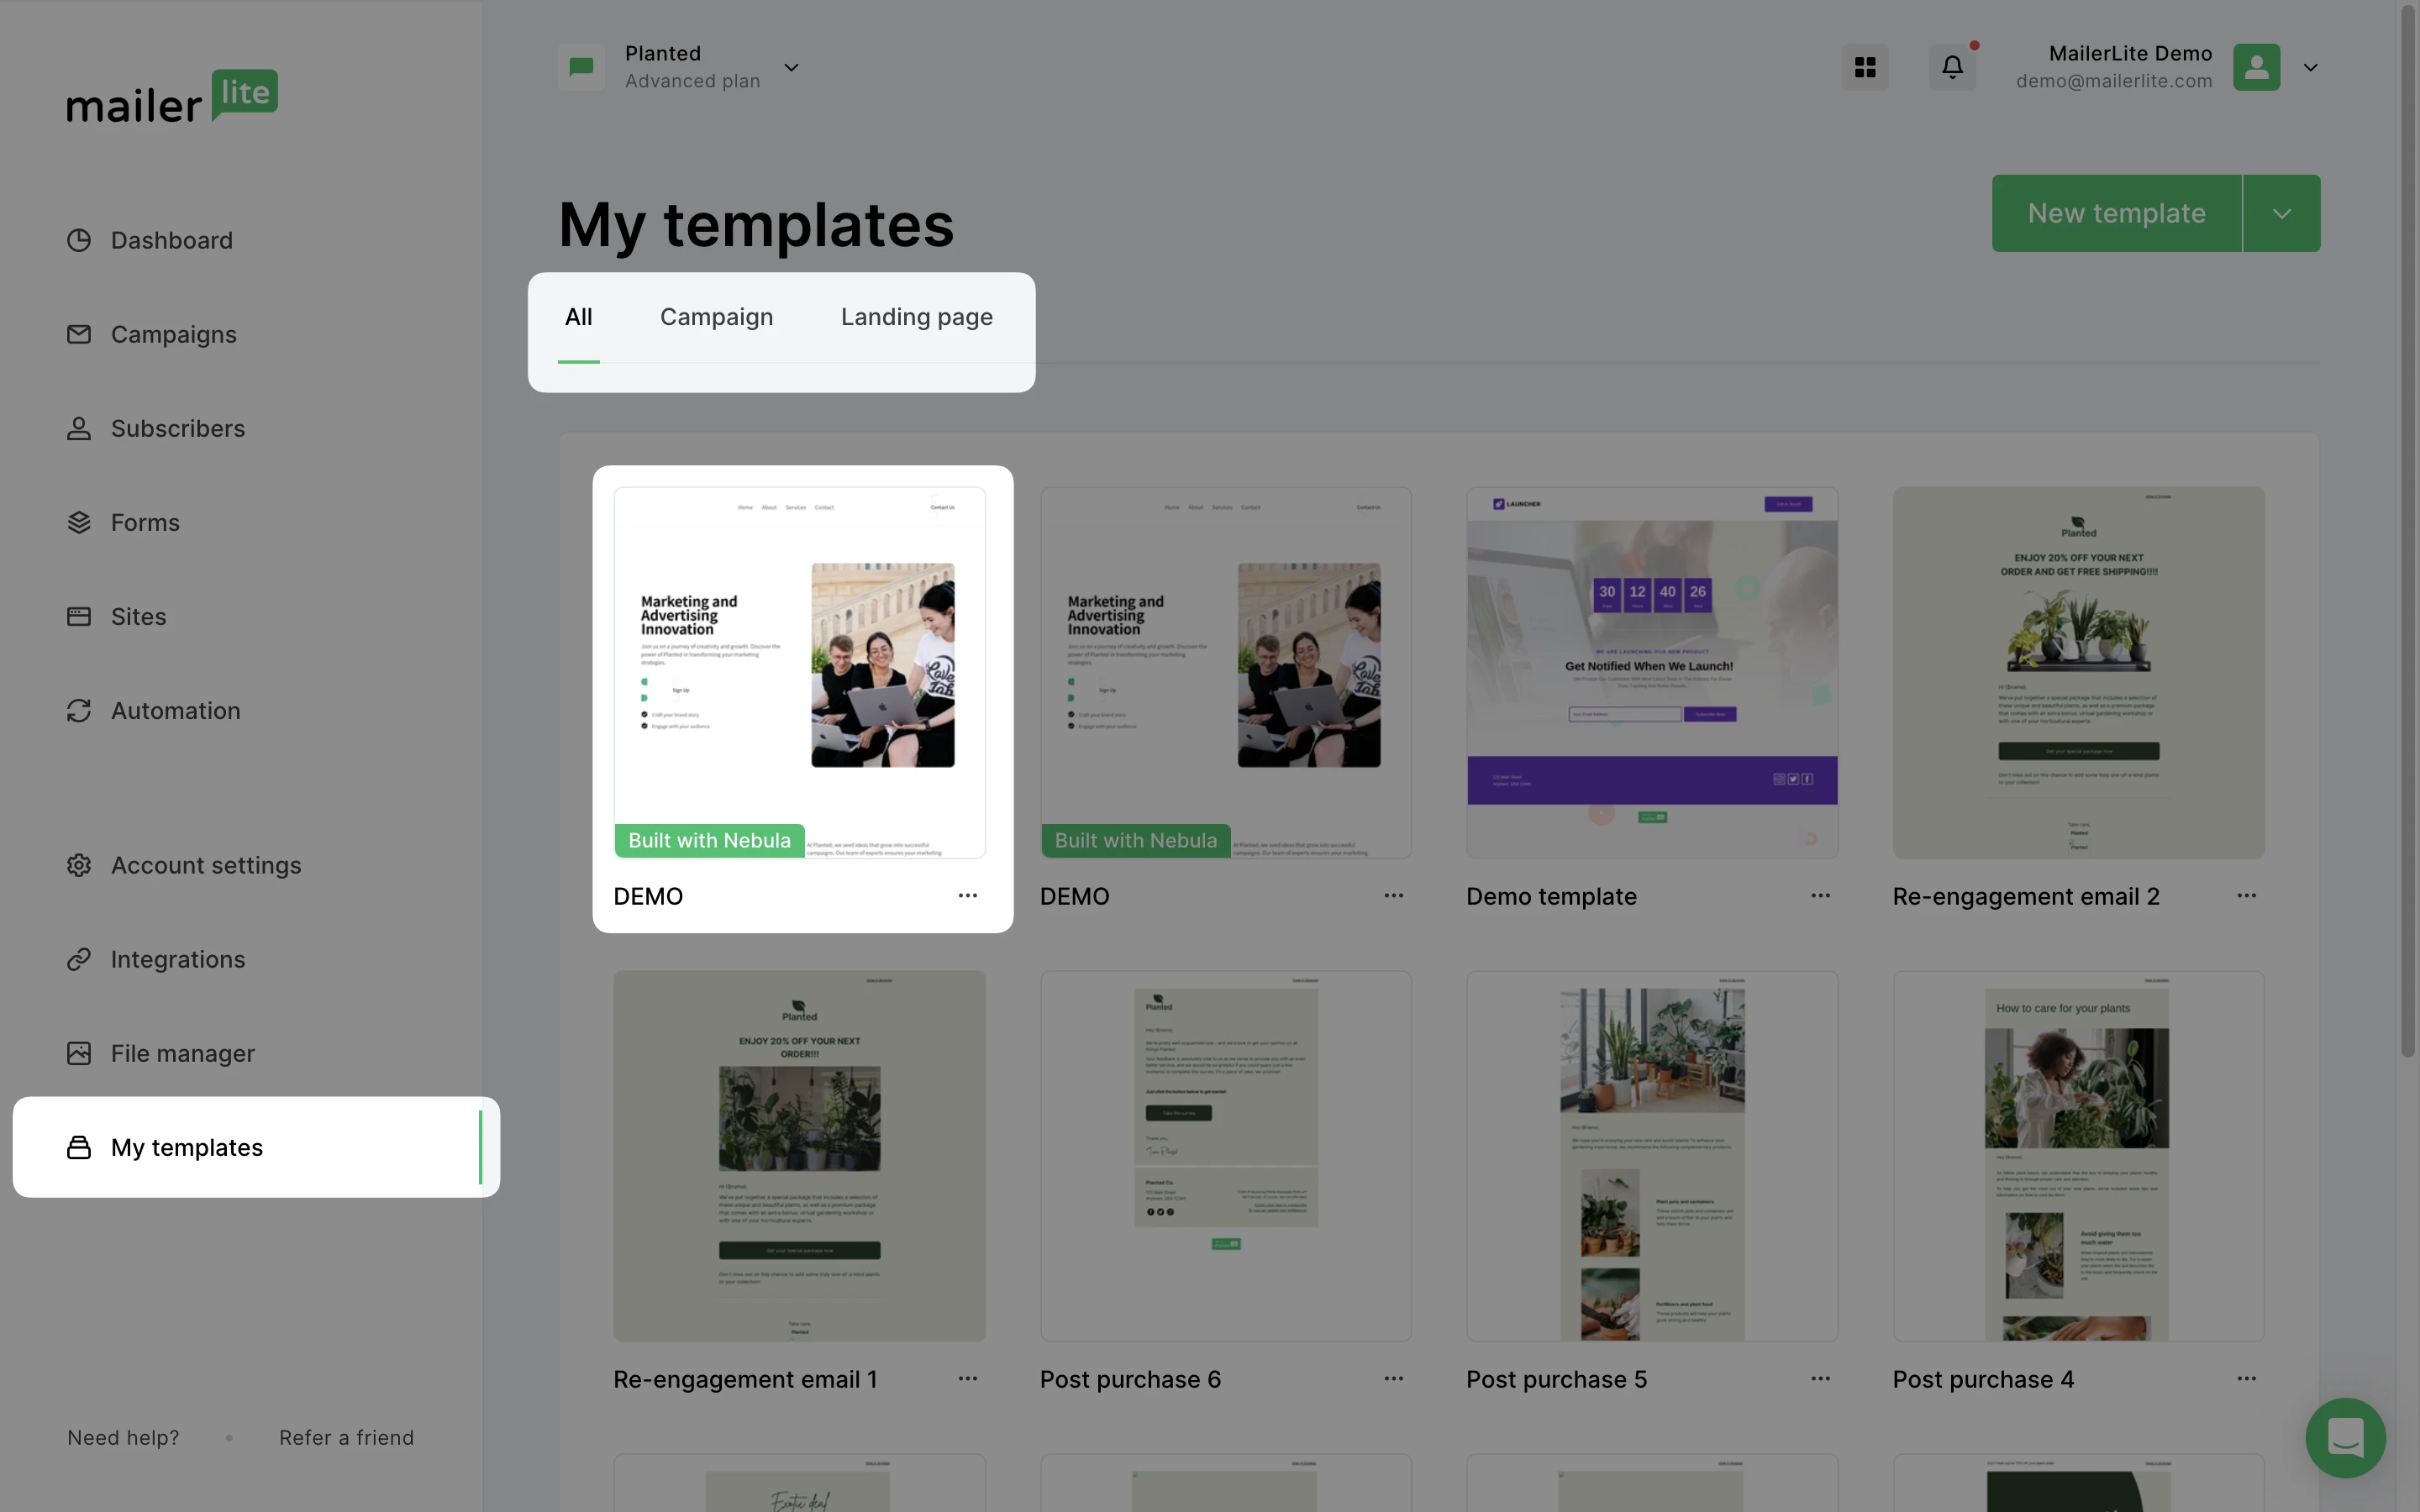
How to save your landing page as a template
Growing business and Advanced plans can save time designing multiple landing pages by creating your own landing page template, complete with your own style and branding.
To save a landing page template:
Create a landing page.
Navigate to the top right corner and click the three horizontal dots.
Choose Save Template.
4. Give your template a name.
5. Click Save template.
That’s it! You can now choose this template whenever you’re creating a new landing page, and it will be available under My Templates.
How to set up landing pages for SEO
In your Page settings, you will find your SEO settings. Here you can optimize your landing page for search engines. To find your SEO settings:
Navigate to the Sites page.
Click the Landing pages tab.
Select your landing page.
Scroll to Settings and click Edit settings.
Scroll down until you see the SEO settings tab.

Here you will find three fields:
Page title - The page title is visible on search results and will appear on your browser tab. Create a title that is easy to understand and gives the visitor an idea of what the page is about. Try to be as informative as possible and add your main keyword phrase in the page title.
Page keywords - Here you can add words and phrases that describe your landing page. Page keywords are not visible for page visitors, and will only be seen by the search engines. It has no influence on Google when ranking your page, but it may influence other search engines. Separate your keywords with commas.
Page description - The page description is visible on searching engines and appears beneath your page title. Here you can provide additional information that is not in the page title. It’s also an opportunity to attract potential visitors and encourage them to click on your page. We recommend including the main keyword phrase in the description.
Check the box marked Allow search engines to index the landing page if you want your landing page to appear in search engine results.
Understand your landing page's analytics
MailerLite’s GDPR compliance
GDPR stands for General Data Protection Regulation. It’s a set of guidelines on how you can collect and process personal information acquired from people living in the European Union.
You can take a look at our blog post on How to create effective opt-in forms that still work under GDPR for more guidance.
It has seven key principles:
Lawfulness, fairness, and transparency - fully inform the user on a lawful basis and keep your word
Purpose limitation - be specific about the purpose of the data collection
Data minimization - only collect the relevant data you need
Accuracy - collected data must be accurate and up-to-date
Storage limitation - only retain the collected data for a limited period of time
Integrity and confidentiality - keep the collected data secure and confidential
Accountability - ability to ensure compliance with the above principles
You can read our Data Processing Agreement to find out how our services comply with GDPR requirements.
If you’re adding a form to your landing page, we recommend that you enable the marketing permissions so that it is GDPR-compliant.