Note: If you're a Legacy (Classic) user, please log in to your account to access the dedicated Legacy (Classic) Help Center.
The MailerLite plugin for PrestaShop allows you to automatically sync your PrestaShop customers with your MailerLite subscribers. By installing the plugin, you will be able to select a group in MailerLite to which your PrestaShop customers will be added.
How to set up the MailerLite plugin for PrestaShop
To install the MailerLite plugin for PrestaShop:
Log in to your PrestaShop admin dashboard.
Go to Modules > Module Manager.
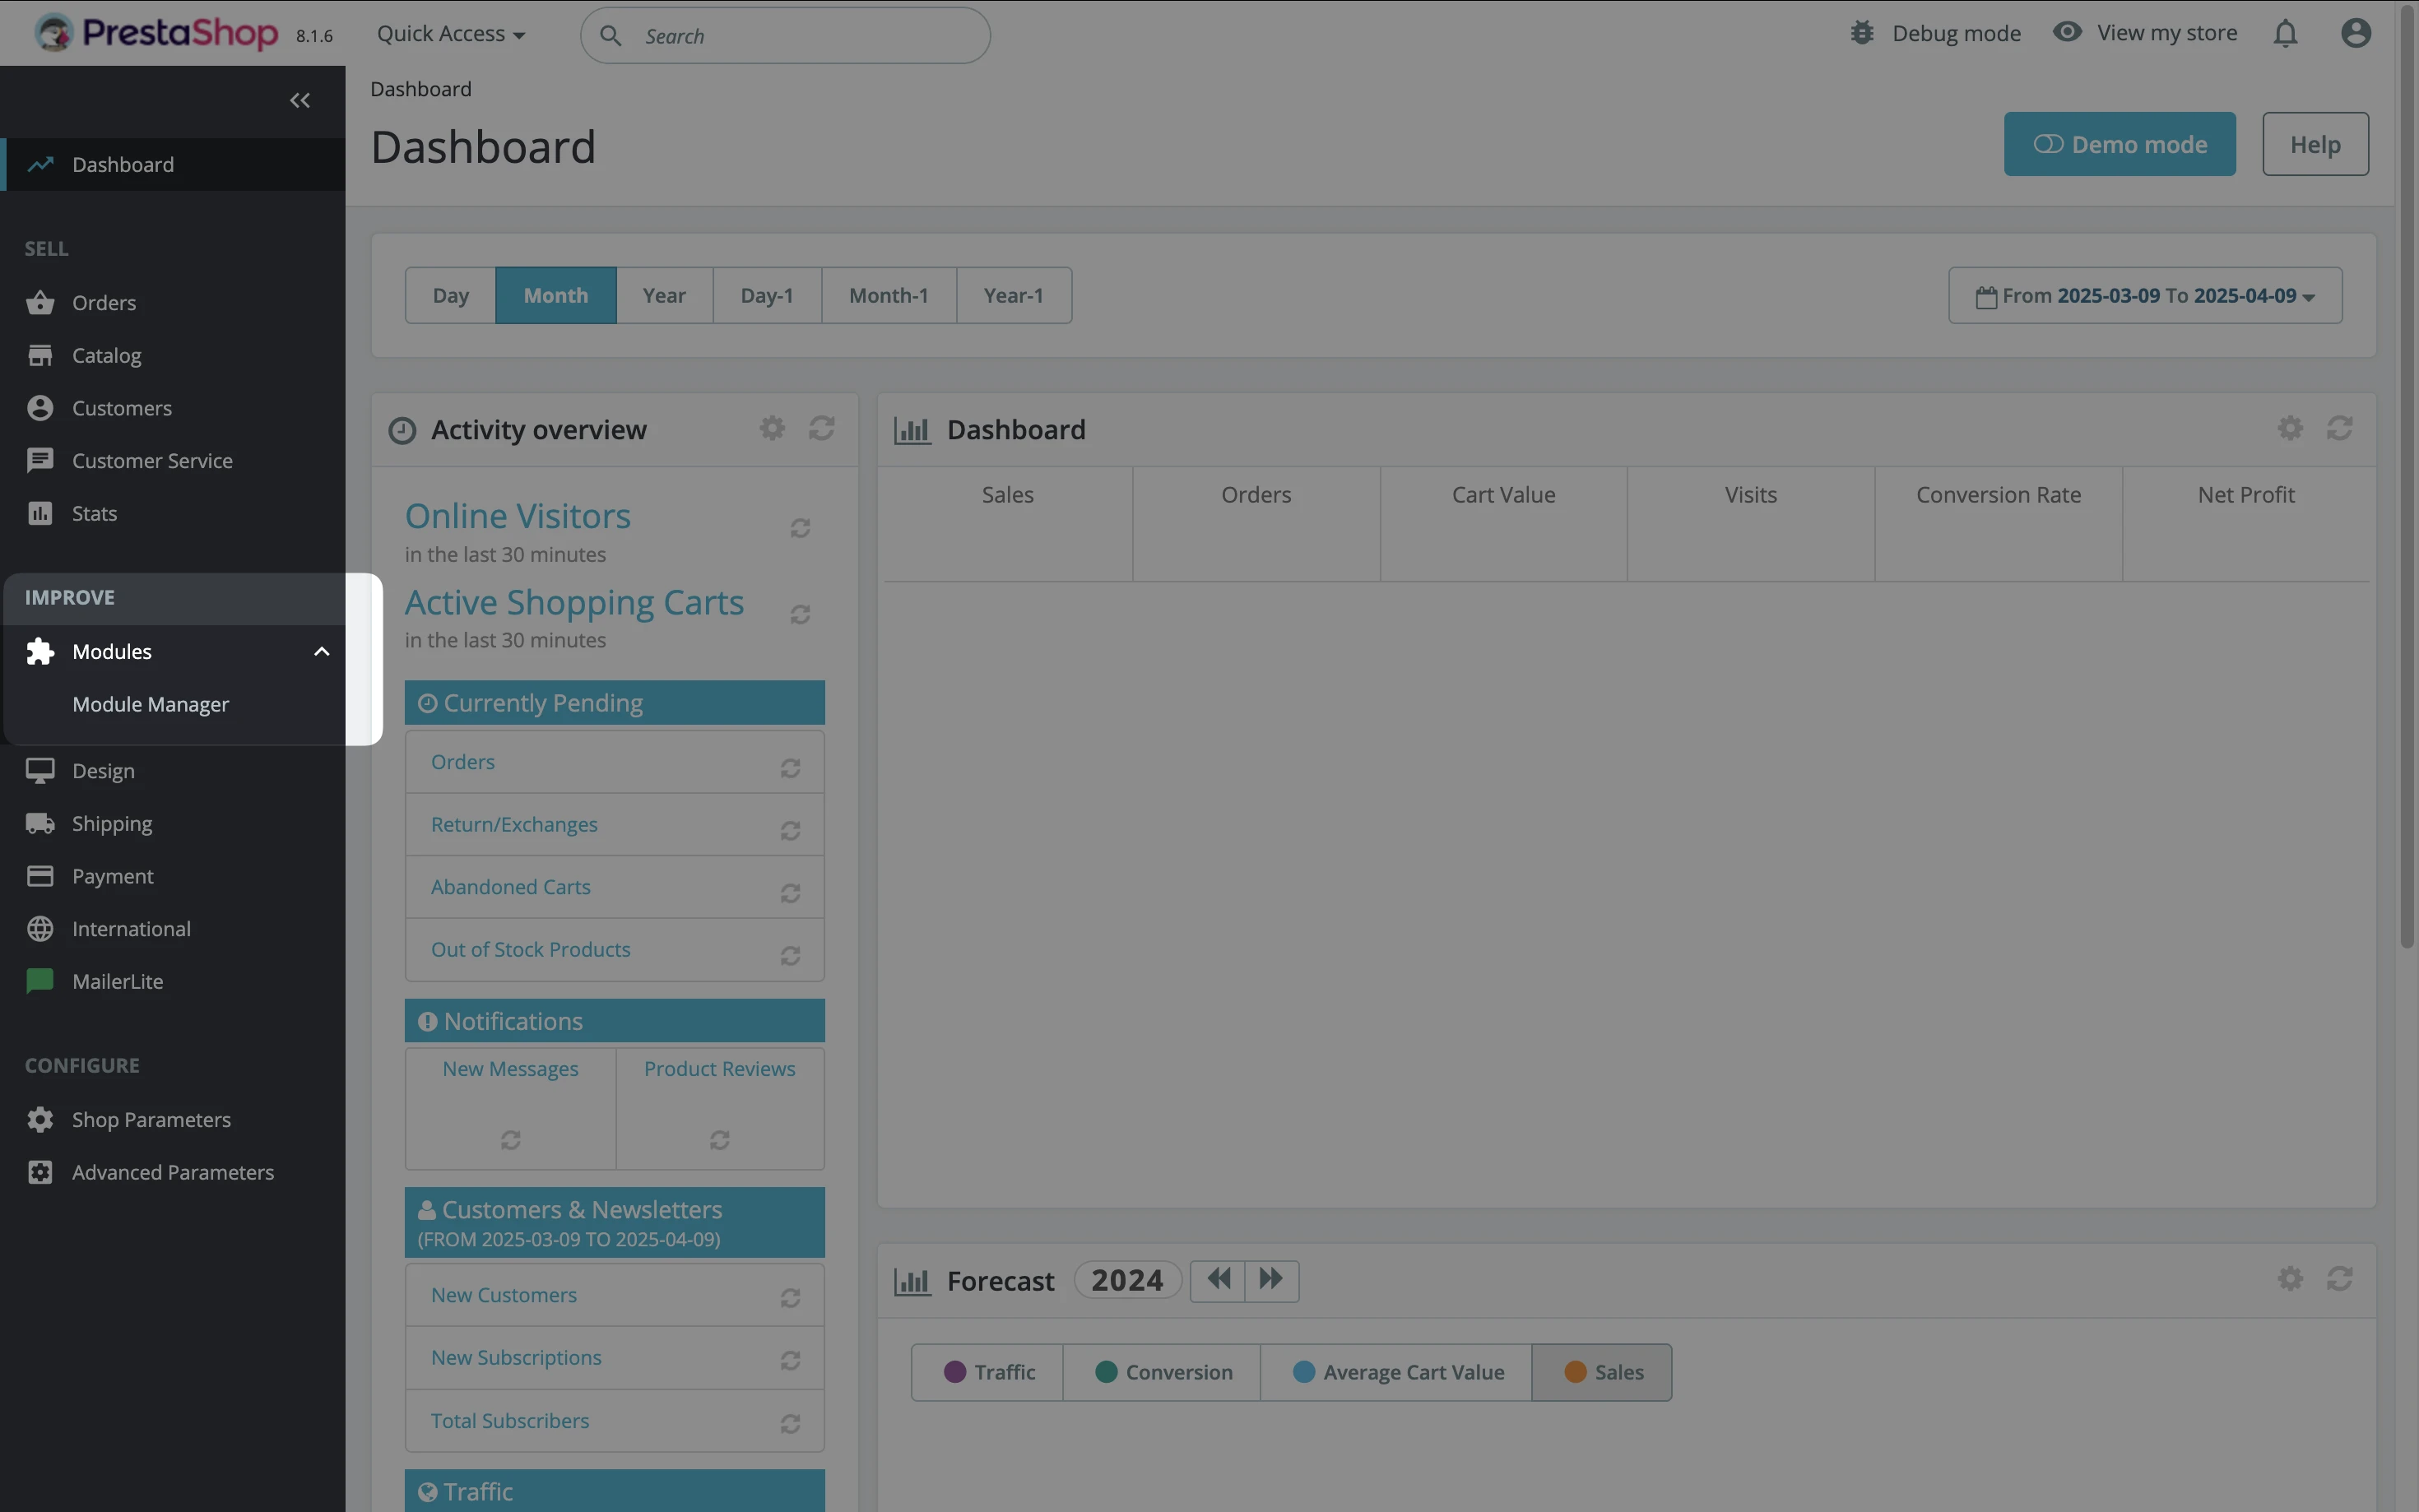
3. Search and find MailerLite. The plugin is also found on the PrestaShop Module Marketplace.
4. Click on Install.
5. Once completed, click Configure.
6. Enter your MailerLite API token and click save. You can generate an API token at https://dashboard.mailerlite.com/integrations/api. You can also check our guide on Where to find the MailerLite API key and documentation.

7. If successful, you will get an additional settings panel.
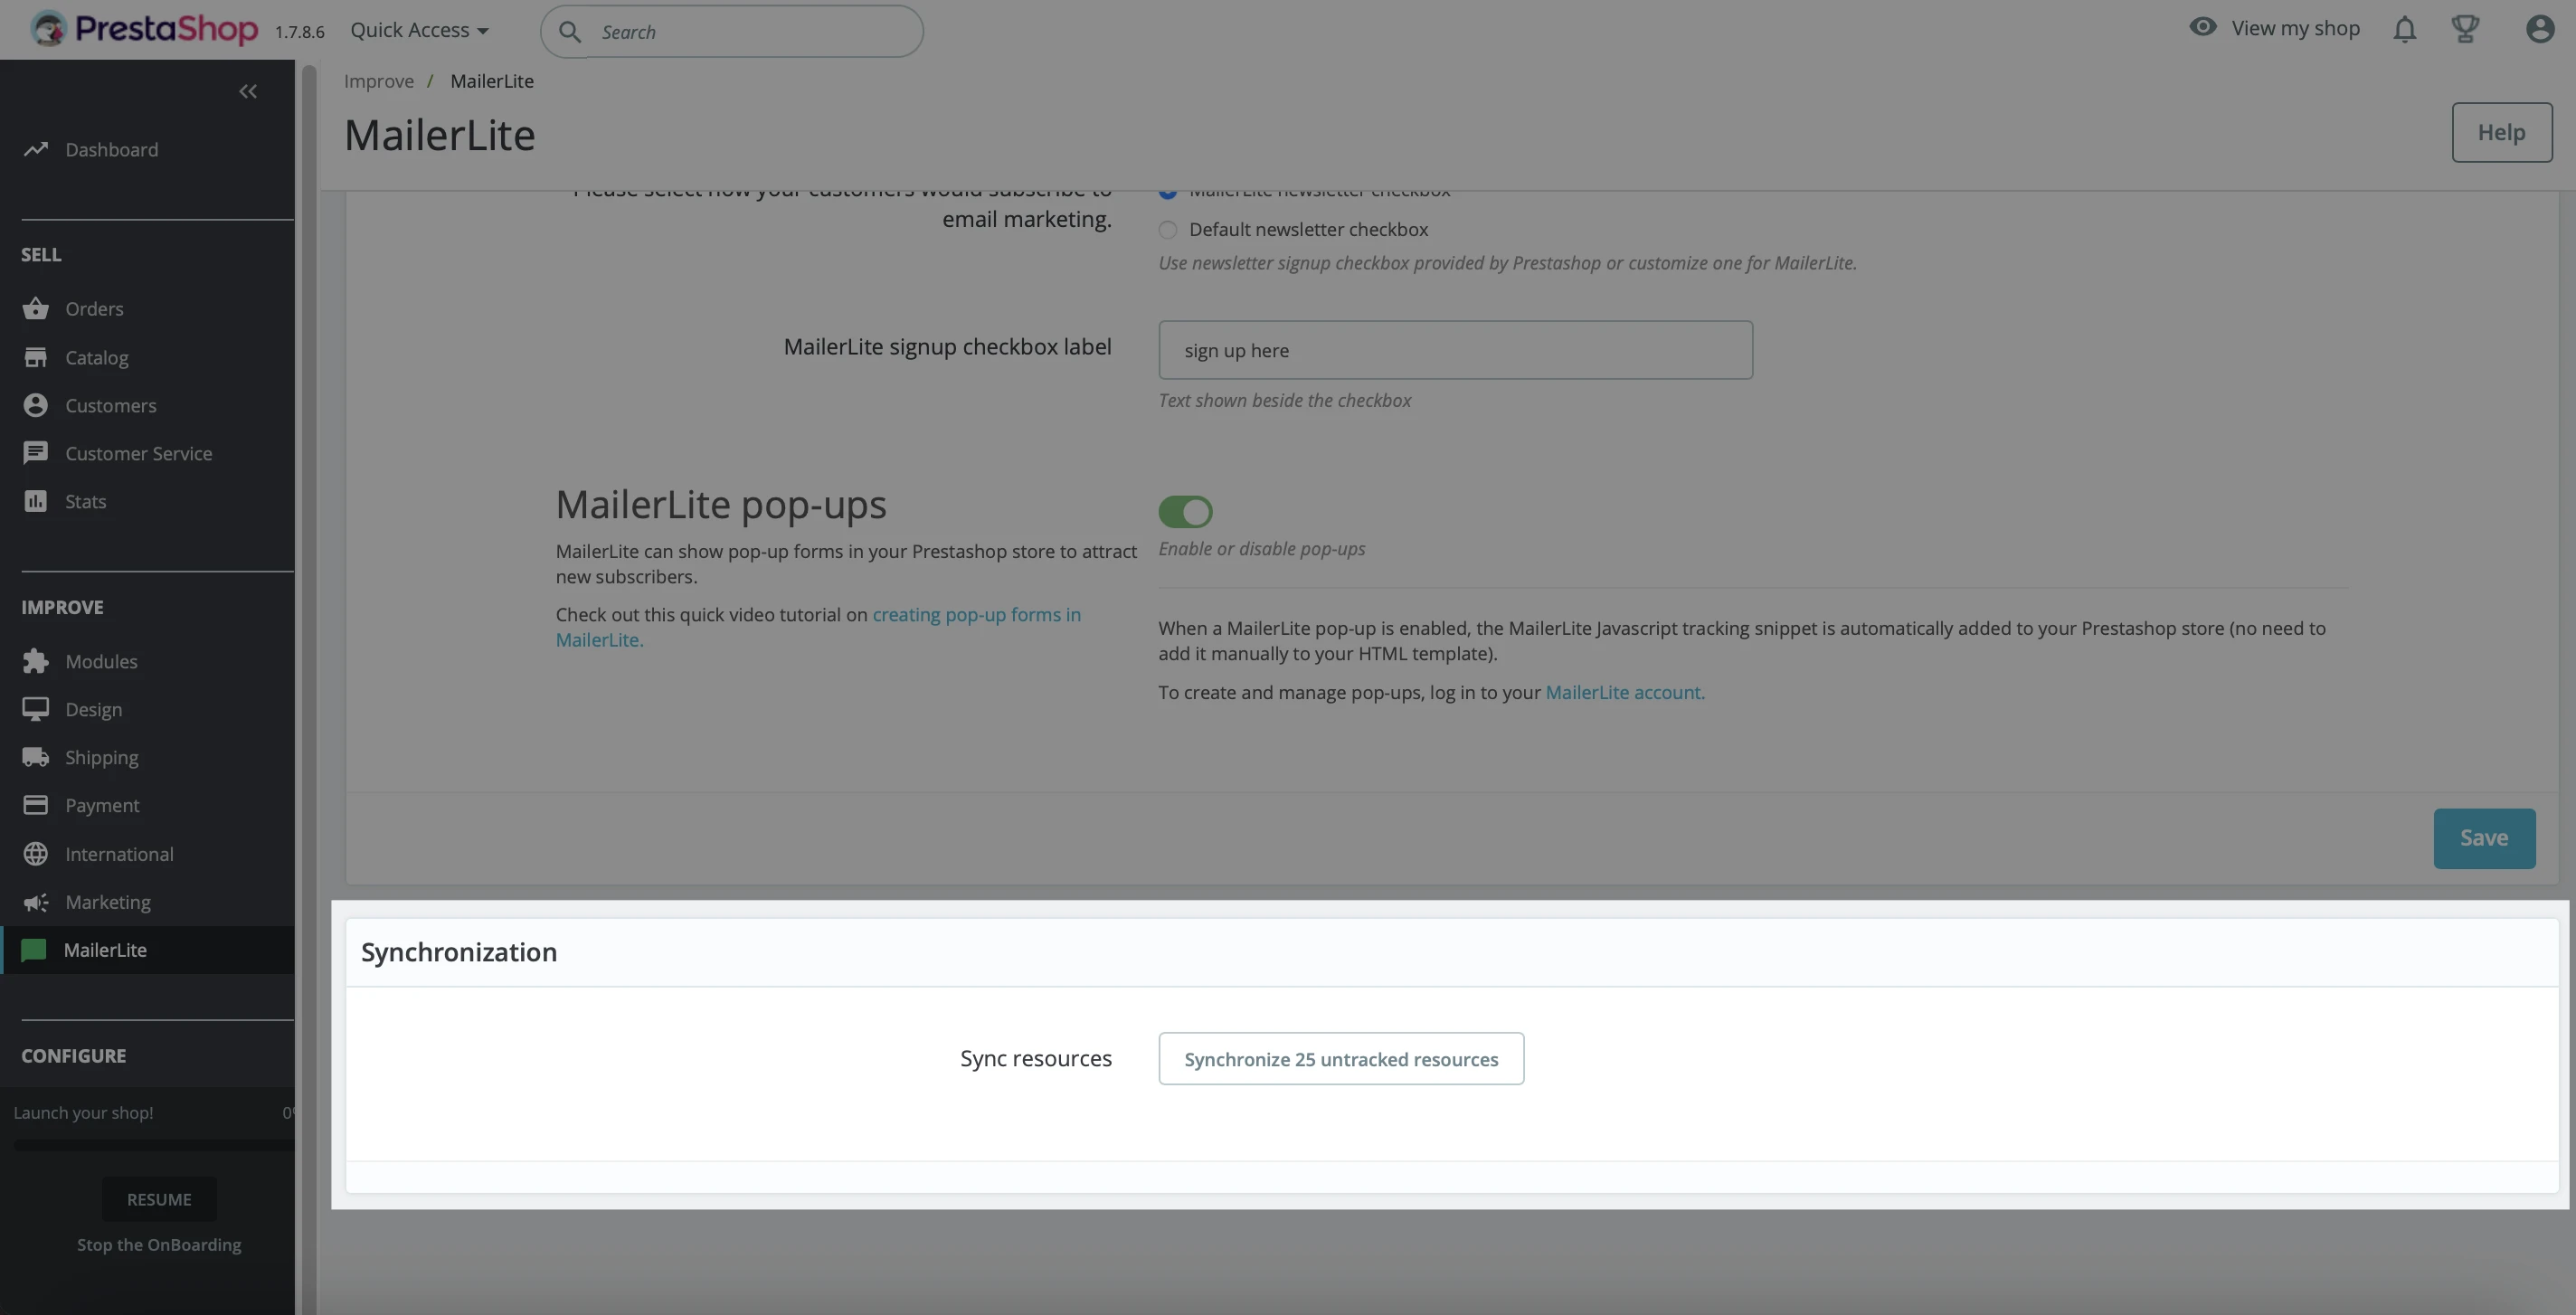
8. Select a group and other behavior settings. You can also choose to enable Mailerlite popups so you can create popup forms in your MailerLite account, and they will show on your PrestaShop store without the need to manually add the Javascript code yourself.

9. Click save.
10. If successful, the synchronization panel will appear.
PrestaShop subscriber fields
When you sync your PrestaShop customers with MailerLite, their data is synced with them including their name, email address, and order information. This information is added to your subscriber Fields. You can then create segments using your subscriber fields.
Prestashop fields include:
PrestaShop Orders count - The number of orders that the subscriber has made
PrestaShop Total spent - The total amount of money that subscriber has spent on your Prestashop store
PrestaShop Accepts marketing - when subscribers accept to receive newsletters from you
In addition to using these fields to collect data, you can also use them to search for subscribers and create segments.
Place your products in a newsletter
Need help creating a newsletter? Learn more here ➡️ How to create and schedule a campaign
Our Products element in the Drag & drop editor allows you to add your product directly into your MailerLite campaigns.
This will automatically import images, descriptions, and prices of your products and link directly to your PrestaShop store.
To add a product to your newsletters:
Open your campaign in the Drag & drop editor.
Under the Products section, you will find Import from stores. Simply drag and drop the element into your email.

3. Click into the block to open the settings on the right. Use the Add products from your store button to add products from PrestaShop.

4. If your account has multiple stores connected, be sure to select your PrestaShop store from the drop-down list.

5. You can choose to display one product or multiple. Once the product is selected, click Add products.

6. Click into the block to open the Settings on the right. From here, you can adjust elements like image positioning, alignment, and choose which details such as Price and Description are displayed.

7. Click Save settings to save your edits.
8. When you are done editing your campaign, click Done editing.
9. On the Campaign details page, fill out the Subject line, Preheader, and choose the Recipients to send your campaign.
⚠️ Important: To make sure that any PrestaShop products through your campaign are tracked in MailerLite, toggle ON the option to Track links.

When a subscriber purchases your PrestaShop product through the newsletter and completes the transaction, the order will be tracked in the campaign’s report in the Orders tab.

Note: You may find that the Total revenue does not match the number in your PrestaShop total spent field.
This is because Total revenue only refers to the revenue generated from your MailerLite campaigns. Any orders placed in your shop within 30 days of a link to your shop clicked from any of your campaigns or automations will be considered as email revenue.
our PrestaShop total spent field includes all purchases, including those not made through MailerLite.
Add PrestaShop products to a landing page
Need help creating a landing page? Learn more here ➡️ How to create a landing page
To promote your PrestaShop products in a landing page:
In the landing page editor under Elements, check the Special category to locate the Products element.

2. Or, under Sections, you can find Multiple product sections in the Pricing & Purchase category.

3. Drag and drop either of these elements into your landing page to add your PrestaShop products.
4. Click the Settings icon to open the panel on the right.

5. Choose Add products from your store to select the products to add to this site.
6. If you have multiple e-commerce stores connected to your MailerLite account, choose your PrestaShop store.
Once you have selected your PrestaShop products, click Add products.

7. Once you have added your products, click the Settings button to open the configurations on the right. Here, you can edit the Product and Success view, as well as choose Layout, Content, and Button settings.

8. When a subscriber purchases your PrestaShop product via the landing page and completes the transaction, the order will be tracked in the site’s report in the Orders tab.

E-Commerce automation triggers
Need help creating automations? Check our guide ➡️ How to create an automation workflow
When you connect your PrestaShop store, it sends customer and order data to your account in real time.
MailerLite automations (E-commerce triggers specifically) use this data to automatically start workflows based on customer actions, such as when someone places an order or abandons their cart.
To create an automation that is triggered when someone interacts with your PrestaShop store:
Navigate to Automations.
Click New automation.
Choose to Start from scratch or use a Template.
In the Triggers area, scroll down to the E-commerce triggers. These triggers include:
Abandoned cart
Purchases any product
Purchases specific product
Purchases from category
Drag and drop any trigger into the workflow editor.

Note: In order to trigger an automation that uses an e-commerce trigger, customers of your store must also be newsletter subscribers and accept to receive marketing from you. This can be by completing any of your sign-up forms, or by checking the box to accept marketing at checkout.
Abandoned checkout
When you select the Abandoned checkout trigger, the workflow will trigger when a subscriber adds items to their cart but leaves before purchasing.
In the sidebar, select the number of hours (or days/weeks/months) after cart abandonment when you’d like your automation to trigger.

In the left sidebar in the Settings tab, you’ll see an option labeled Allow subscribers to re-enter automation peat the workflow.
Abandoned cart emails can be triggered in various ways in your PrestaShop store:
Registered and logged in customer - When a customer logs in to your store and adds a product to the cart, they can be triggered immediately if their email address is already on your MailerLite subscriber list.
Existing subscriber - If a customer on your subscriber list fulfills an order form and enters their email address, they can be triggered immediately without continuing to the next step.
First-time buyer - A first-time buyer can be triggered after they provide contact information during the checkout process, or if the buyer subscribes to your email marketing by ticking the checkbox. In this case, the entered email address is added immediately to your MailerLite subscriber list and they are eligible immediately to trigger abandoned cart automation emails. If a first-time customer fails to enter their email address before they abandon the checkout, nor are they on your subscriber list, then they will be unable to trigger an abandoned cart automation
Note: When using MailerLite abandoned checkout emails, make sure you have disabled abandoned checkout emails in your e-commerce platform.
Buys any product
When you select the trigger Buys any product, the automation workflow will be triggered when a subscriber makes any purchase from your store and that purchase is marked as complete.
In the right side, choose your PrestaShop store.

Click Save to apply your trigger settings.
Buys specific product
When you select the trigger Buys specific product, the automation workflow will trigger when a subscriber purchases a specific product that you have selected, and that purchase is marked as complete.
Select the workflow trigger Buys specific product.
Click the button labeled Select a product from your store.

4. Select the product that, when purchased, you would like to trigger this workflow and click Insert.
5. Click Save to apply your trigger settings.
Buys from category
When you select the trigger Buys from category, the automation workflow will trigger when a subscriber purchases any product from a category that you specify.
To set up this trigger:
In the sidebar in the Triggers tab, scroll down to the E-commerce automation triggers.
Select the trigger Buys from category.
Select the category you want to use as your workflow trigger.

4. Click Save to apply your trigger settings.
Note: Unsubscribed subscribers can’t trigger abandoned cart automations. You can only send abandoned cart emails to shoppers who are on your MailerLite subscriber list.
For a simple and effective design, check out the Abandoned cart e-commerce automation template!
How to troubleshoot PrestaShop integration issues
If a customer of your PrestaShop store makes a purchase, and is not added to your active subscriber list or does not trigger a purchased-based automation, you can check the following factors:
Order status - In order to be successfully added to your active subscriber list or trigger any purchased-based automations, the customer’s order status must be Payment Accepted. If your customer's order status is still Payment pending or Processing, they will not trigger any actions in MailerLite.
Accepts marketing - If your customer did not check the box to accept email marketing at checkout, they cannot be synced to your MailerLite account.